


Let's Talk About Riso Printing!
I took a Risograph printing class here in Milwaukee. It was super fun, and I want to tell you all about it.

Last weekend I took a Riso class taught by partners Diana and Ben of bearbear at The Bindery in Milwaukee’s Bay View neighborhood. Diana and Ben did such a great job explaining everything and providing guidance along the way. If you’re in the area, I highly recommend checking out all of bearbear’s classes here.
If you’re not familiar with Risograph printing, here’s some quick background:
Risograph printing (commonly referred to as Riso, pronounced Ree-Zoh) is a printing method that uses individual soy-based inks to print one color at a time much like old-school mimeograph printing. It is more nuanced than this, but basically the image is melted onto a flexible stencil, which then wraps around the ink drum to roll the image onto the paper as it is fed through. All this magic happens inside the machine. It is fascinating, and I wish there was a window to see inside the machine so I could watch this happen in real time!
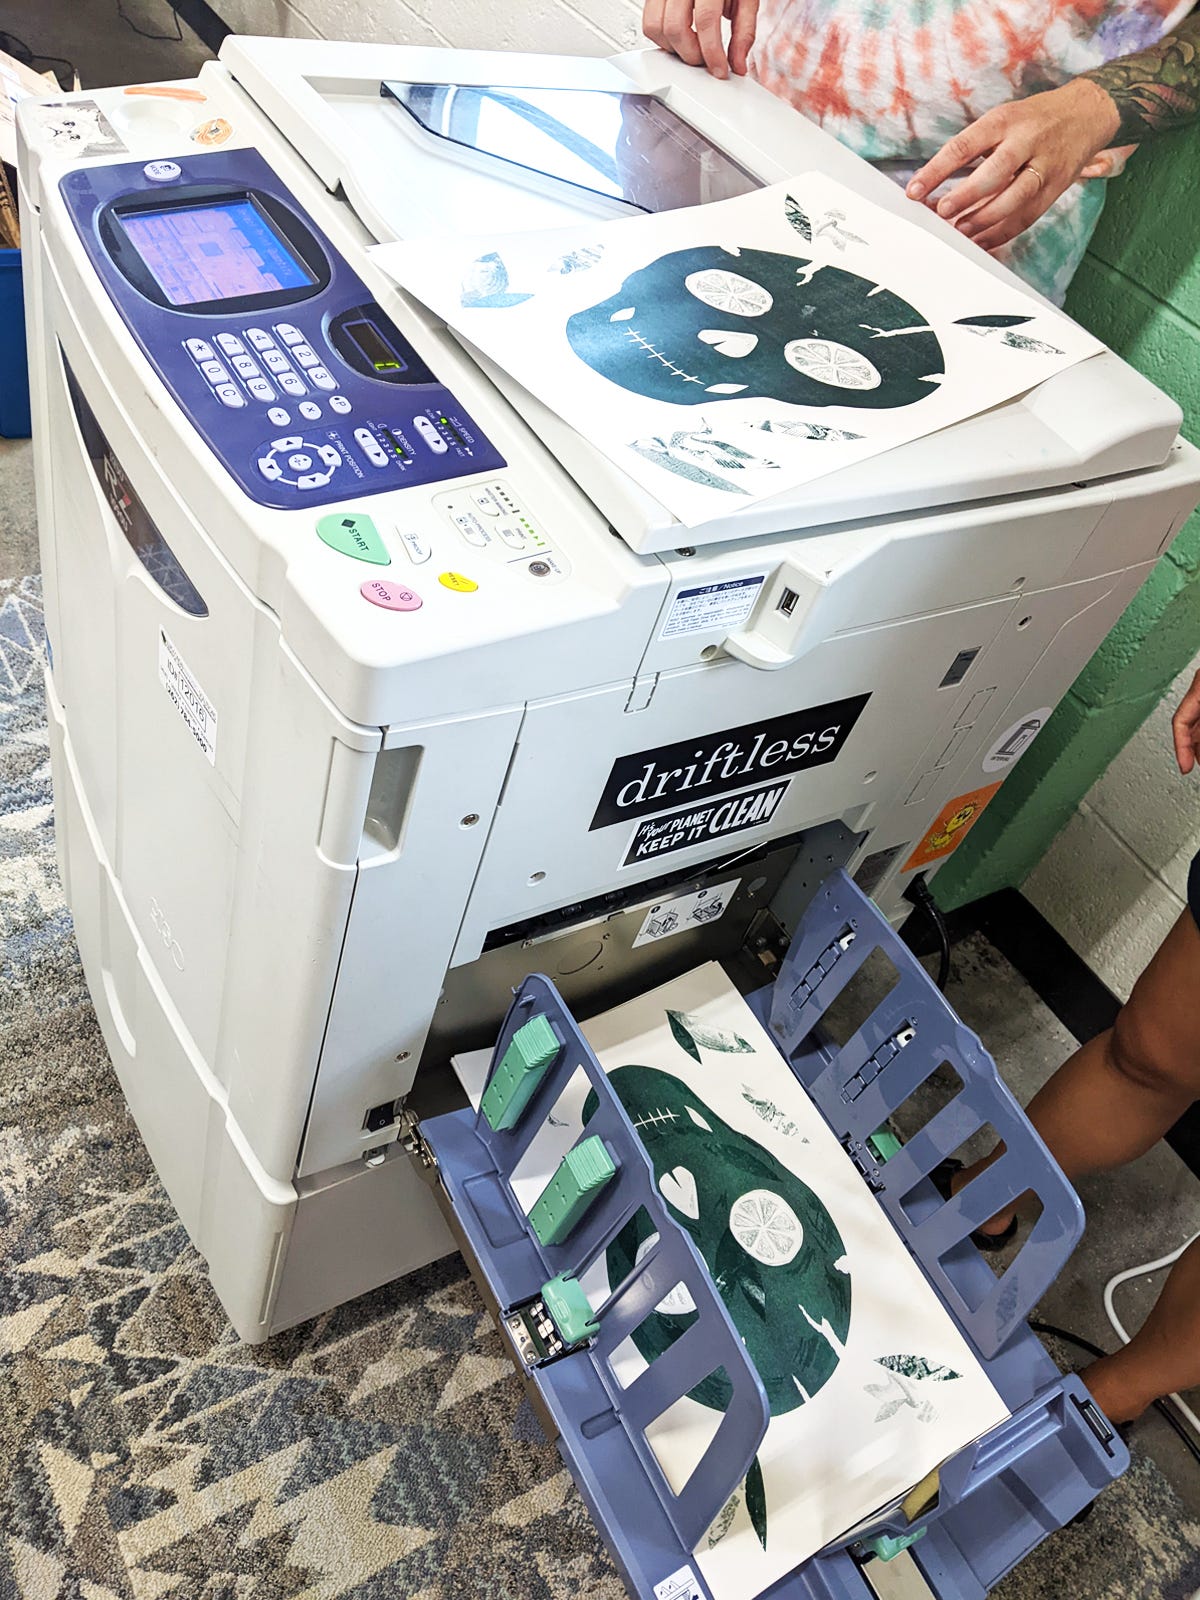
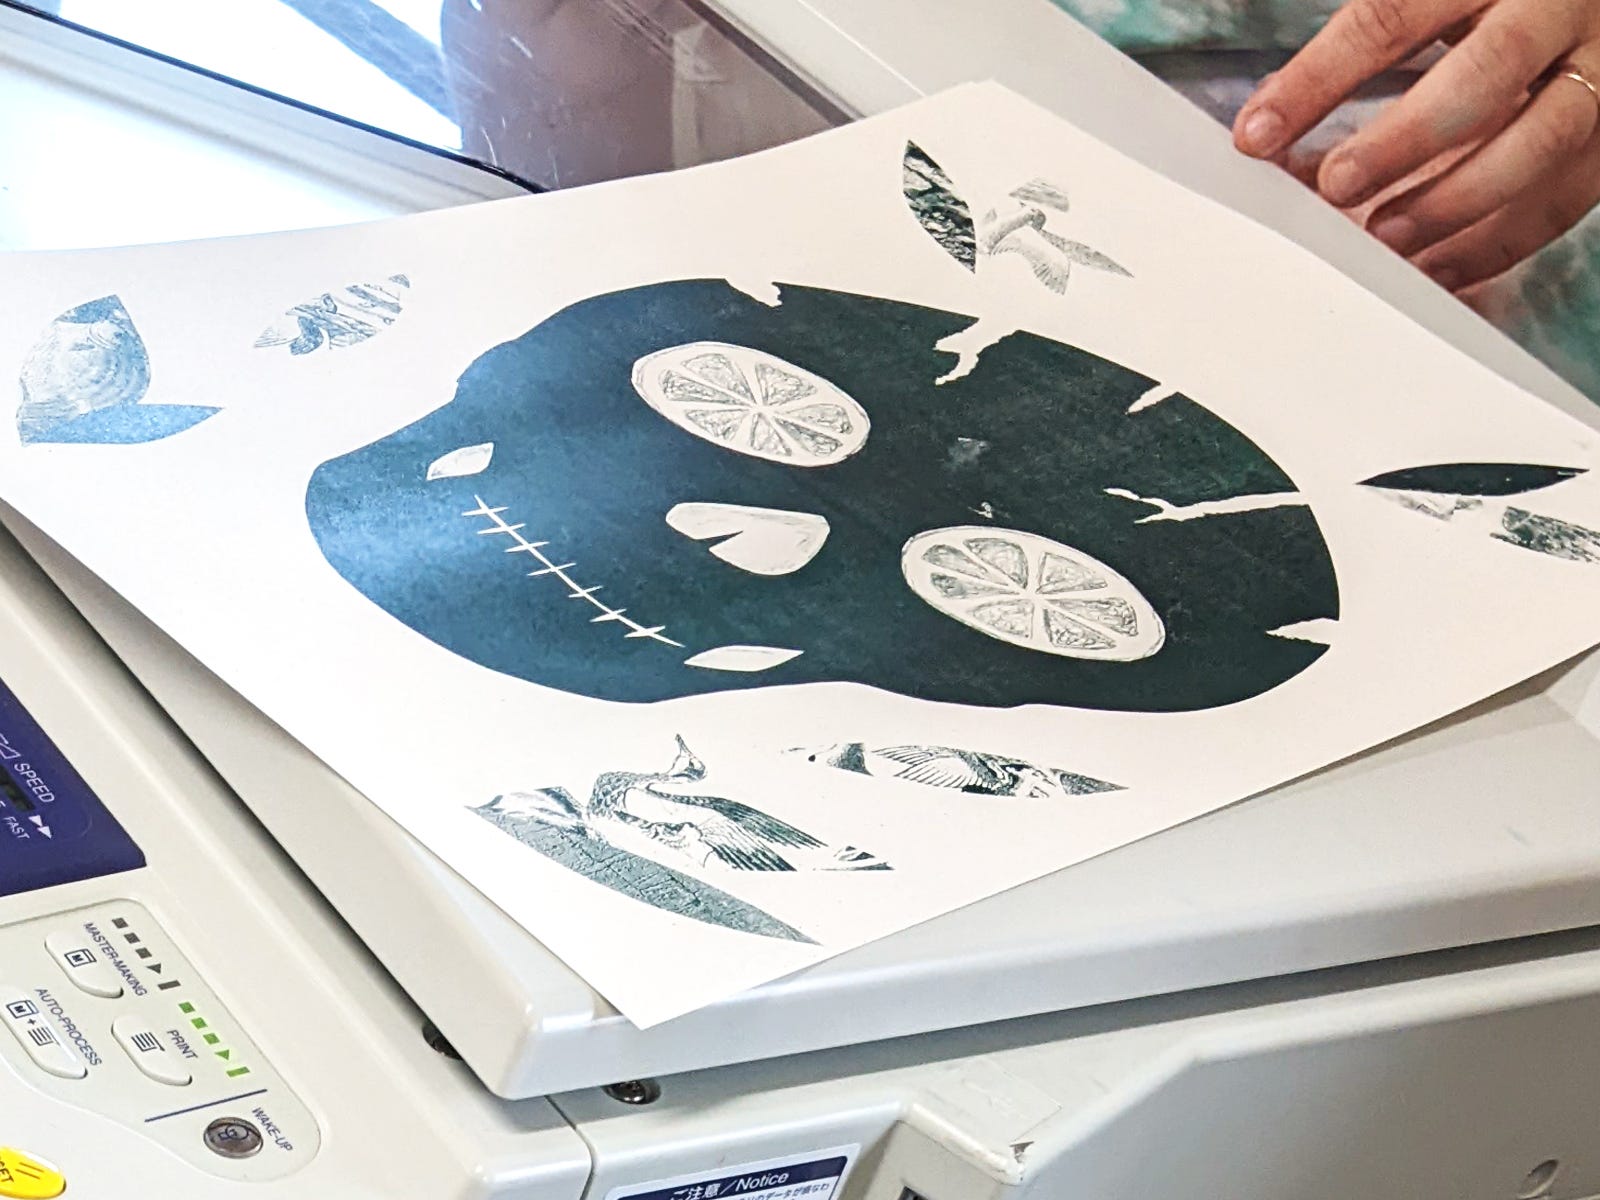
Riso printers are really approachable and look just like a standard copy machine. Here’s one in action:
A few more fun facts about Riso:
Risograph is actually the brand name of the printer-duplicator machines manufactured by a Japanese-based company (Riso Kagaku Corporation). Riso originally released these machines in the 1980s for business use. They are intended to be efficient, practical machines for economical and eco-friendly print runs of 100+. You may still find these in older offices, churches, schools, etc.
Eventually artists got their hands on Riso machines! The vibrant colors and layering possibilities make Riso a fun tool to create cool posters and zines. Since the machine prints one color at a time, the process somewhat parallels screen printing—just way faster and much less messy!
Here’s what I made:
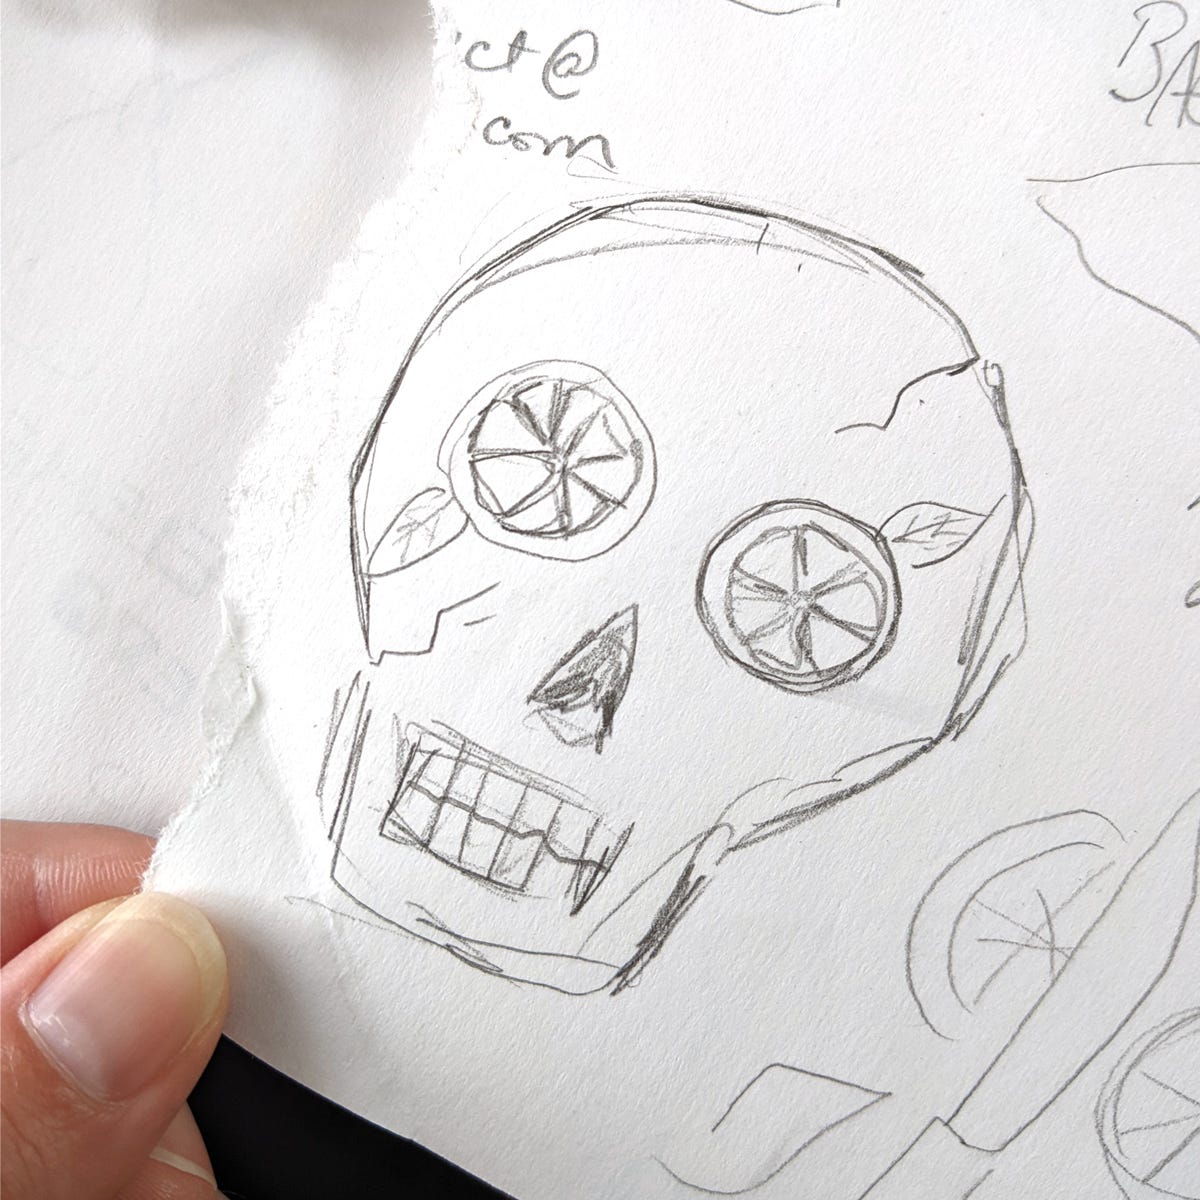
Going into the class I had a vision of creating a skull with lemon eyes. Why? I’m not totally sure... Probably a convergence of creative and mundane inputs I’ve had over the past month or so. When an image idea pops into my head, I sketch or write it down, even if it seems stupid at the time! When the image idea haunts me long enough, I know I need to bring it to life. Here is my very crappy sketch.
The class parameters were specifically to make a two-color print. This made things interesting enough yet simple enough for newbies, as well as manageable to complete within a 3-hour timeframe. We started by creating the first layer that would be printed in the first-pass color. I choose to do collage for this layer to build a more substantial foundation. I also had no idea what I was doing, and Diana and Ben had a ton of cool magazines and scissors available, which was very enticing.
Here is layer 1:
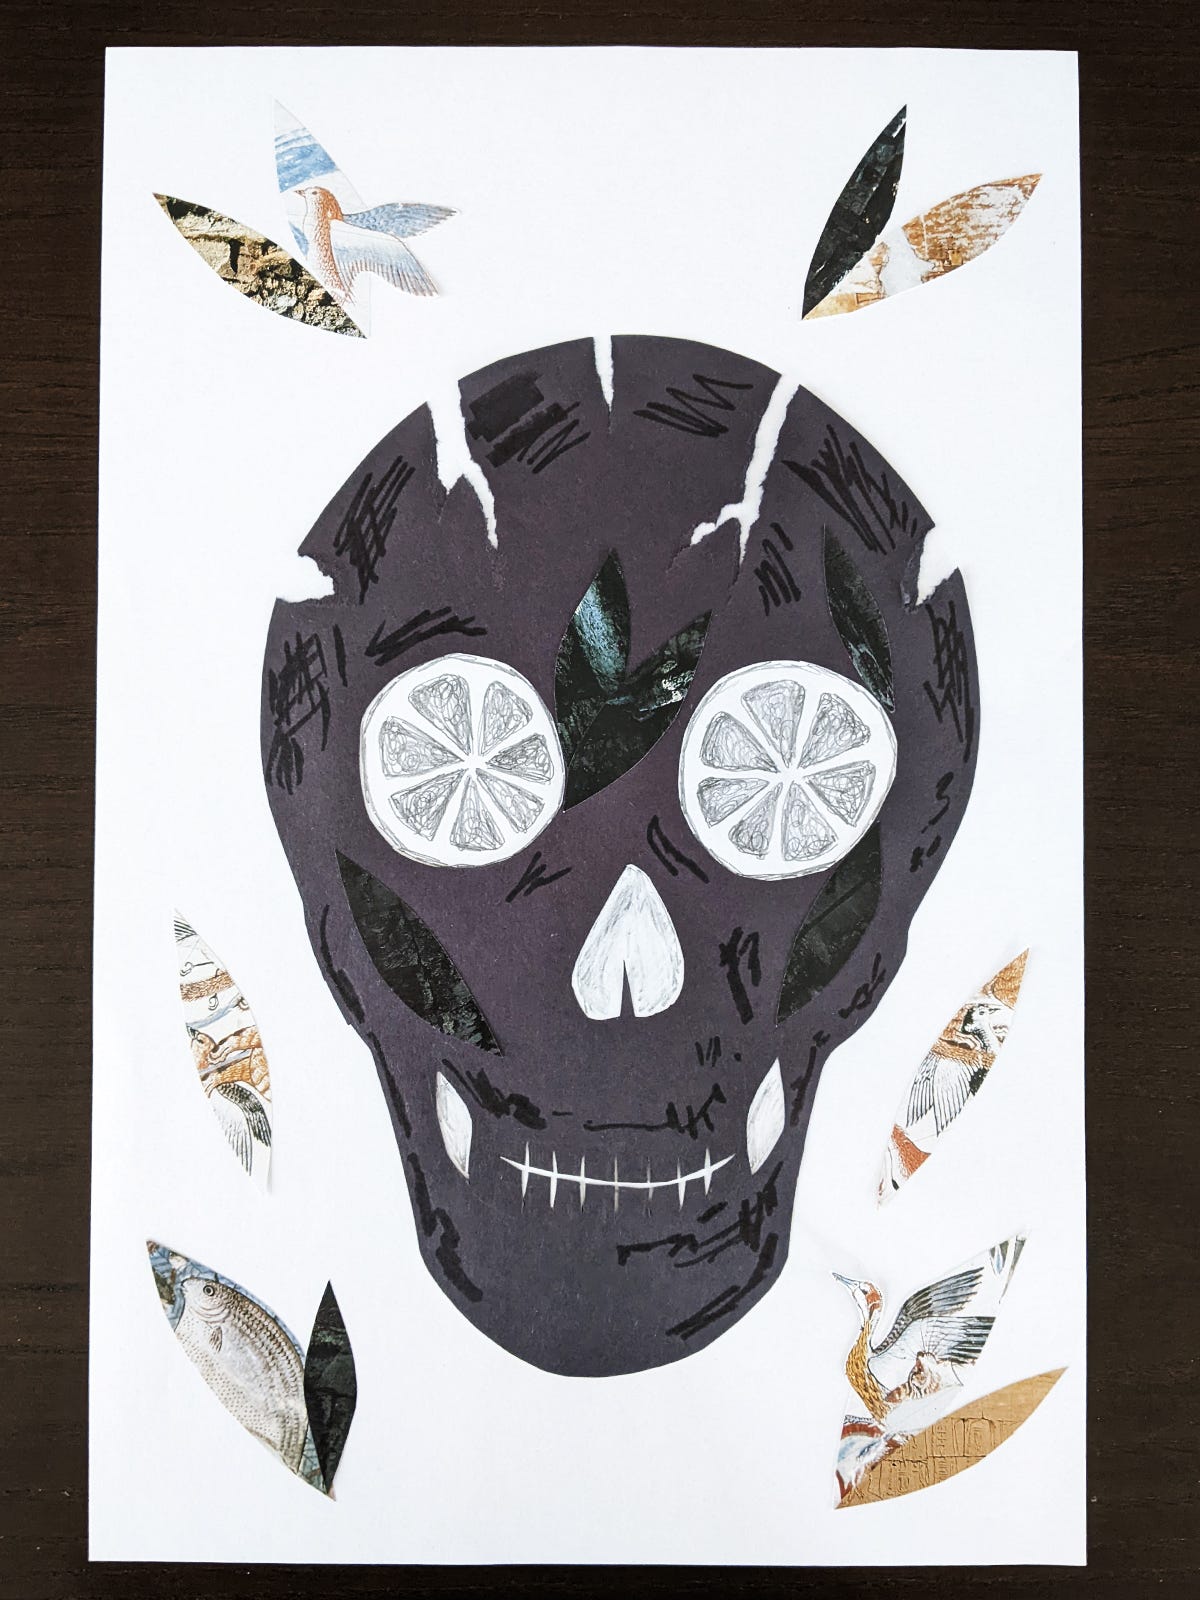
I cut the skull out of black cardstock and the leaf shapes out of an Egyptian-themed article I found in a magazine. Having the wings and bird head break the leaf frame made me pretty happy. In retrospect, I would have handled the lemon sections of the eyes differently, but this was all just an experiment and it was exciting to discover how each thing came to life along the way.
I printed this first layer in hunter green. I was hoping to give it kind of a botanical feel to complement the lemons and showcase a dichotomy between the alive leaves and the not-so-alive skull. I didn’t capture a very good picture of the green-only stage. (I was so caught up in making things!) But hopefully this gives you an idea:
Now it was time to create the second layer, which I planned to print in a bright yellow to highlight the lemon eyes. I used a light table to use my first layer as a guide and then on a second piece of paper I drew where the yellow ink would print. I wanted this to be a very vibrant layer, so the dark coverage of a Sharpie was perfect. Here is that layer on it’s own before scanning and printing:

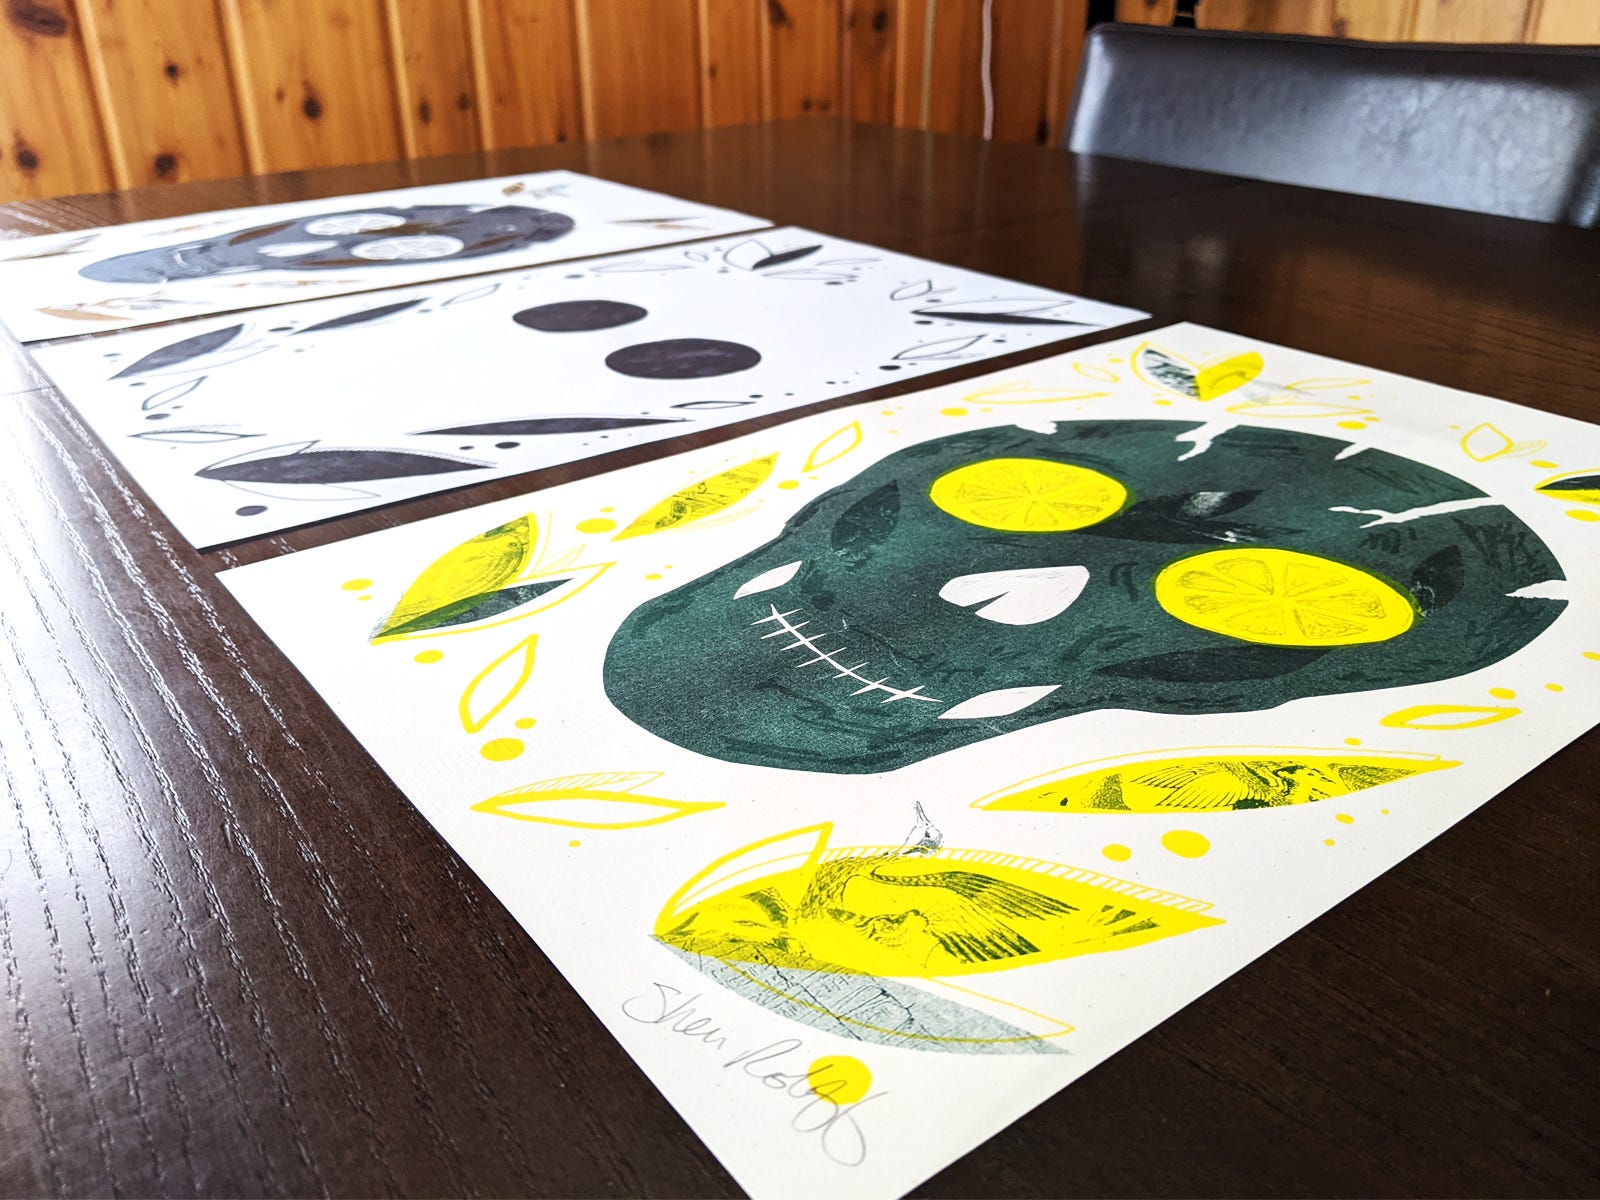
Now it was time to scan in this image and feed the paper through a second time. Here is the result:

And here is the full progression—layer 1, layer 2, and final print:

I have so many more ideas I want to try out! I may need to head back to The Bindery to learn more from Diana and Ben of bearbear. I encourage you to check out their class schedule and check them out on Instagram! Here is our class photo they shared:

Thanks for reading!
Thank you for your comments and private messages about “You Are Already Ready” last week! I really appreciated hearing how it resonated with you. If you missed my post about giving yourself permission, you can check it out here.
If you haven’t already subscribed to this newsletter, please consider doing so! You’ll get access to finished artwork, behind-the-scenes updates on my ongoing projects, and thoughts on creativity delivered right to your inbox.
And if you know someone you think might enjoy this newsletter, please share it!