
Paper Doesn't Lie.
Printing and making mockups is an important step for me to make sure a book or zine project is on the right path. It's also a great way to get unstuck! Here's how I do it.

As you may have noticed, screens are distracting! I get digitally blind to my work after a while, and I find printing it out really helps.
Fortunately, printing and making mockups of comics/books/zines is one of my favorite steps. It’s when all the abstract digital bits and pieces start to become more tangible in your hands! I always see things I didn’t notice when I take work from screen to paper. Screens are distracting! Paper doesn’t lie.
Here’s how I approach printing and mocking up work intended for print.
Step 1: Get a Bird’s-Eye View
First I lay the pages all out on the table. I have digital files that mimic this too, but there’s something much more satisfying and illuminating for me when I get to see all the pages at once and move pieces of paper around with my hands.
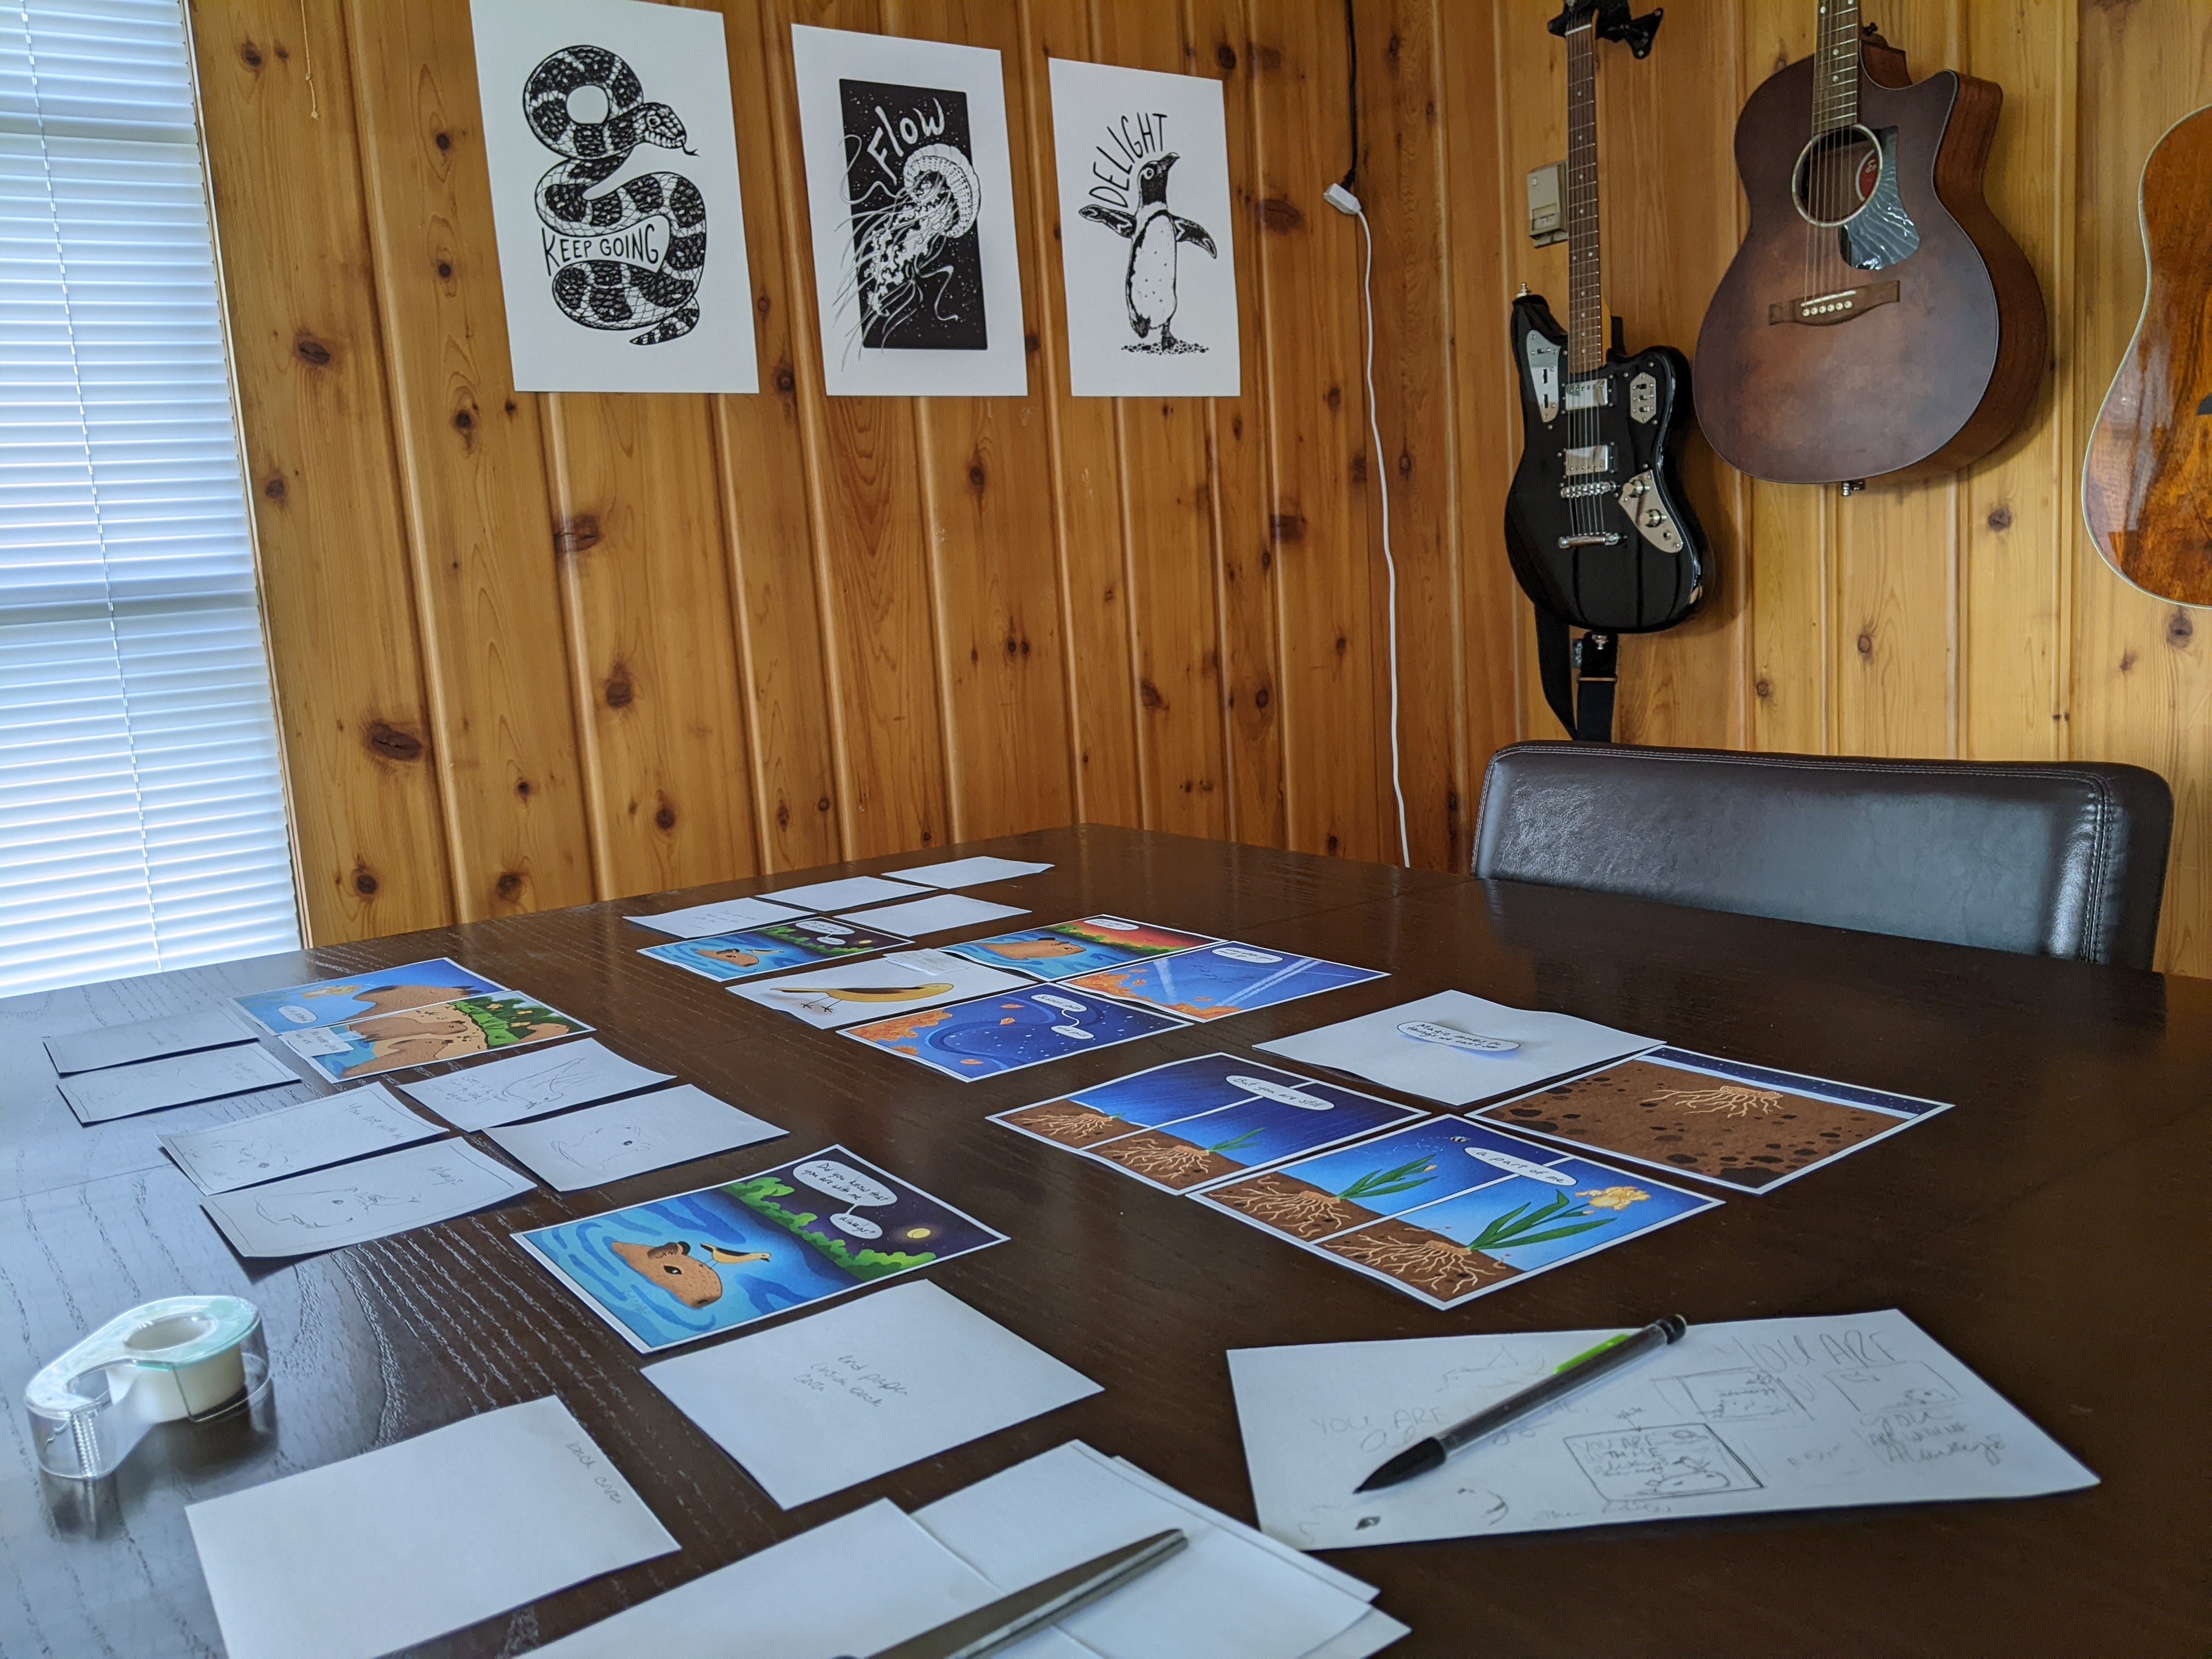
The timing for when I do this step depends, but generally it’s whenever I start to feel stuck! For this particular comic, I was getting hung up on some of the later pages and going back and forth on art decisions and wording details and whether or not I should add an entire new spread in space…?! (It was getting out of hand!) Turns out I just needed to take a step back and see it all printed out on my table! The random space spread is gone, I swapped the order of a couple panels/pages, and I edited the text in a few spots for a much more consistent and satisfying flow.
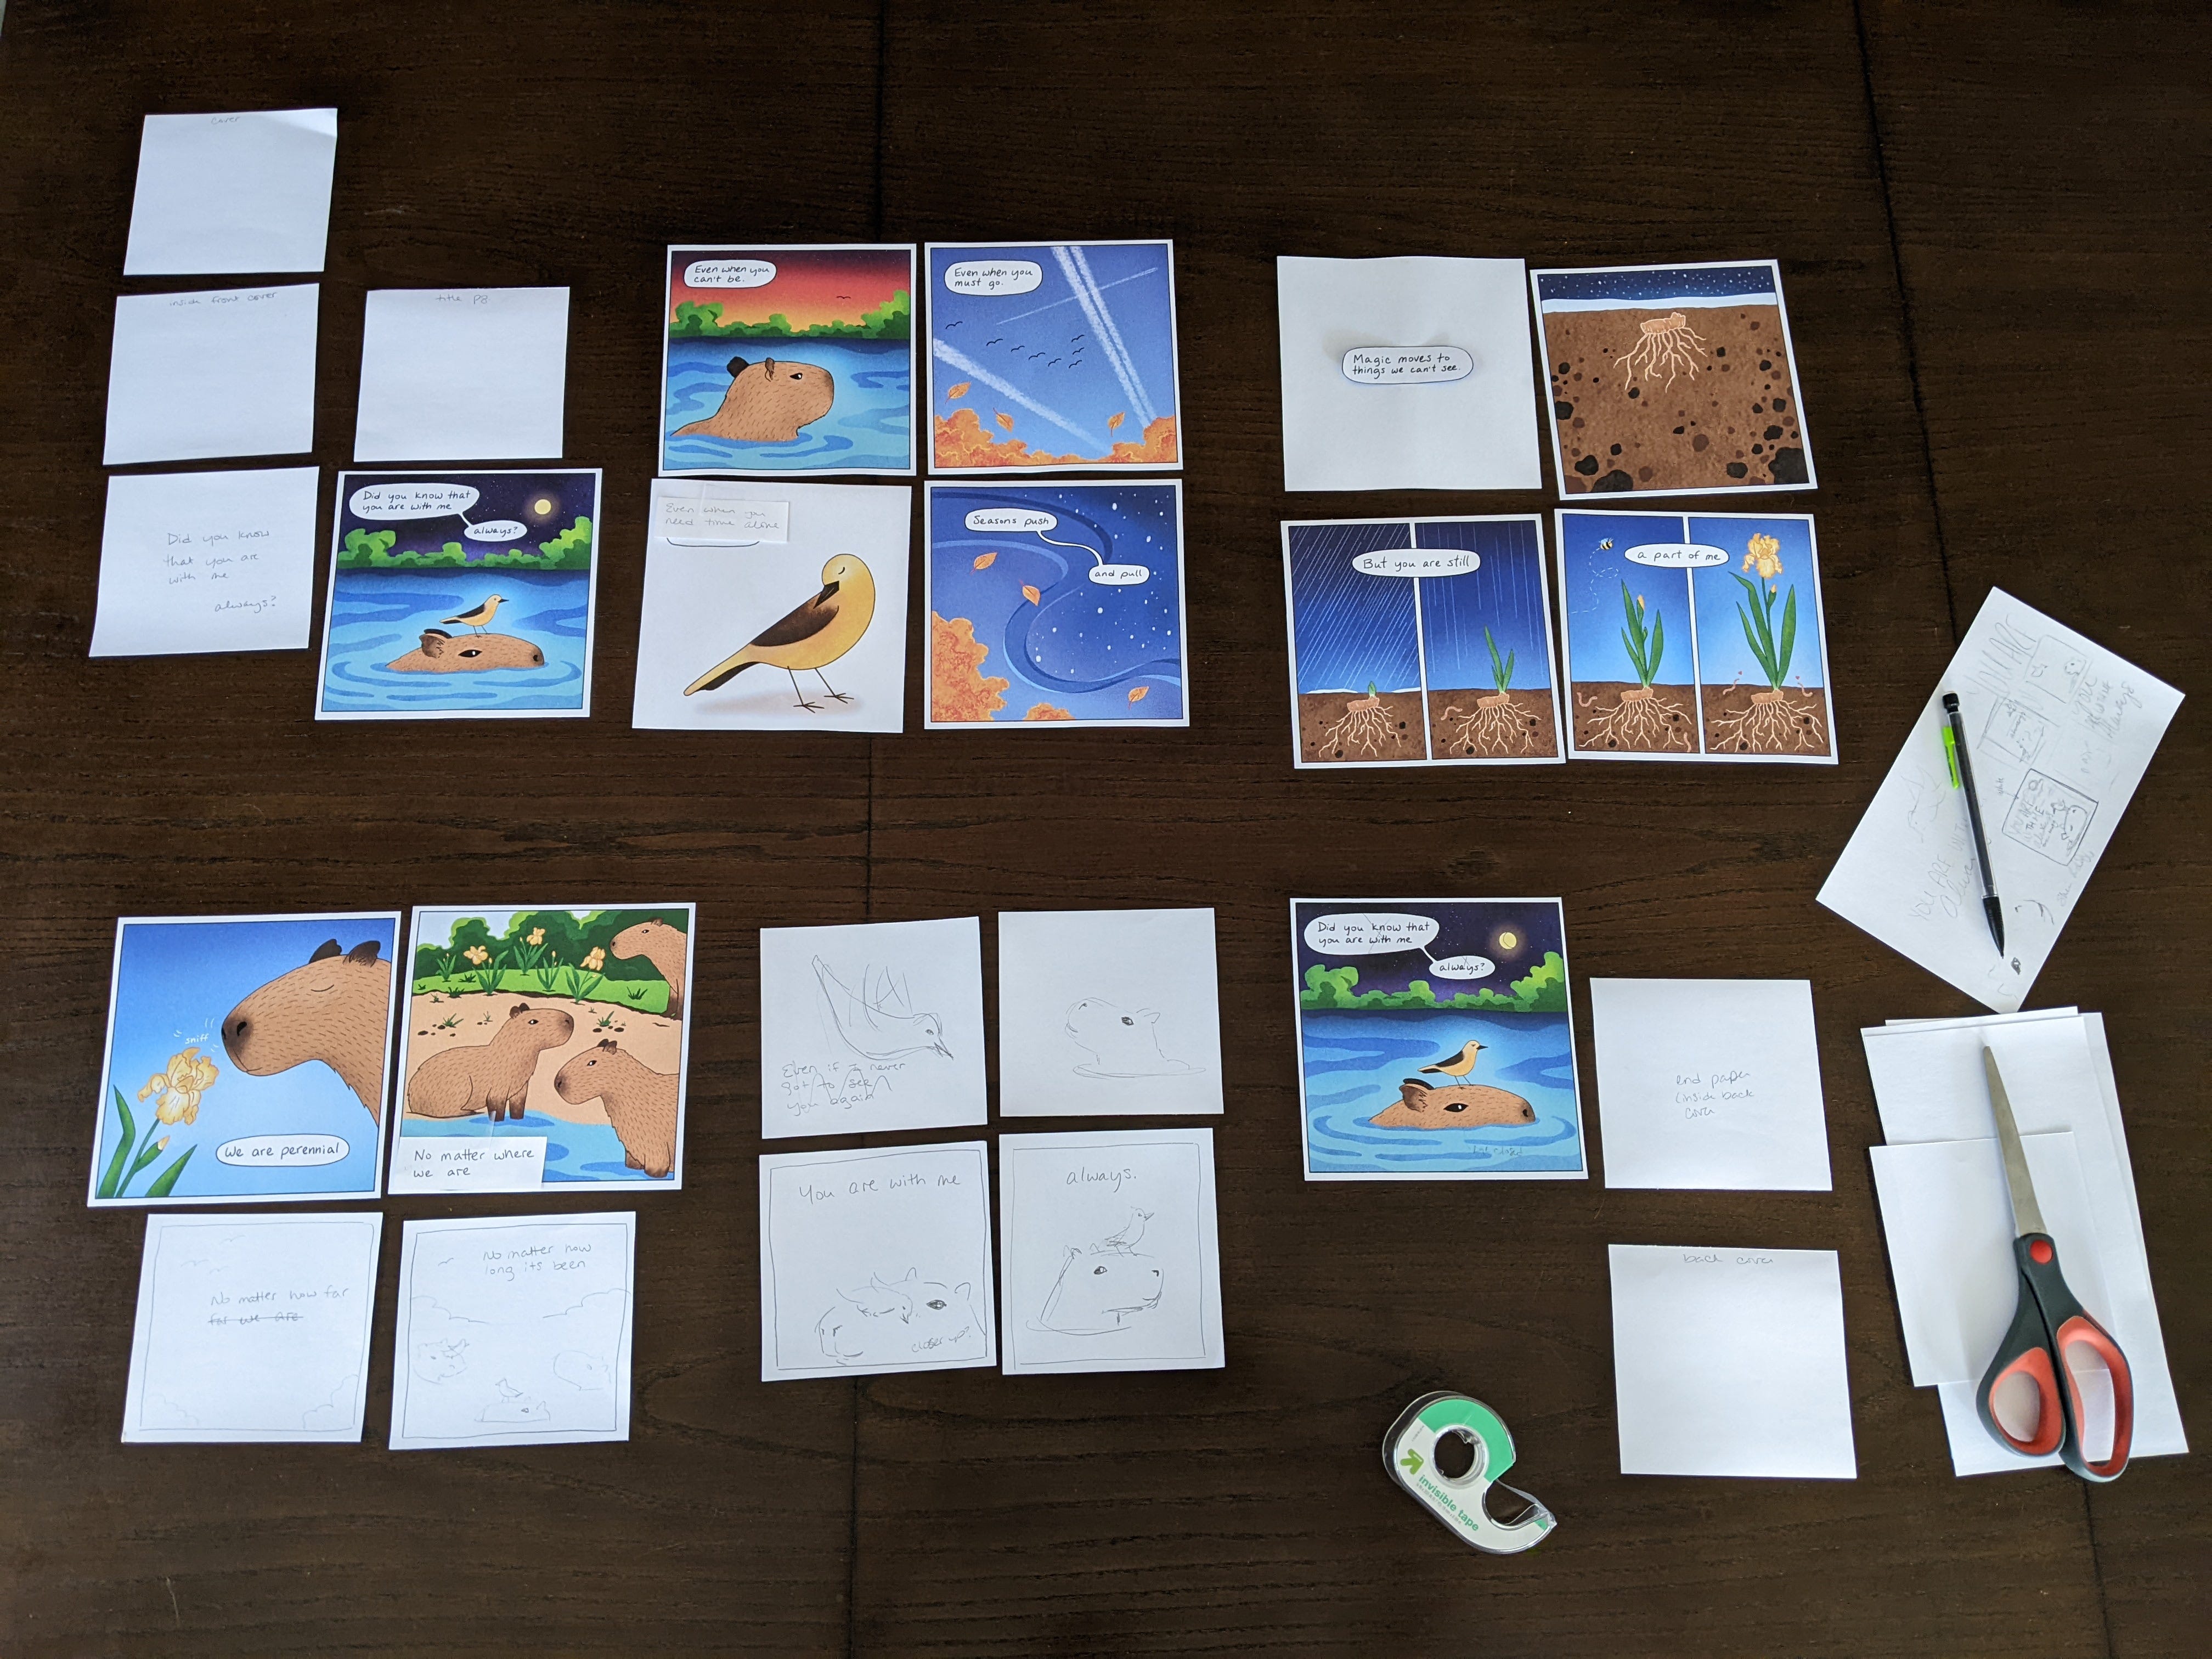
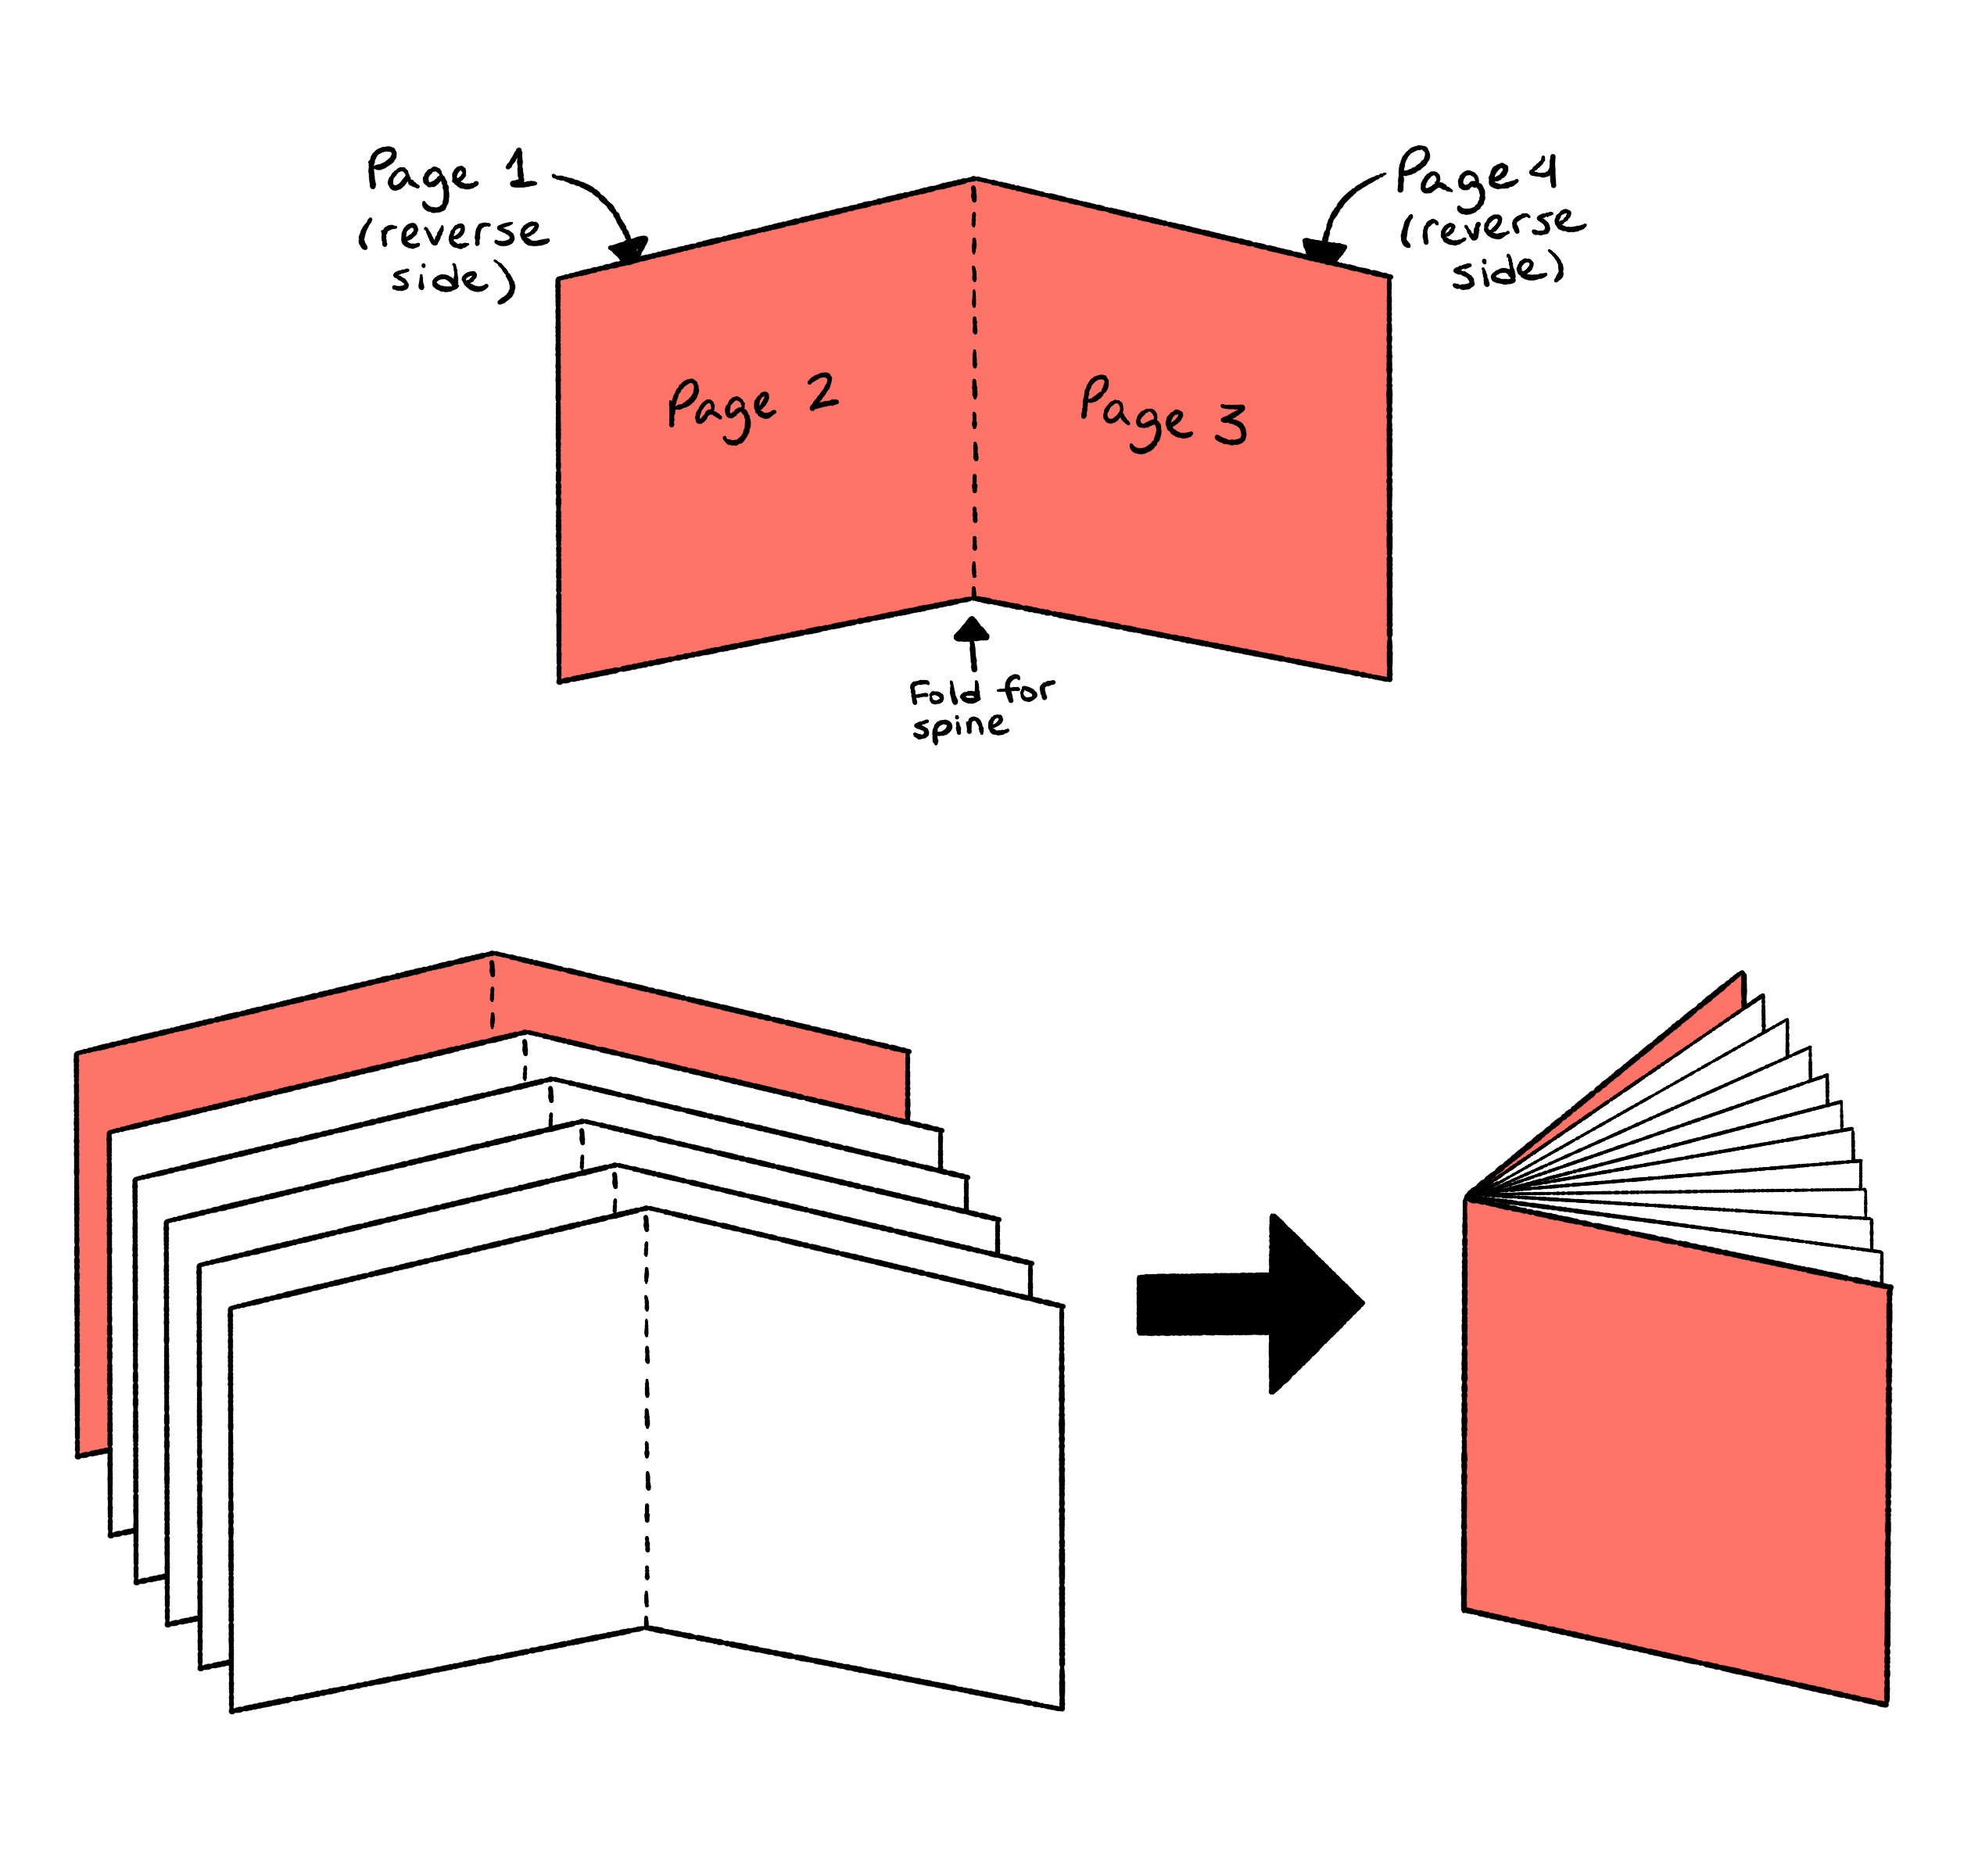
I grouped the pages into sets of four single pages (or two spreads) to help me visualize the correct number of pages for the final project. (The single pages at the start and end are the covers!) When prepping work for print, it’s important to have multiples of four pages because each sheet of paper folds in half to create four sides (each side is a page!). This a perfect segue into step 2!
Step 2: Get Crafty
Now it’s time to fold it into a booklet!
The comic I’m working on will require 20 inside pages plus a cover. The cover adds four more pages when you account for the inside and outside surfaces. This means I need six total pieces of paper to account for 24 total pages. This get’s confusing! So here’s a visualization of what I mean.
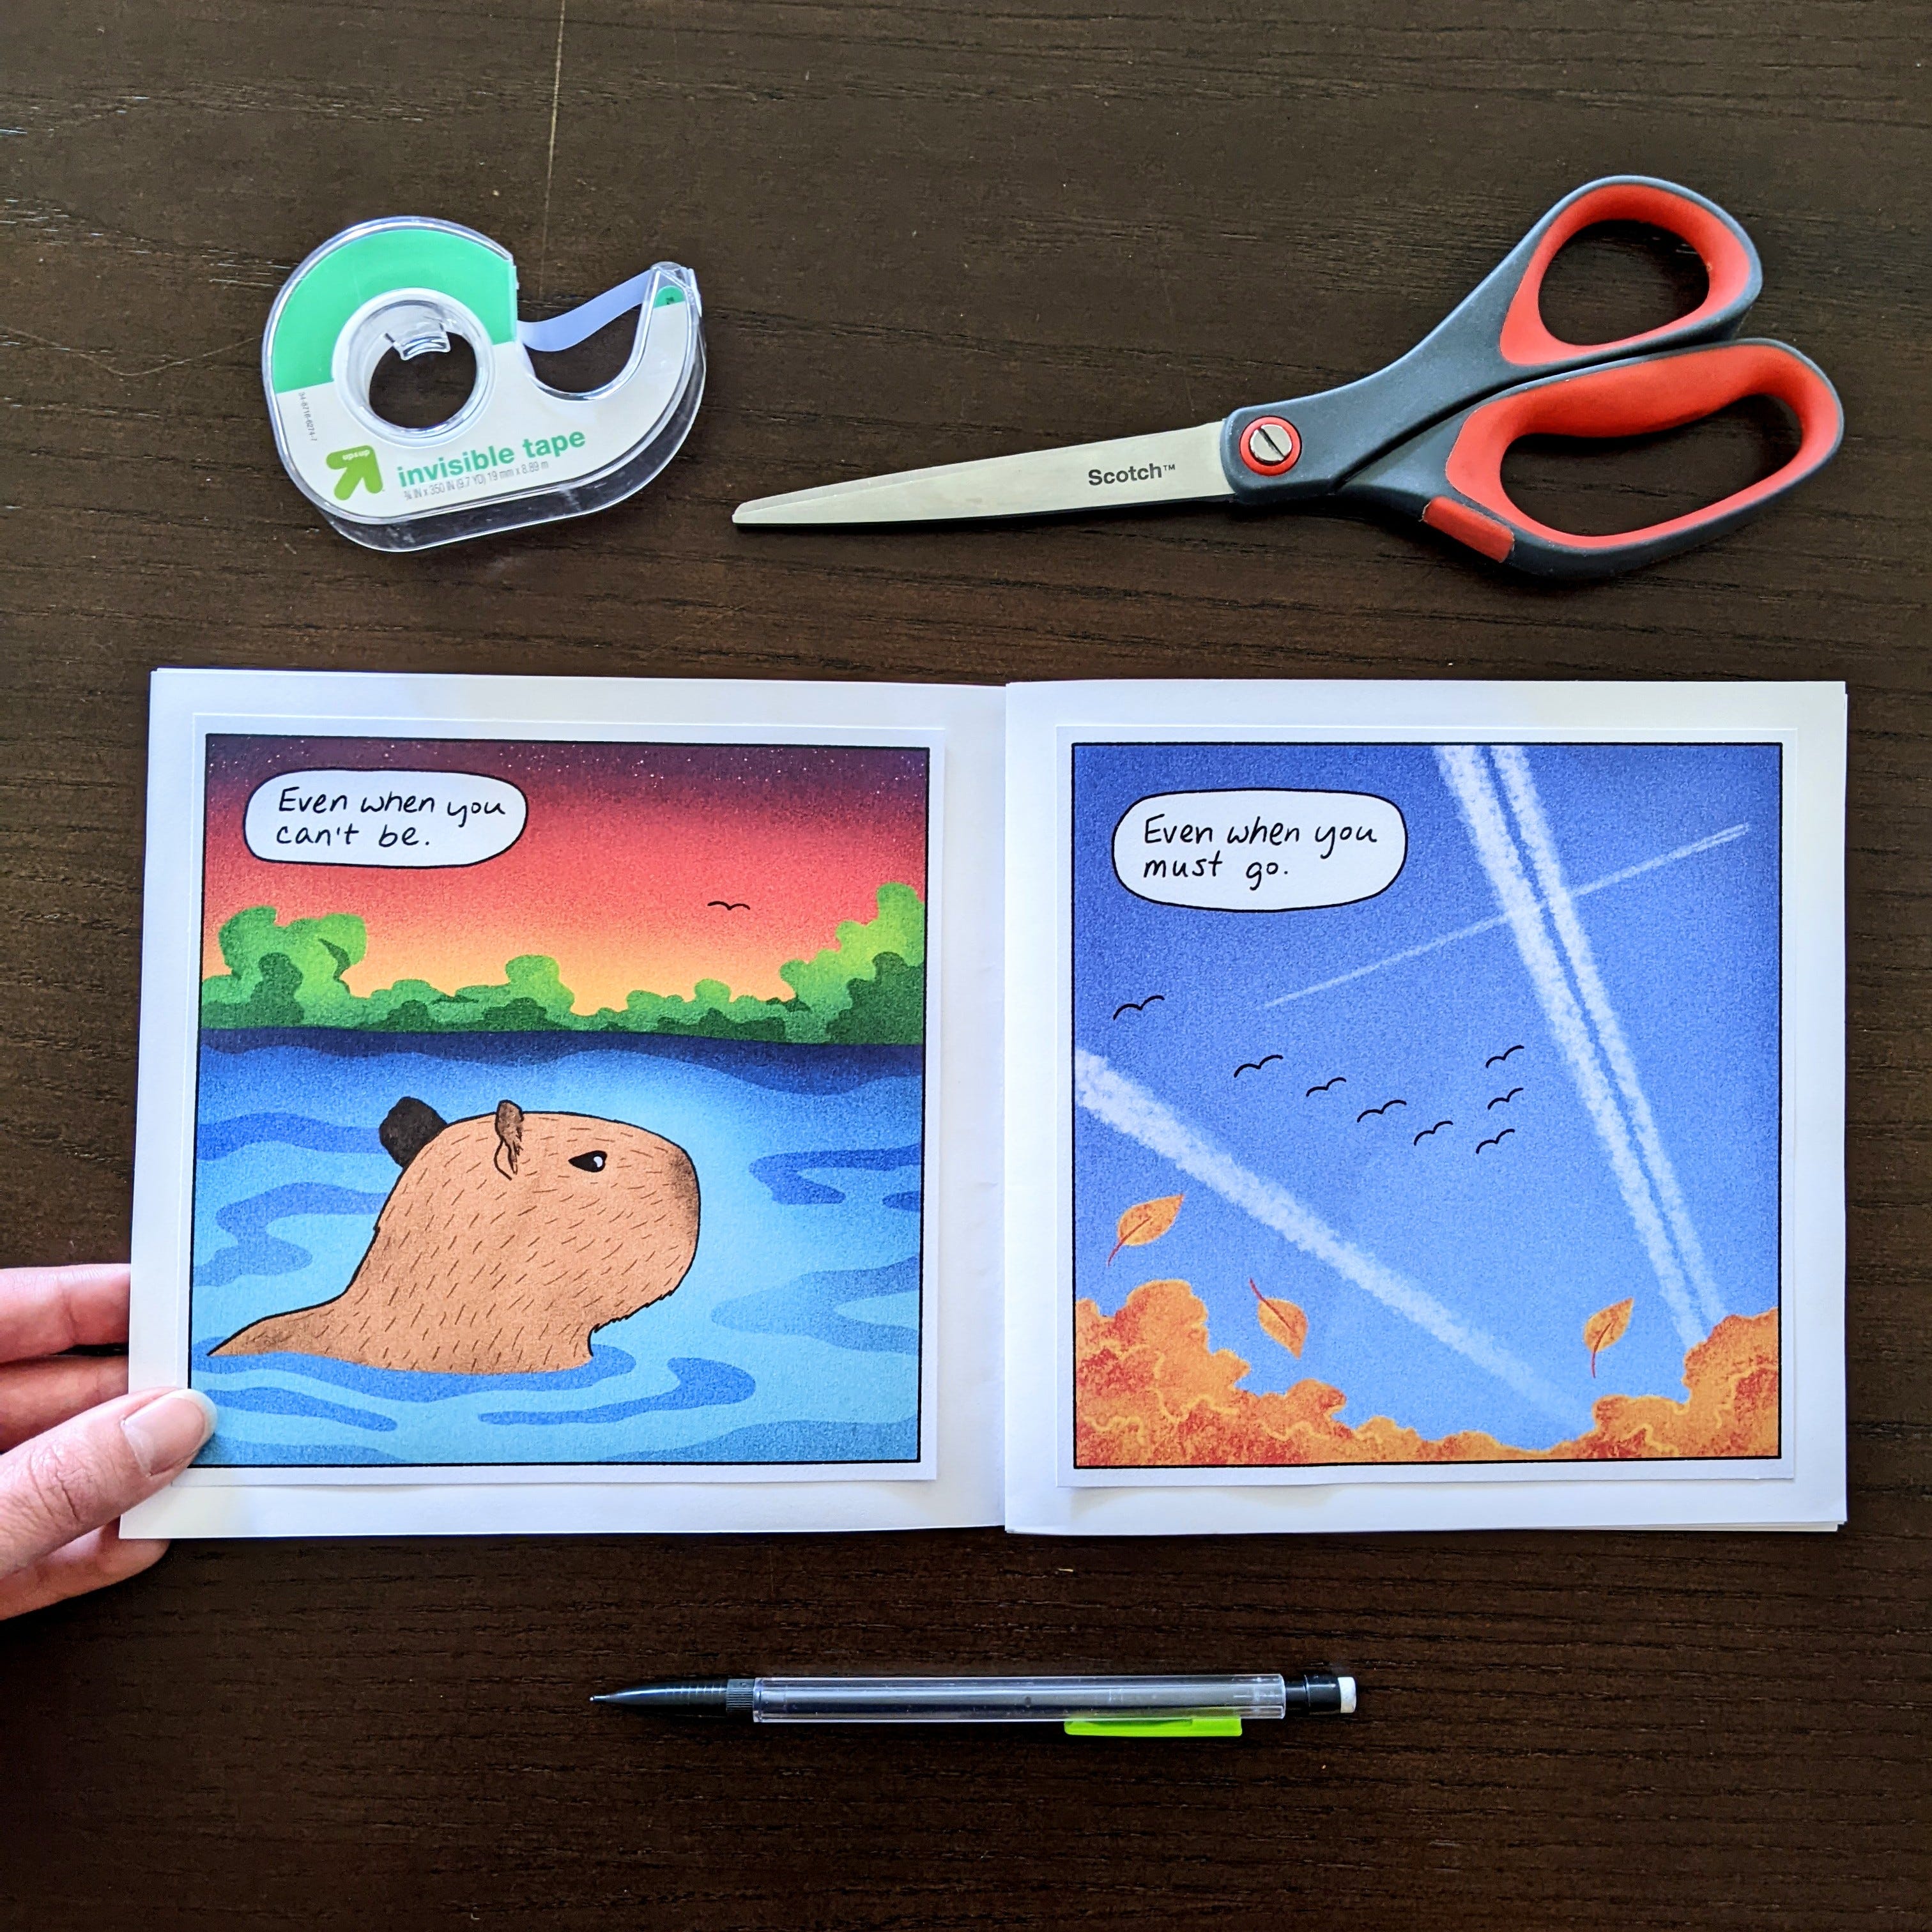
The mockup step isn’t necessary every time you print it out (if you print a few times during the project), but it’s a good way to make sure you are planning on the right number of pages. I also enjoy testing out the page turns and making sure they feel right.
When it comes to illustrated books, the page turn is incredibly important (and fun to think about)! It’s one of my favorite parts of book making because you not only get to guide a reader’s imagination through a world you created, but also physically through the book as an object.
Since I wasn’t 100% sure how many pages I’d need before printing, I printed the pages separately and then taped them into a booklet format. Here’s the rough mockup all scribbly, taped and folded:


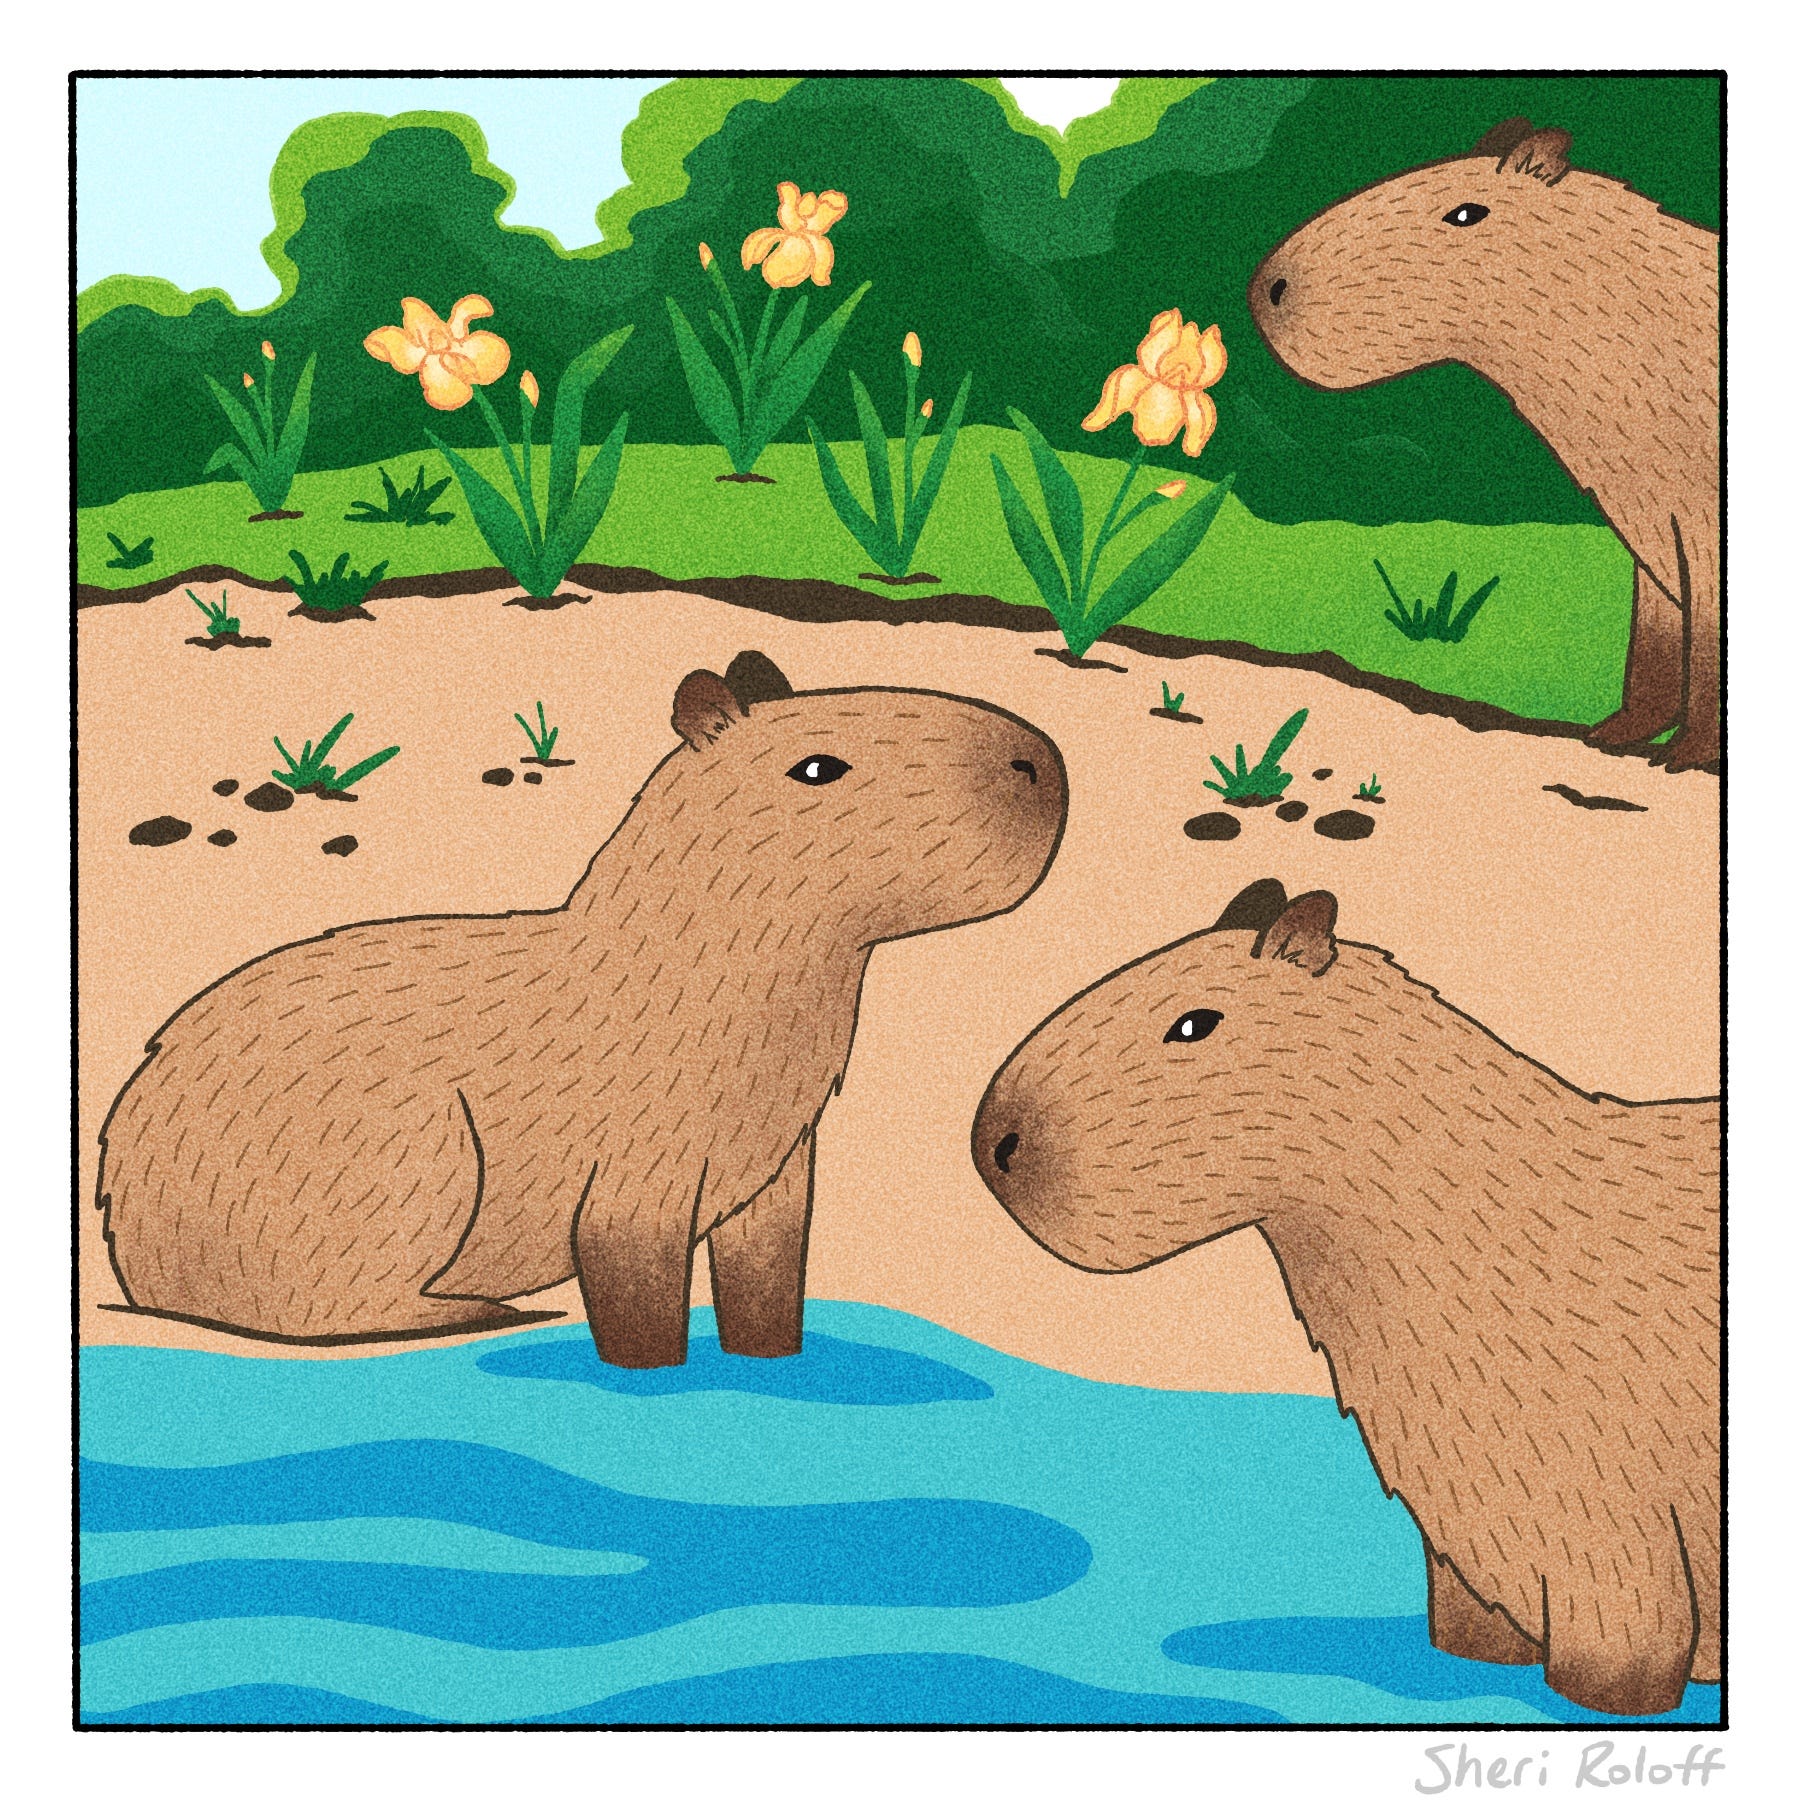
I’m hoping to have a nicer version of the cover to share with you soon! In the meantime, here’s my favorite new panel I’ve illustrated lately:
One last thing. The orchid I wrote about a couple weeks ago is blooming so beautifully! Look at it go!

Every time I look at it I’m amazed it exists, and I’m trying to channel it’s energy into my creativity! In contrast, my husband has taken custody of the spider plant I’m killing and is trying to nurse it back to health… tee hee.
That’s all for now!
If you enjoyed this post and you haven’t already subscribed, please consider doing so! You’ll get exclusive access to finished comics, behind-the-scenes project progress and thoughts on creativity delivered right to your inbox.
I love making mockups! I finished pages for my new zine, and I printed a test copy today. I like seeing how everything looks on paper for the same reason you said—sometimes you don’t get the full picture on a screen.