


How to Make a Mini Zine
Some tips on how to turn your ideas into zines and have zine dates with your friends.

One of my creative pals asked me to show her how to make a zine. She didn’t just want to learn how to fold a single sheet of paper into a book shape. She wanted to learn, “How do you take an idea and make it zine shaped?”
I was obviously delighted by this! Turning ideas into mini zines is one of my favorite things to do. It’s also a super fun activity to do with a friend because you can bounce ideas off of each other, chat about random topics, listen to great music, and sip some delicious gin. (The gin is optional, but I highly recommend incorporating some excellent beverages of your choice!)
I think there’s something magical about allowing yourself to be creative in the presence of other humans. Art making is often a solo adventure. You need time with your own thoughts to develop your work and hone your skills. But once you have ideas germinating, working on them in the presence of a friend is a great change of pace. This zine date filled up my creative and emotional energy meter, and I can’t recommend it enough!
Before I dive into the process, I want to note that there are many ways to make a zine and this isn’t the way. It’s just one way. Especially if you’re just getting started, I hope it’s a helpful guide!
Step 1: Identify a topic & fold your paper
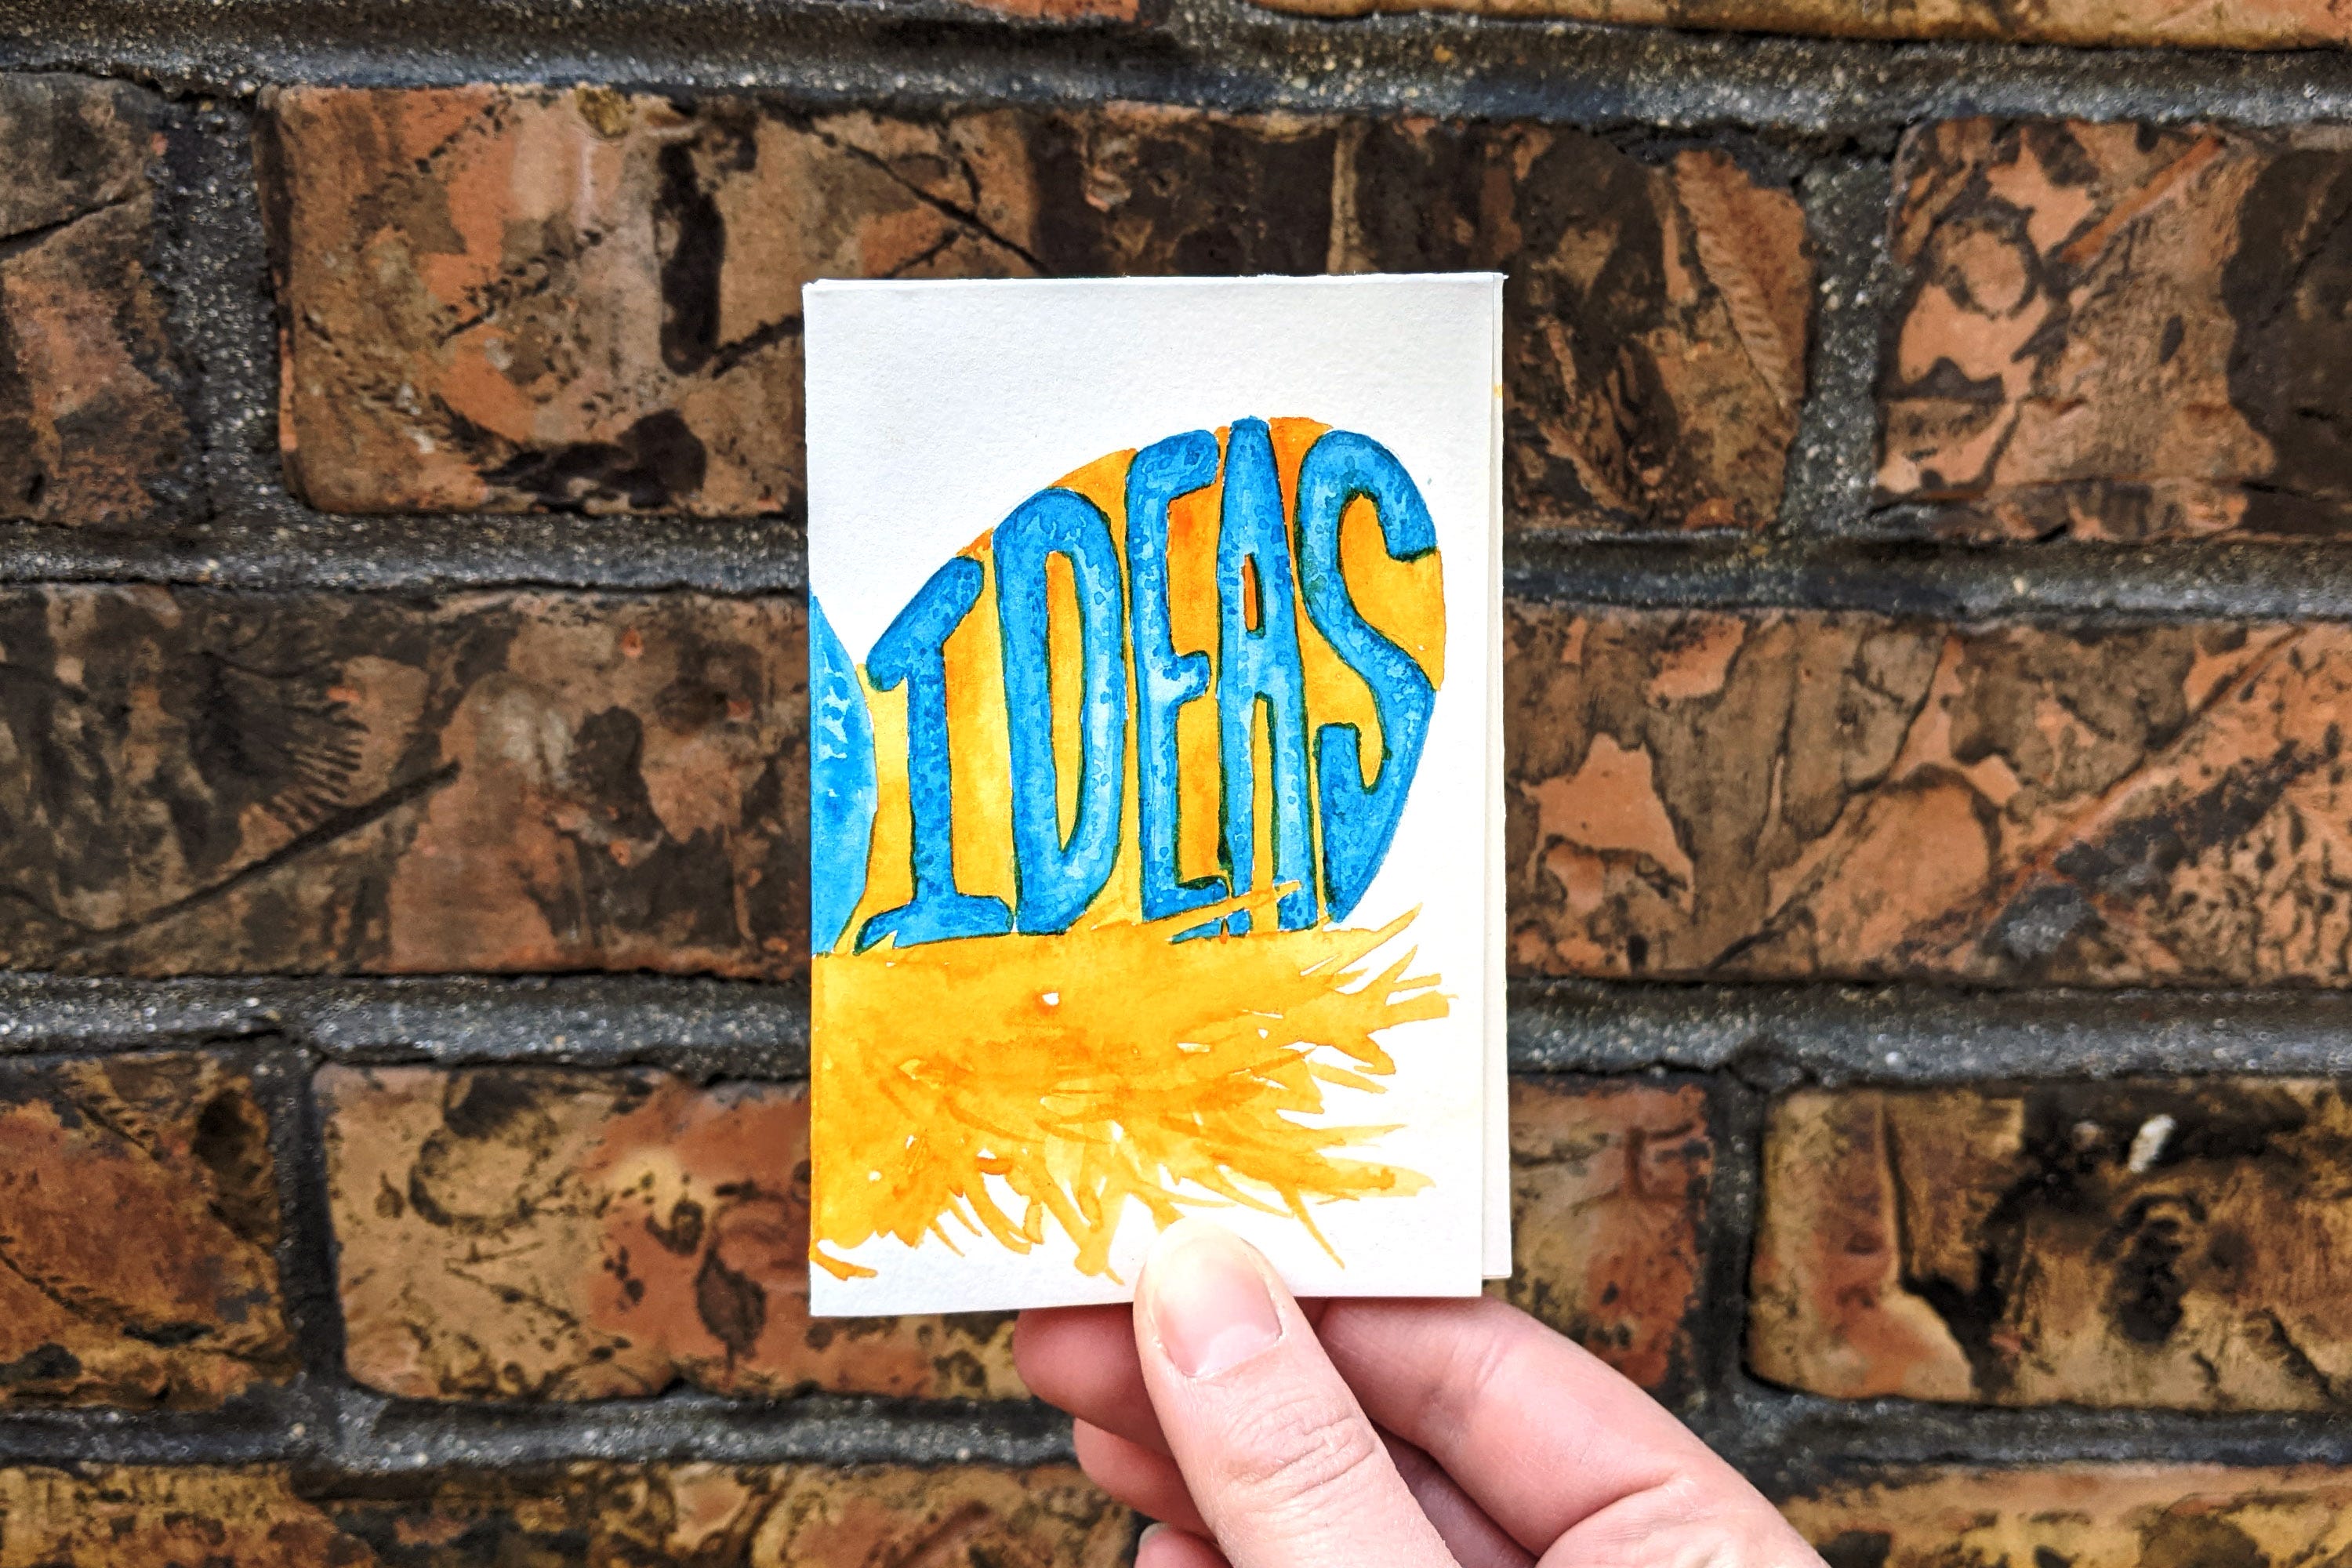
Mini zines are small, so a tiny little nugget of an idea or concept is all you need to begin. On our zine date, my friend Rocky brought a couple ideas to bounce around. One stood out right away: Papercuts. What a perfect topic for the papery goodness of a mini zine! Meanwhile, I got very meta with it and explored the topic of “Ideas.”
I like to fold the paper right away at this stage so I can hold it in my hands and think about the pages while I work through a concept. Here’s how to fold a mini zine:
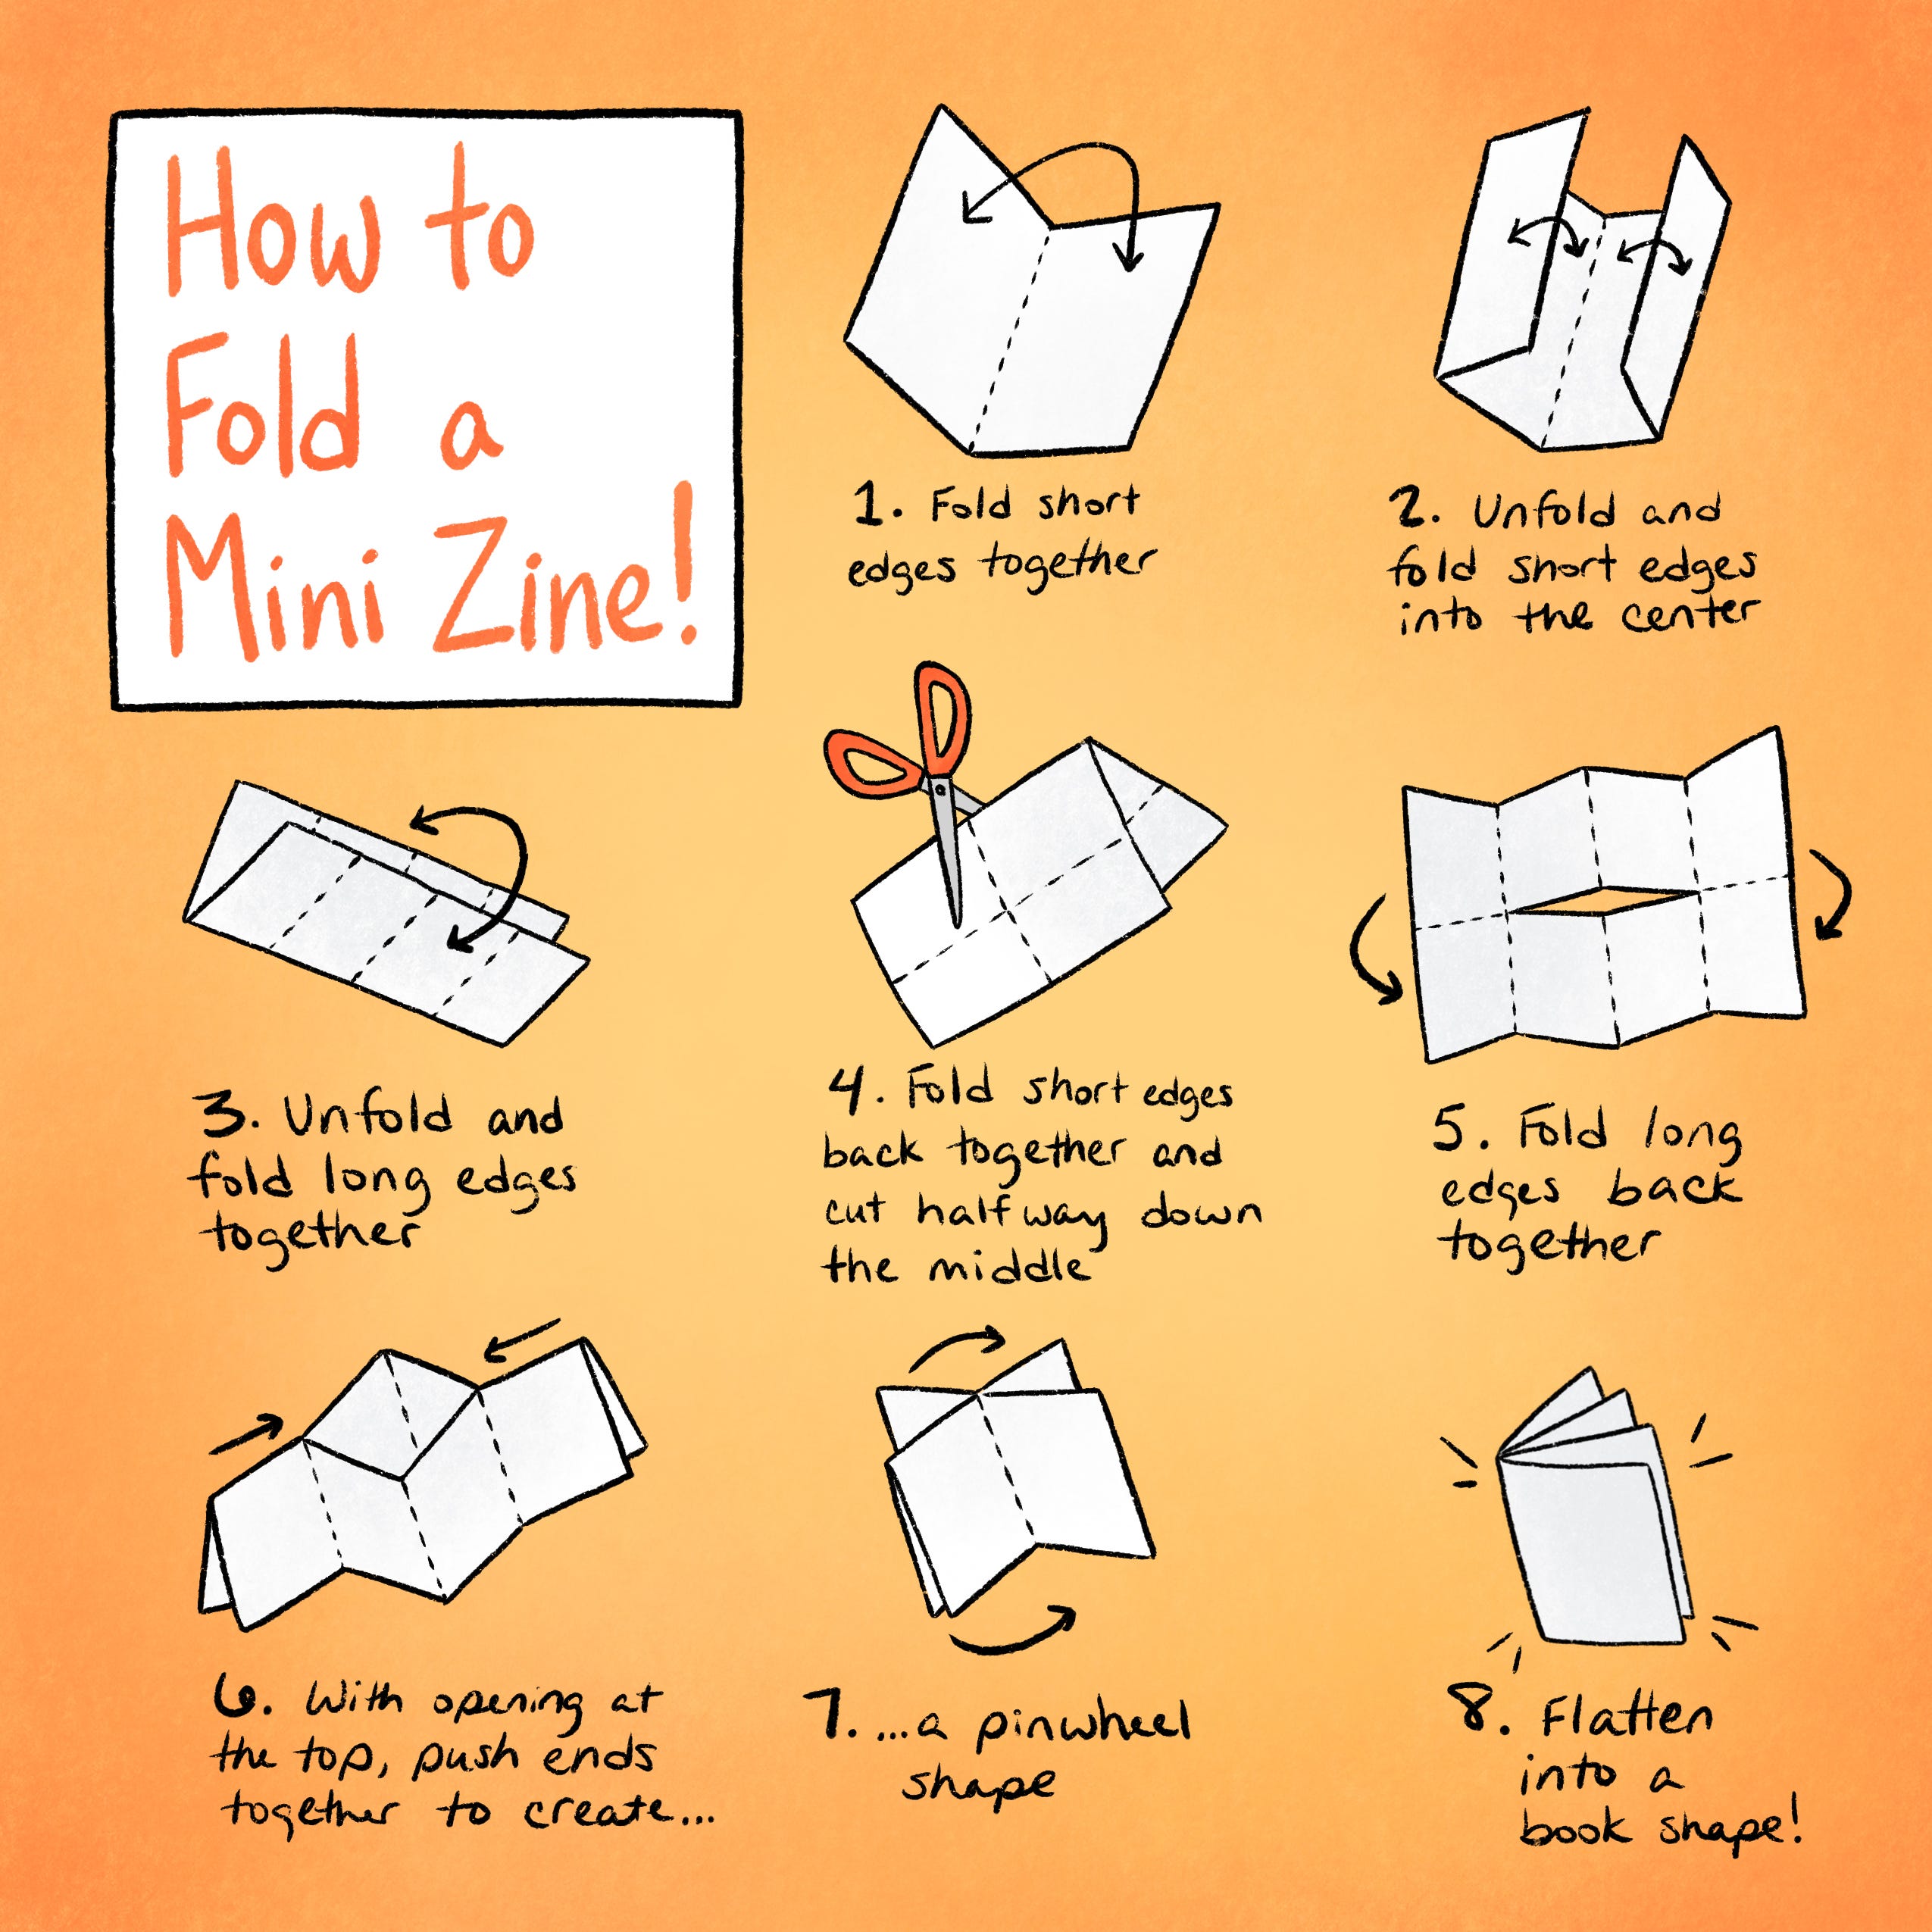
I also made this video, if moving pictures help you learn better than static images!
Step 2: Work out the words
Figuring out the words isn’t always step 2 for me. There are times where I flip the process and create visuals first. This is a fun alternative if you don’t have a specific idea right away and want to organically find your way there! But if you have an idea up front, writing first will help you crystalize your idea and plan out your approach. Here are some quick tips:
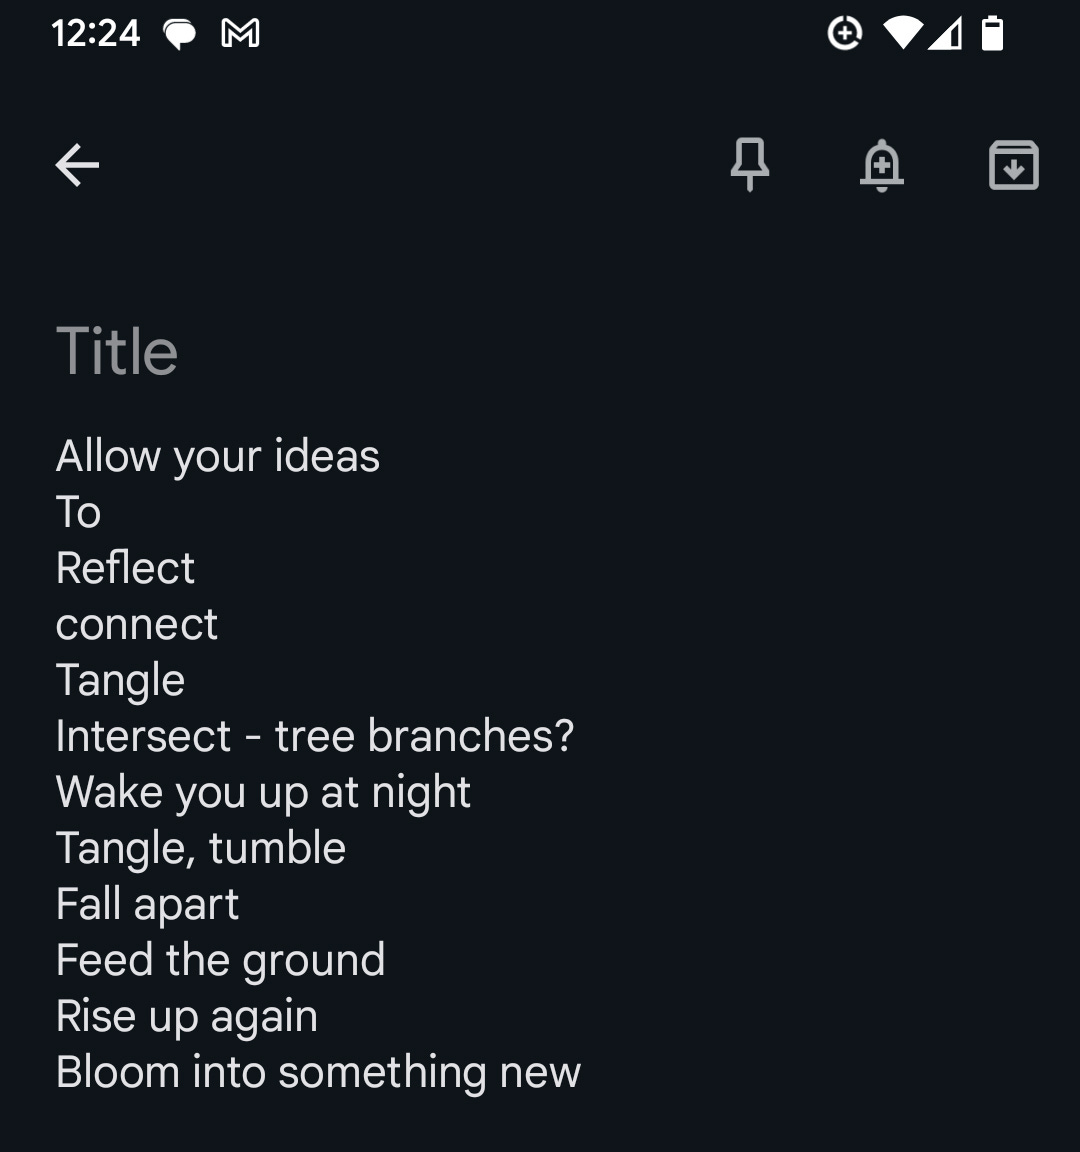
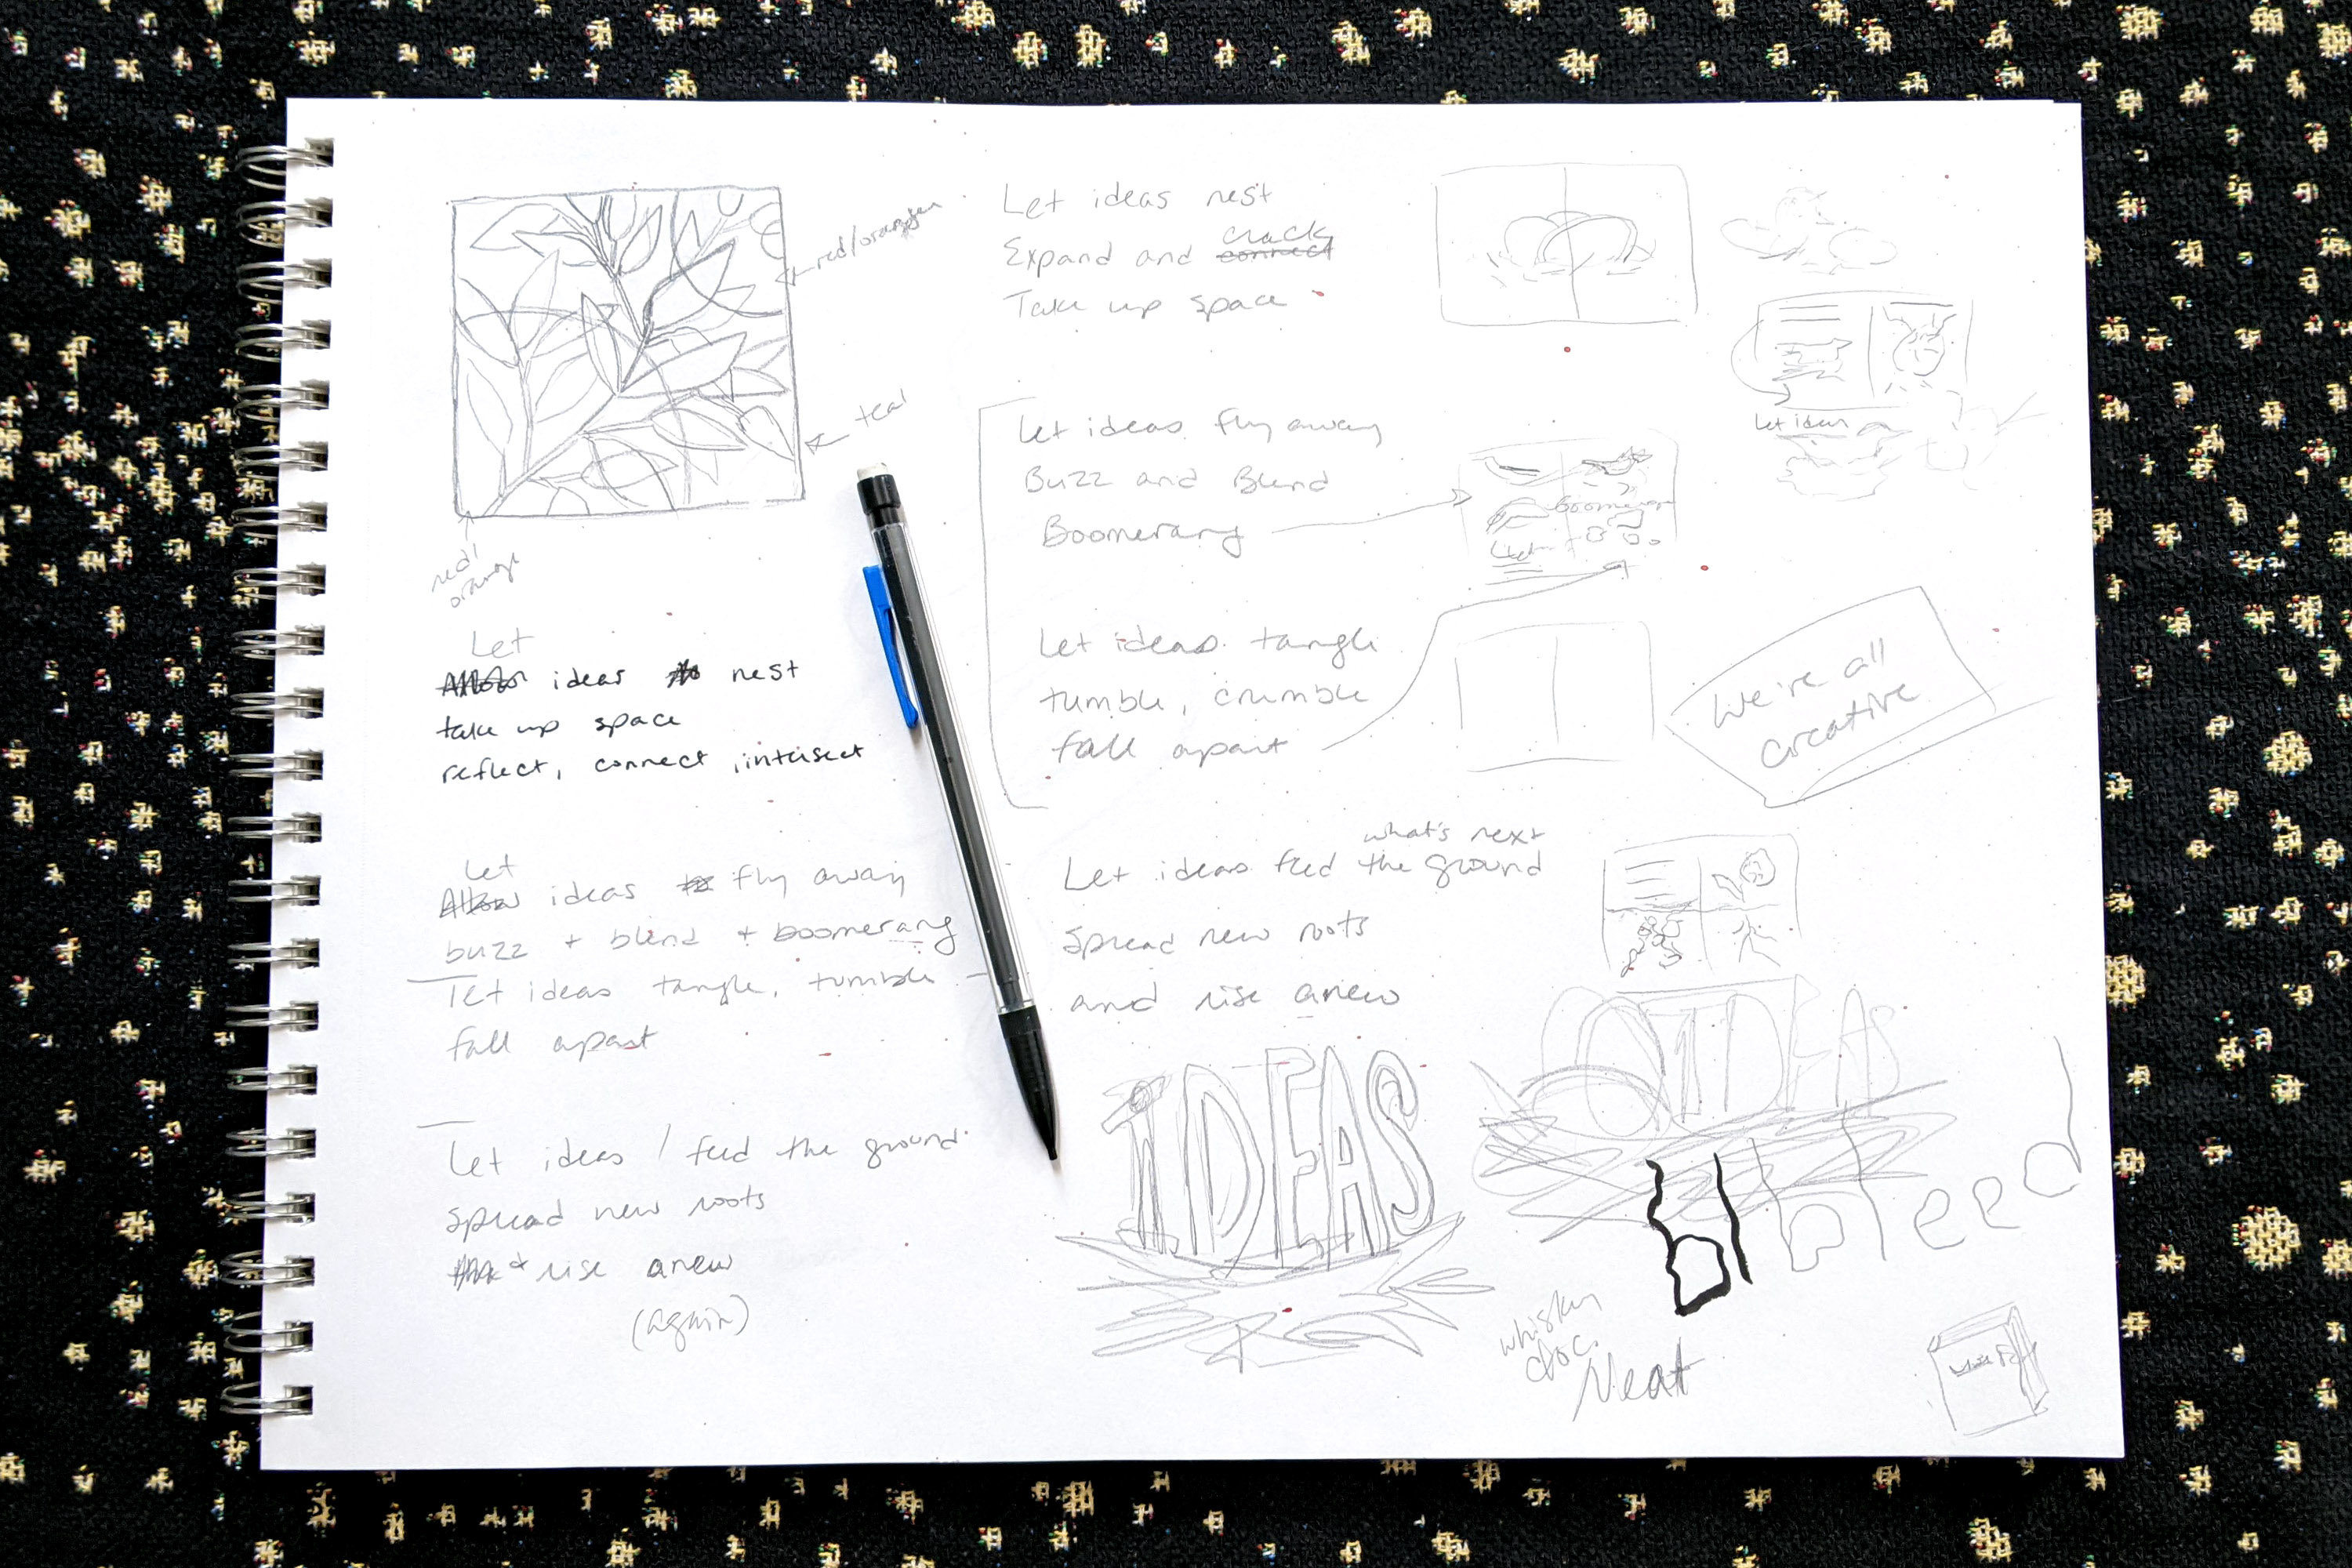
Write your rough draft quickly. Don’t worry about finessing right away! I’ll often capture little ideas in my phone notes app for consideration later. Here’s what “Ideas” looked like as a rough draft:
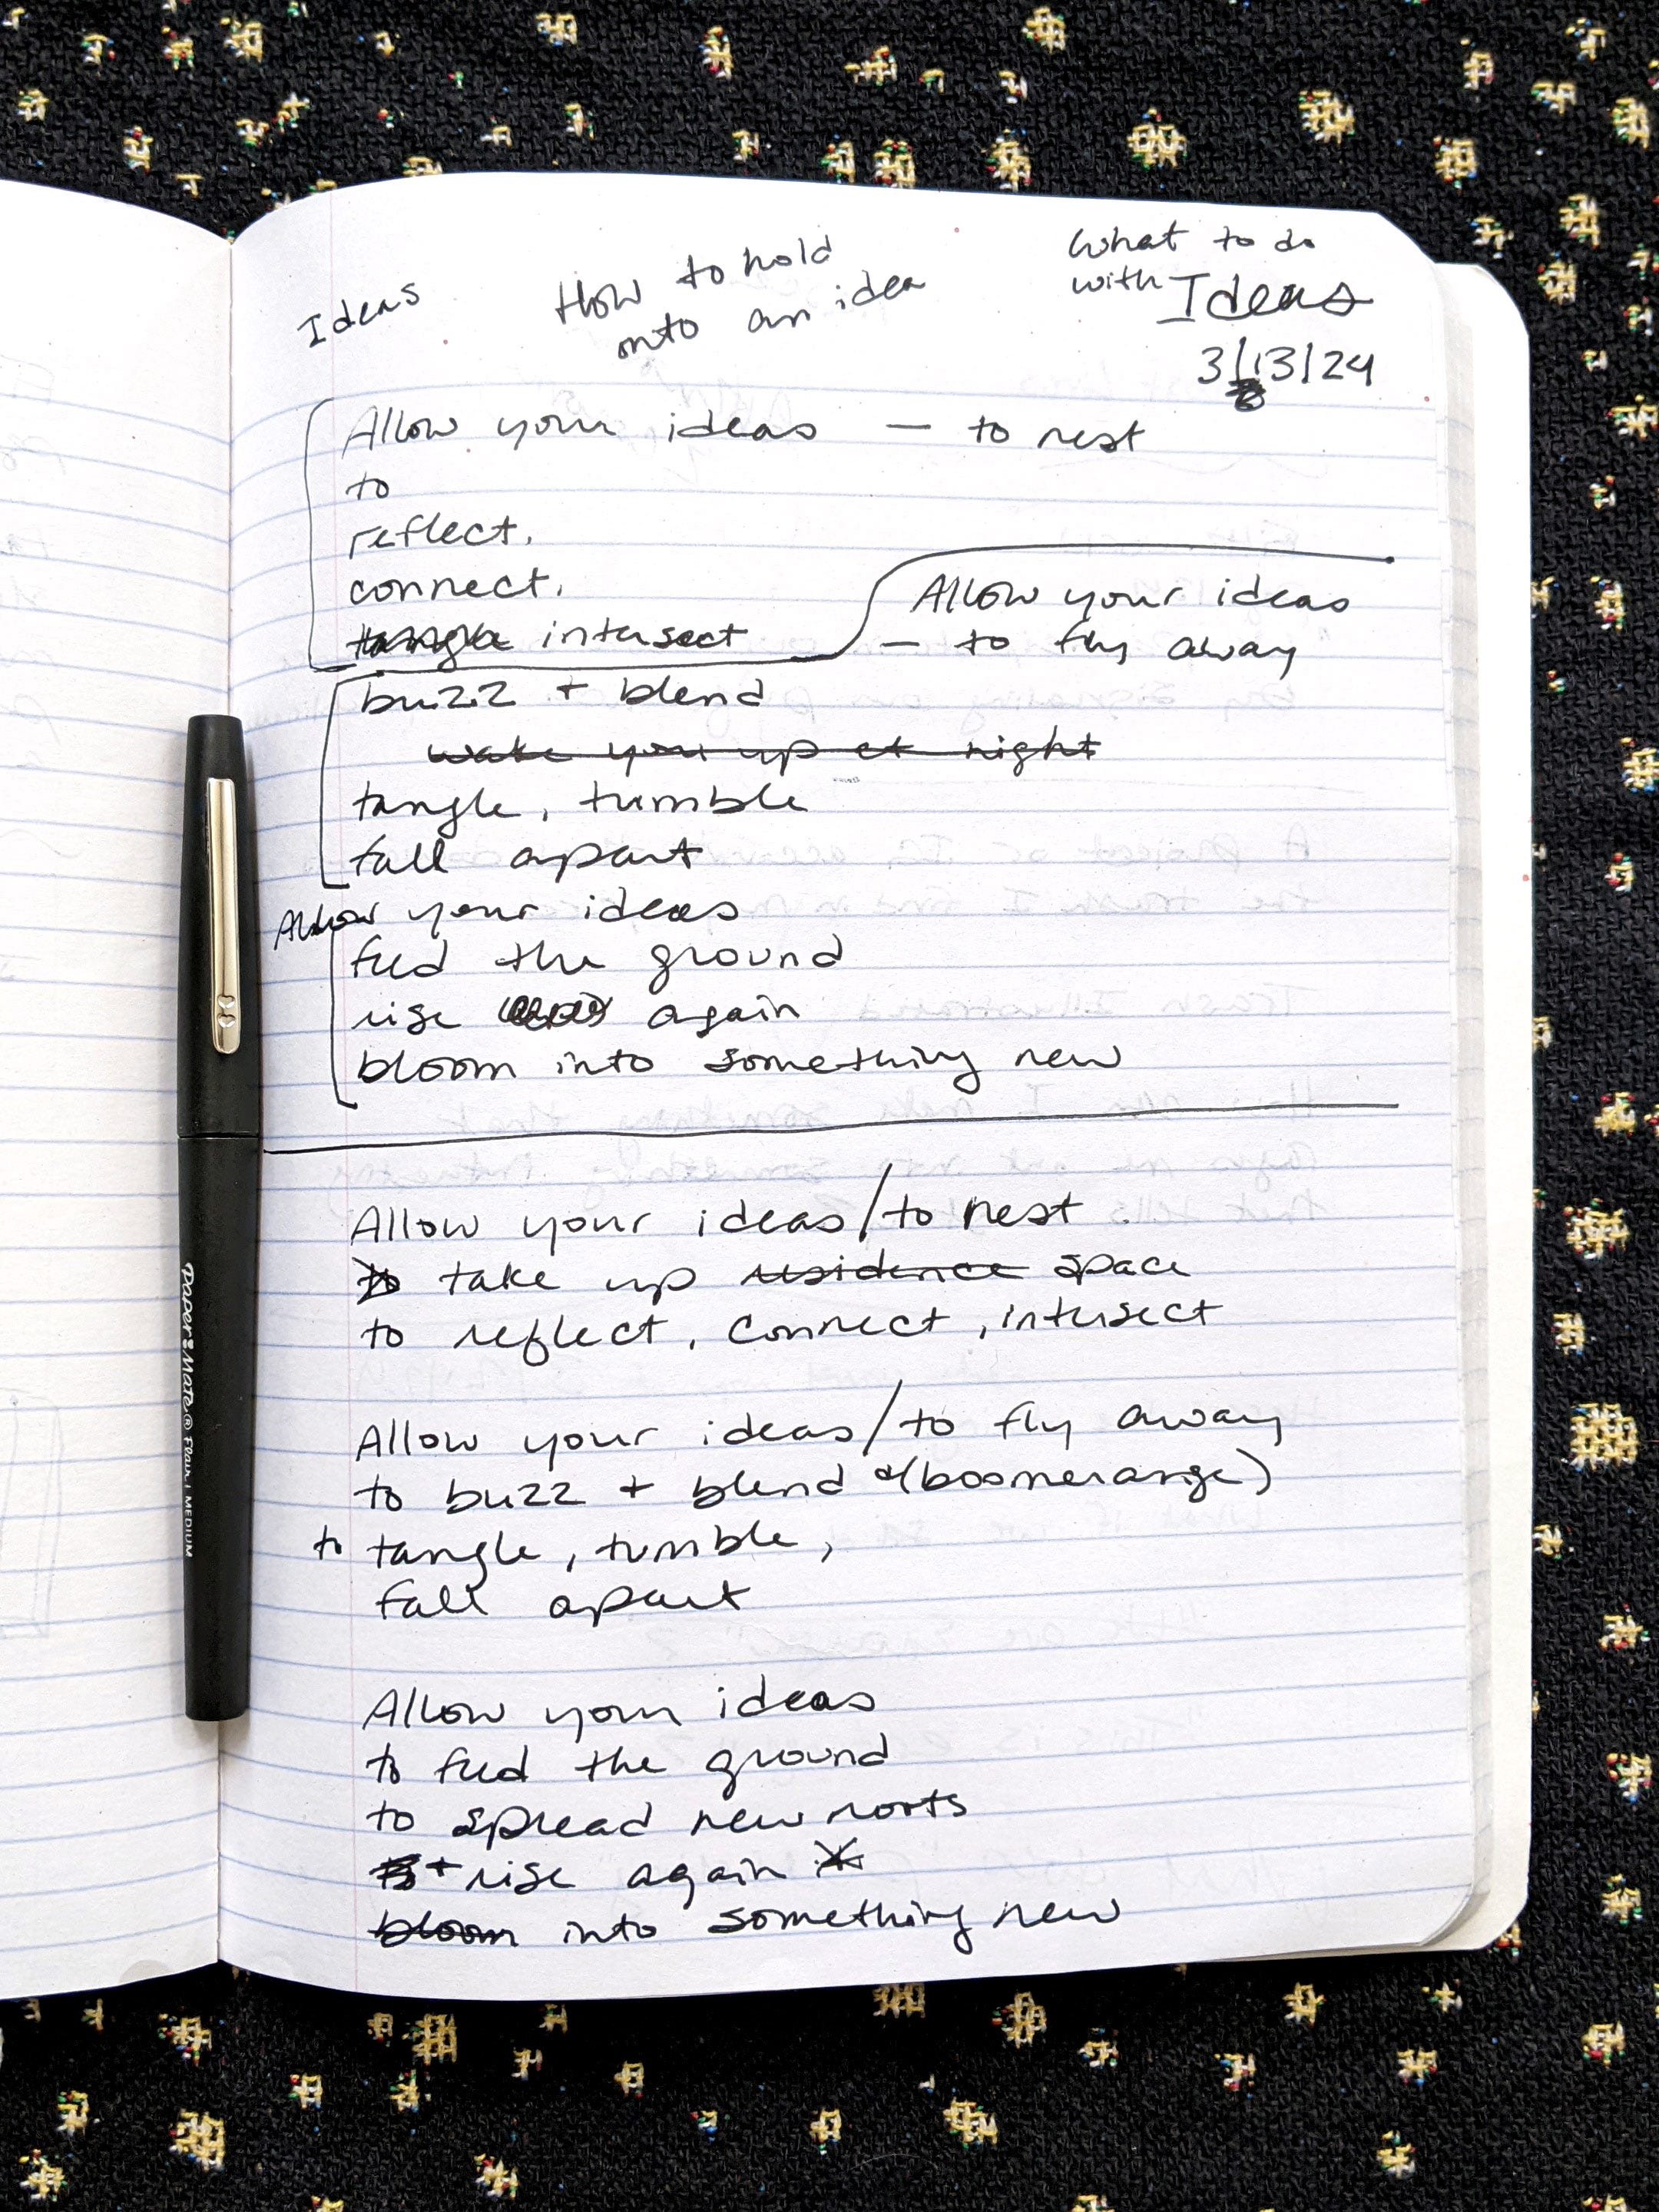
Write (or rewrite) on a real piece of paper vs. a computer screen or phone. I find writing on real paper slows me down and helps me clarify what I’m trying to say. After some quality paper time, I occasionally type up the words just to make sure I spell everything correctly!
Step 3: Divide up your text & plan your layout
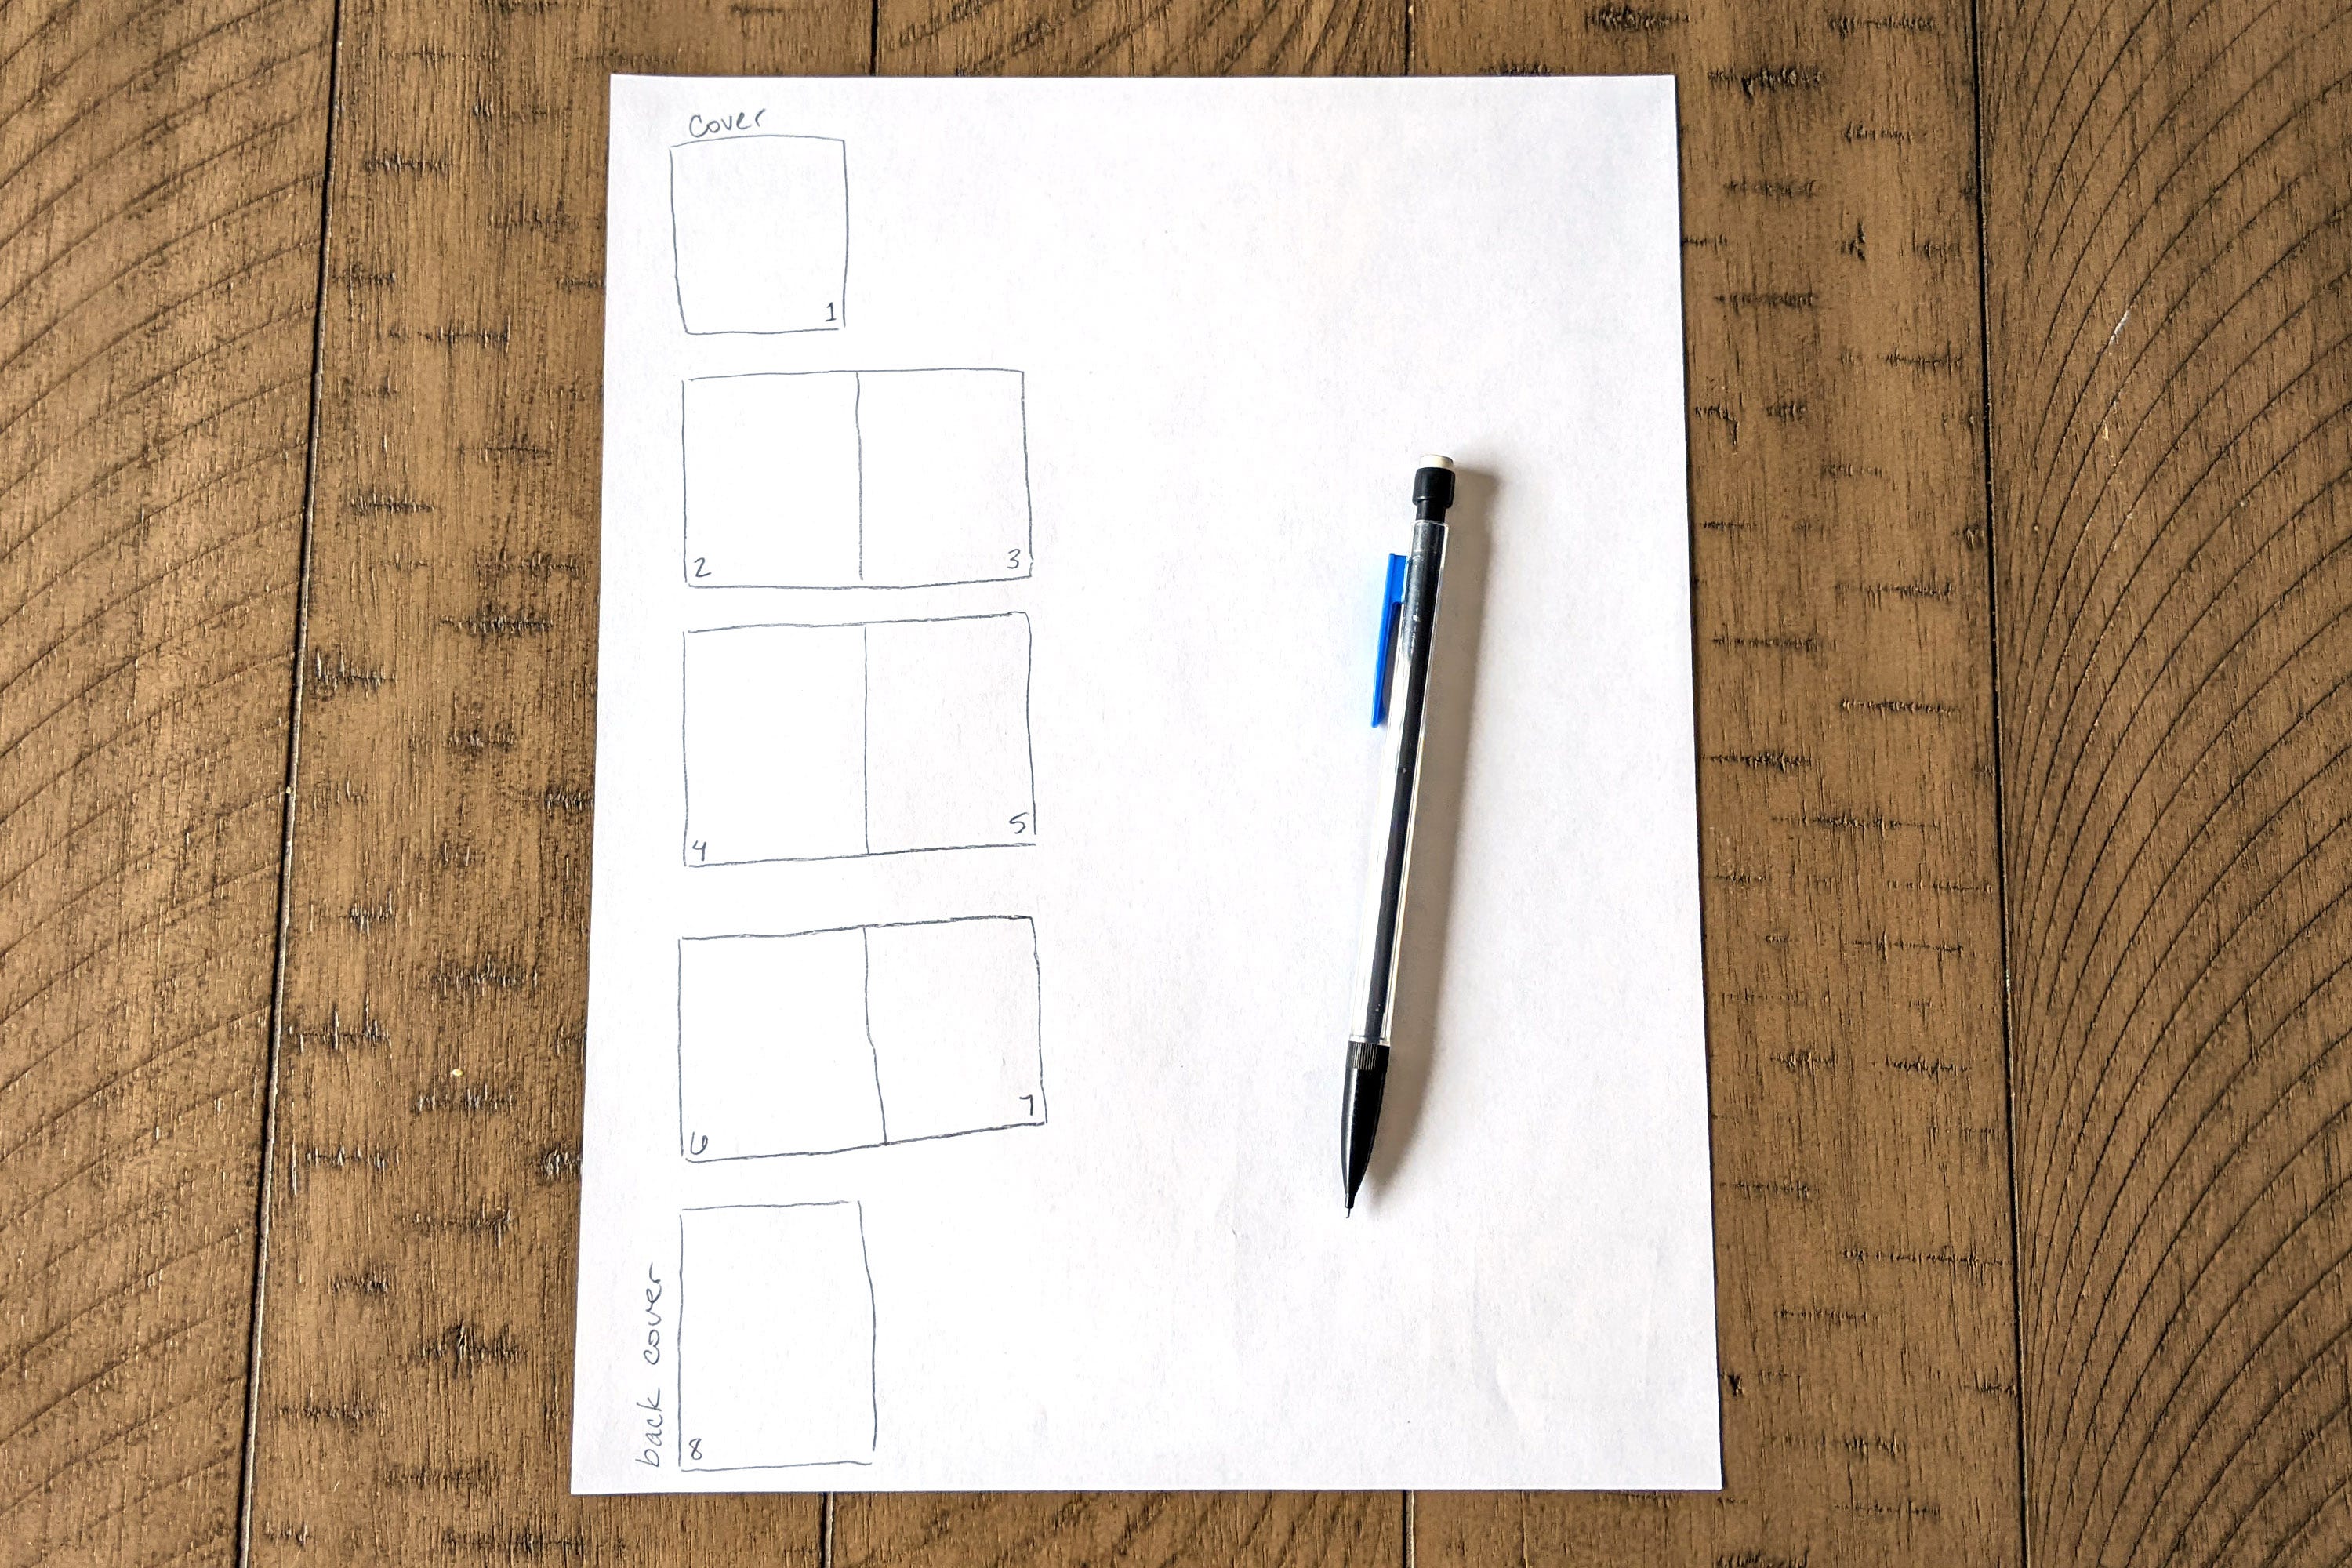
Get a fresh piece of paper—nice and big if you can! Write your words in a way that visually divides them by page. I like to draw boxes for each page of the zine next to the corresponding words (or vice versa—feel free to draw the boxes then write the words). Then I sketch the general layout for that page in the boxes I drew. This is also a good time to edit out unnecessary words. It’s a mini zine; there’s not a lot of space! In a mini zine, you have a cover, three inside spreads (six pages), and a back cover for a total of eight pages.
Here’s a clean version to help you visualize planning:
And here’s the reality of my messy sketchbook page!
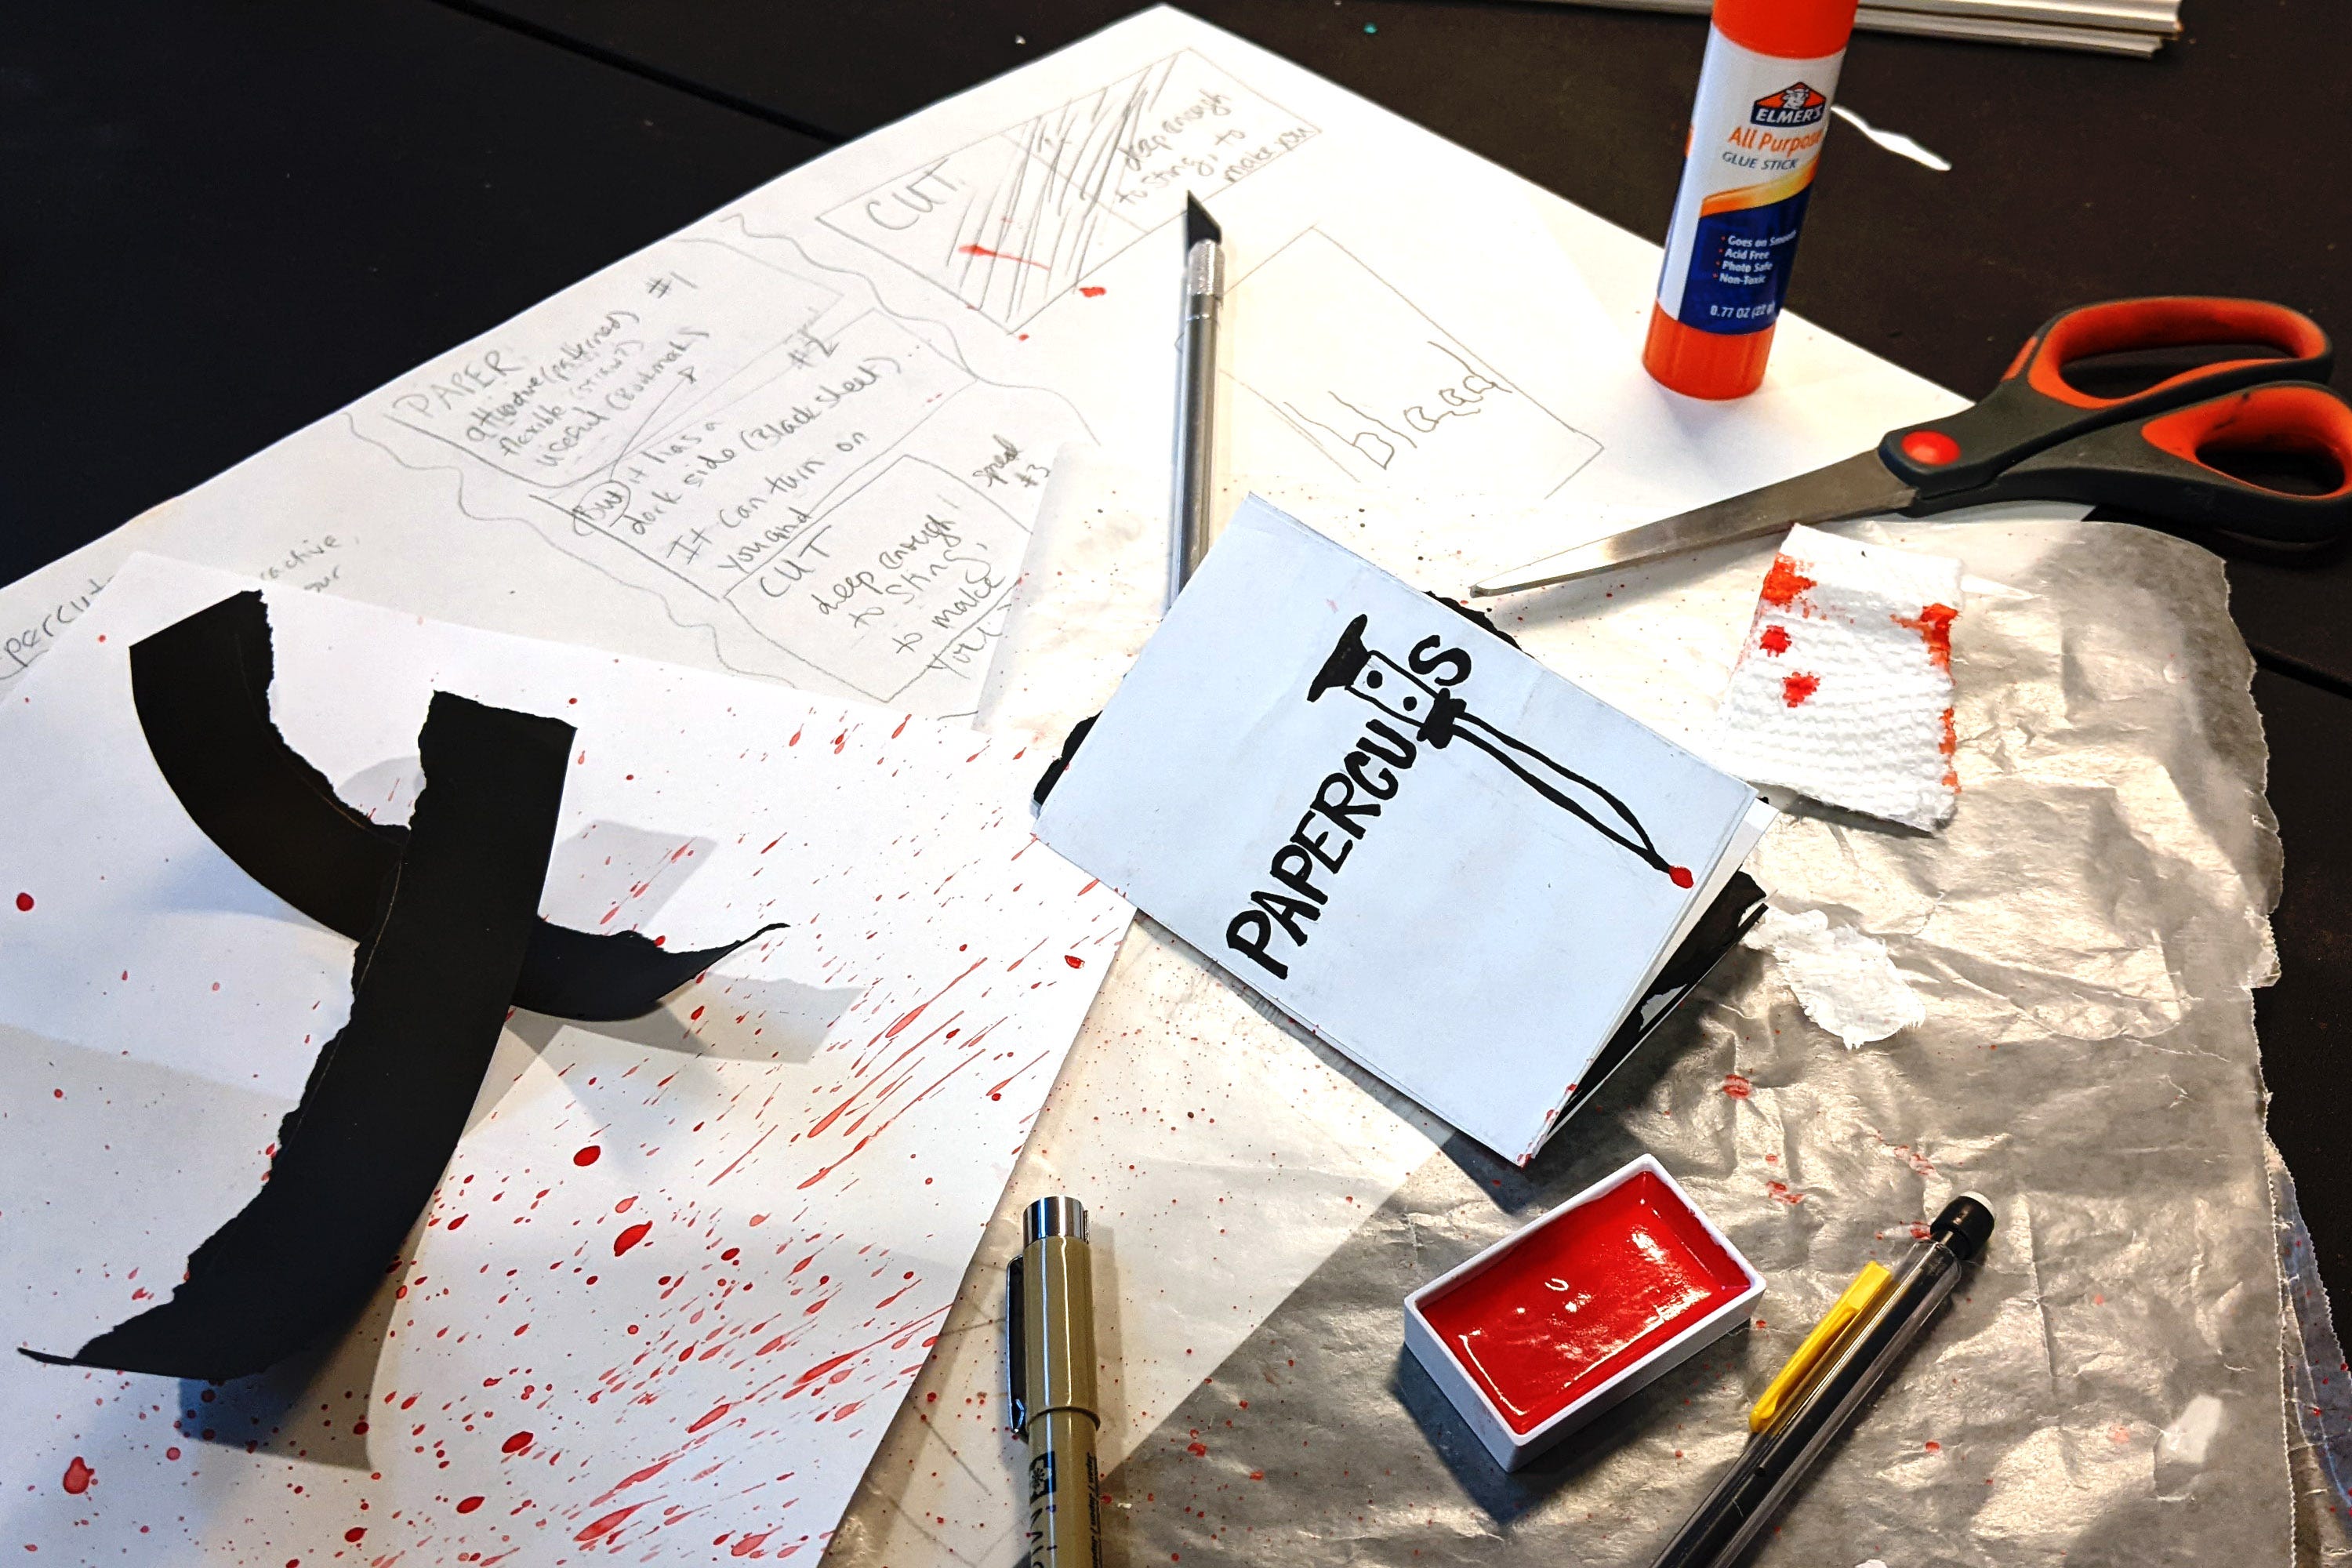
As I was planning out my zine, I was also bouncing around ideas with Rocky for her zine Papercuts—like fun text treatments for bleed!
Step 4: Turn your idea into a zine shape!
Time to execute your plan! Grab your markers or pencils or paints and start putting those words and pictures on your folded zine from step 1.
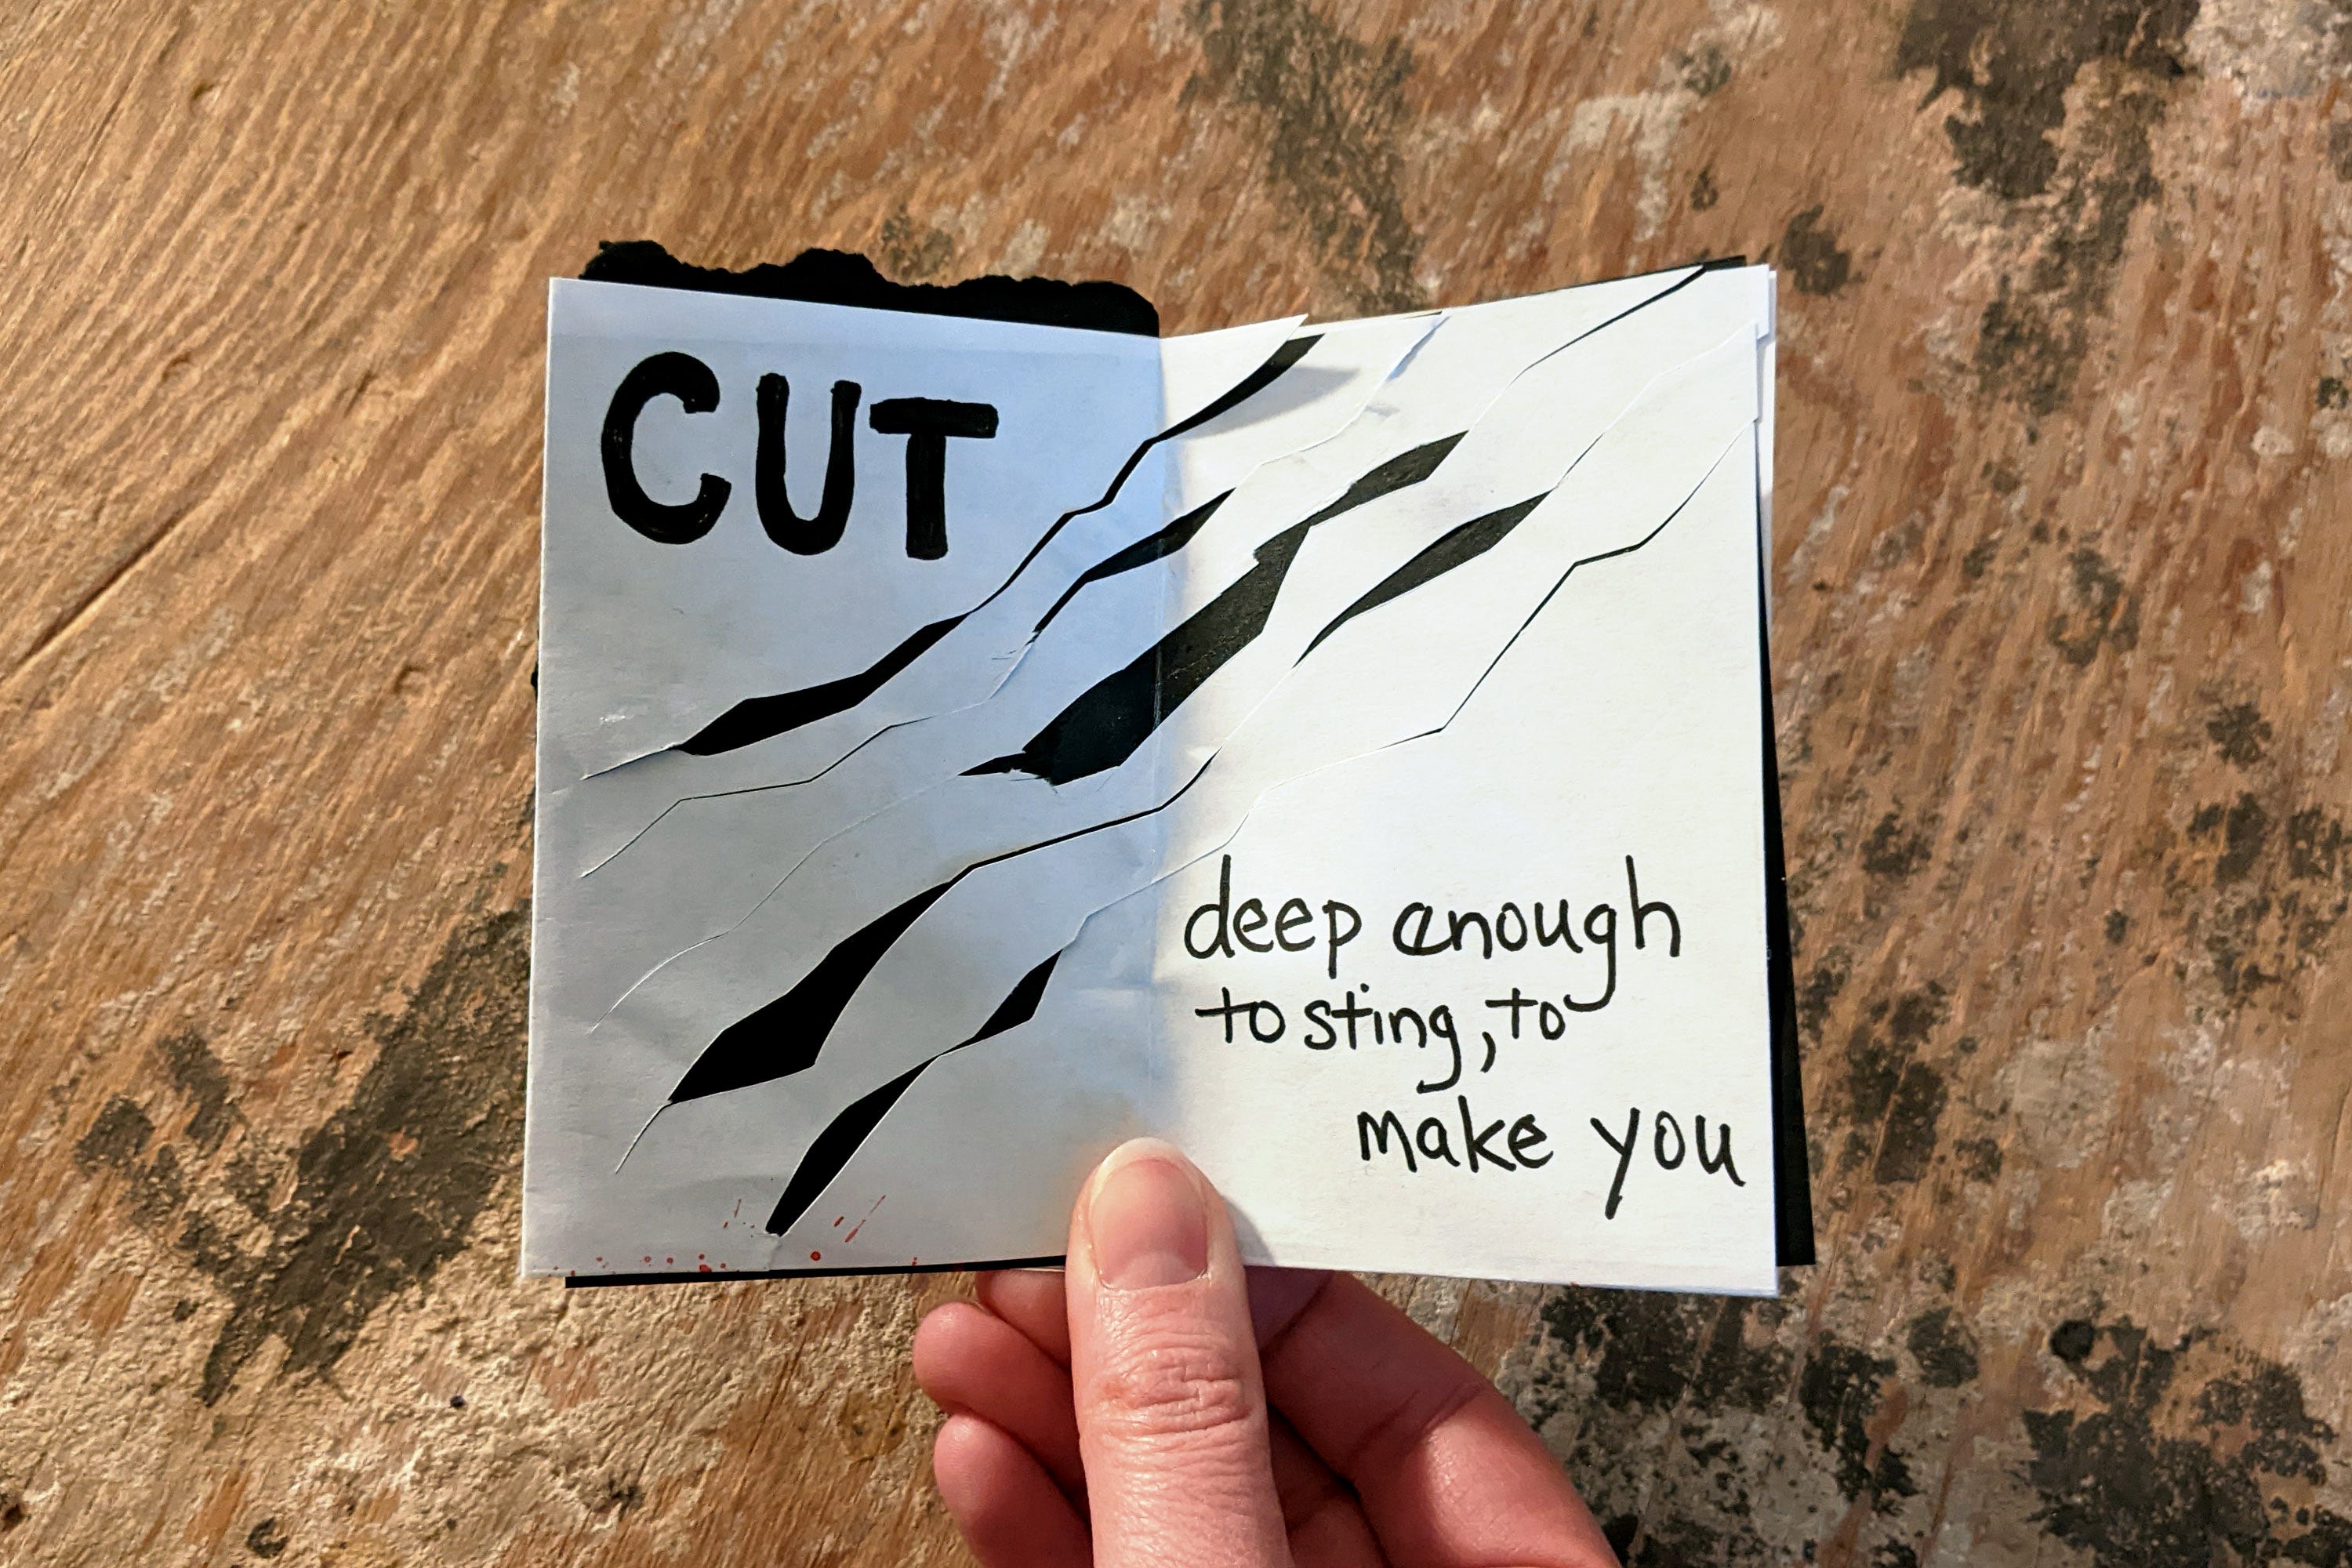
But wait… should you write the words first or create the visuals first?! For me, it depends. I usually decide based on what takes up the most space on the page or which element I feel the most certain about. For Papercuts, I recommended that Rocky write the words in first. She’s a writer by trade, so words first was the perfect entry point for her. She worked page by page, writing then adding visual elements, including drawings, cutting paper, and watercolor splatters!
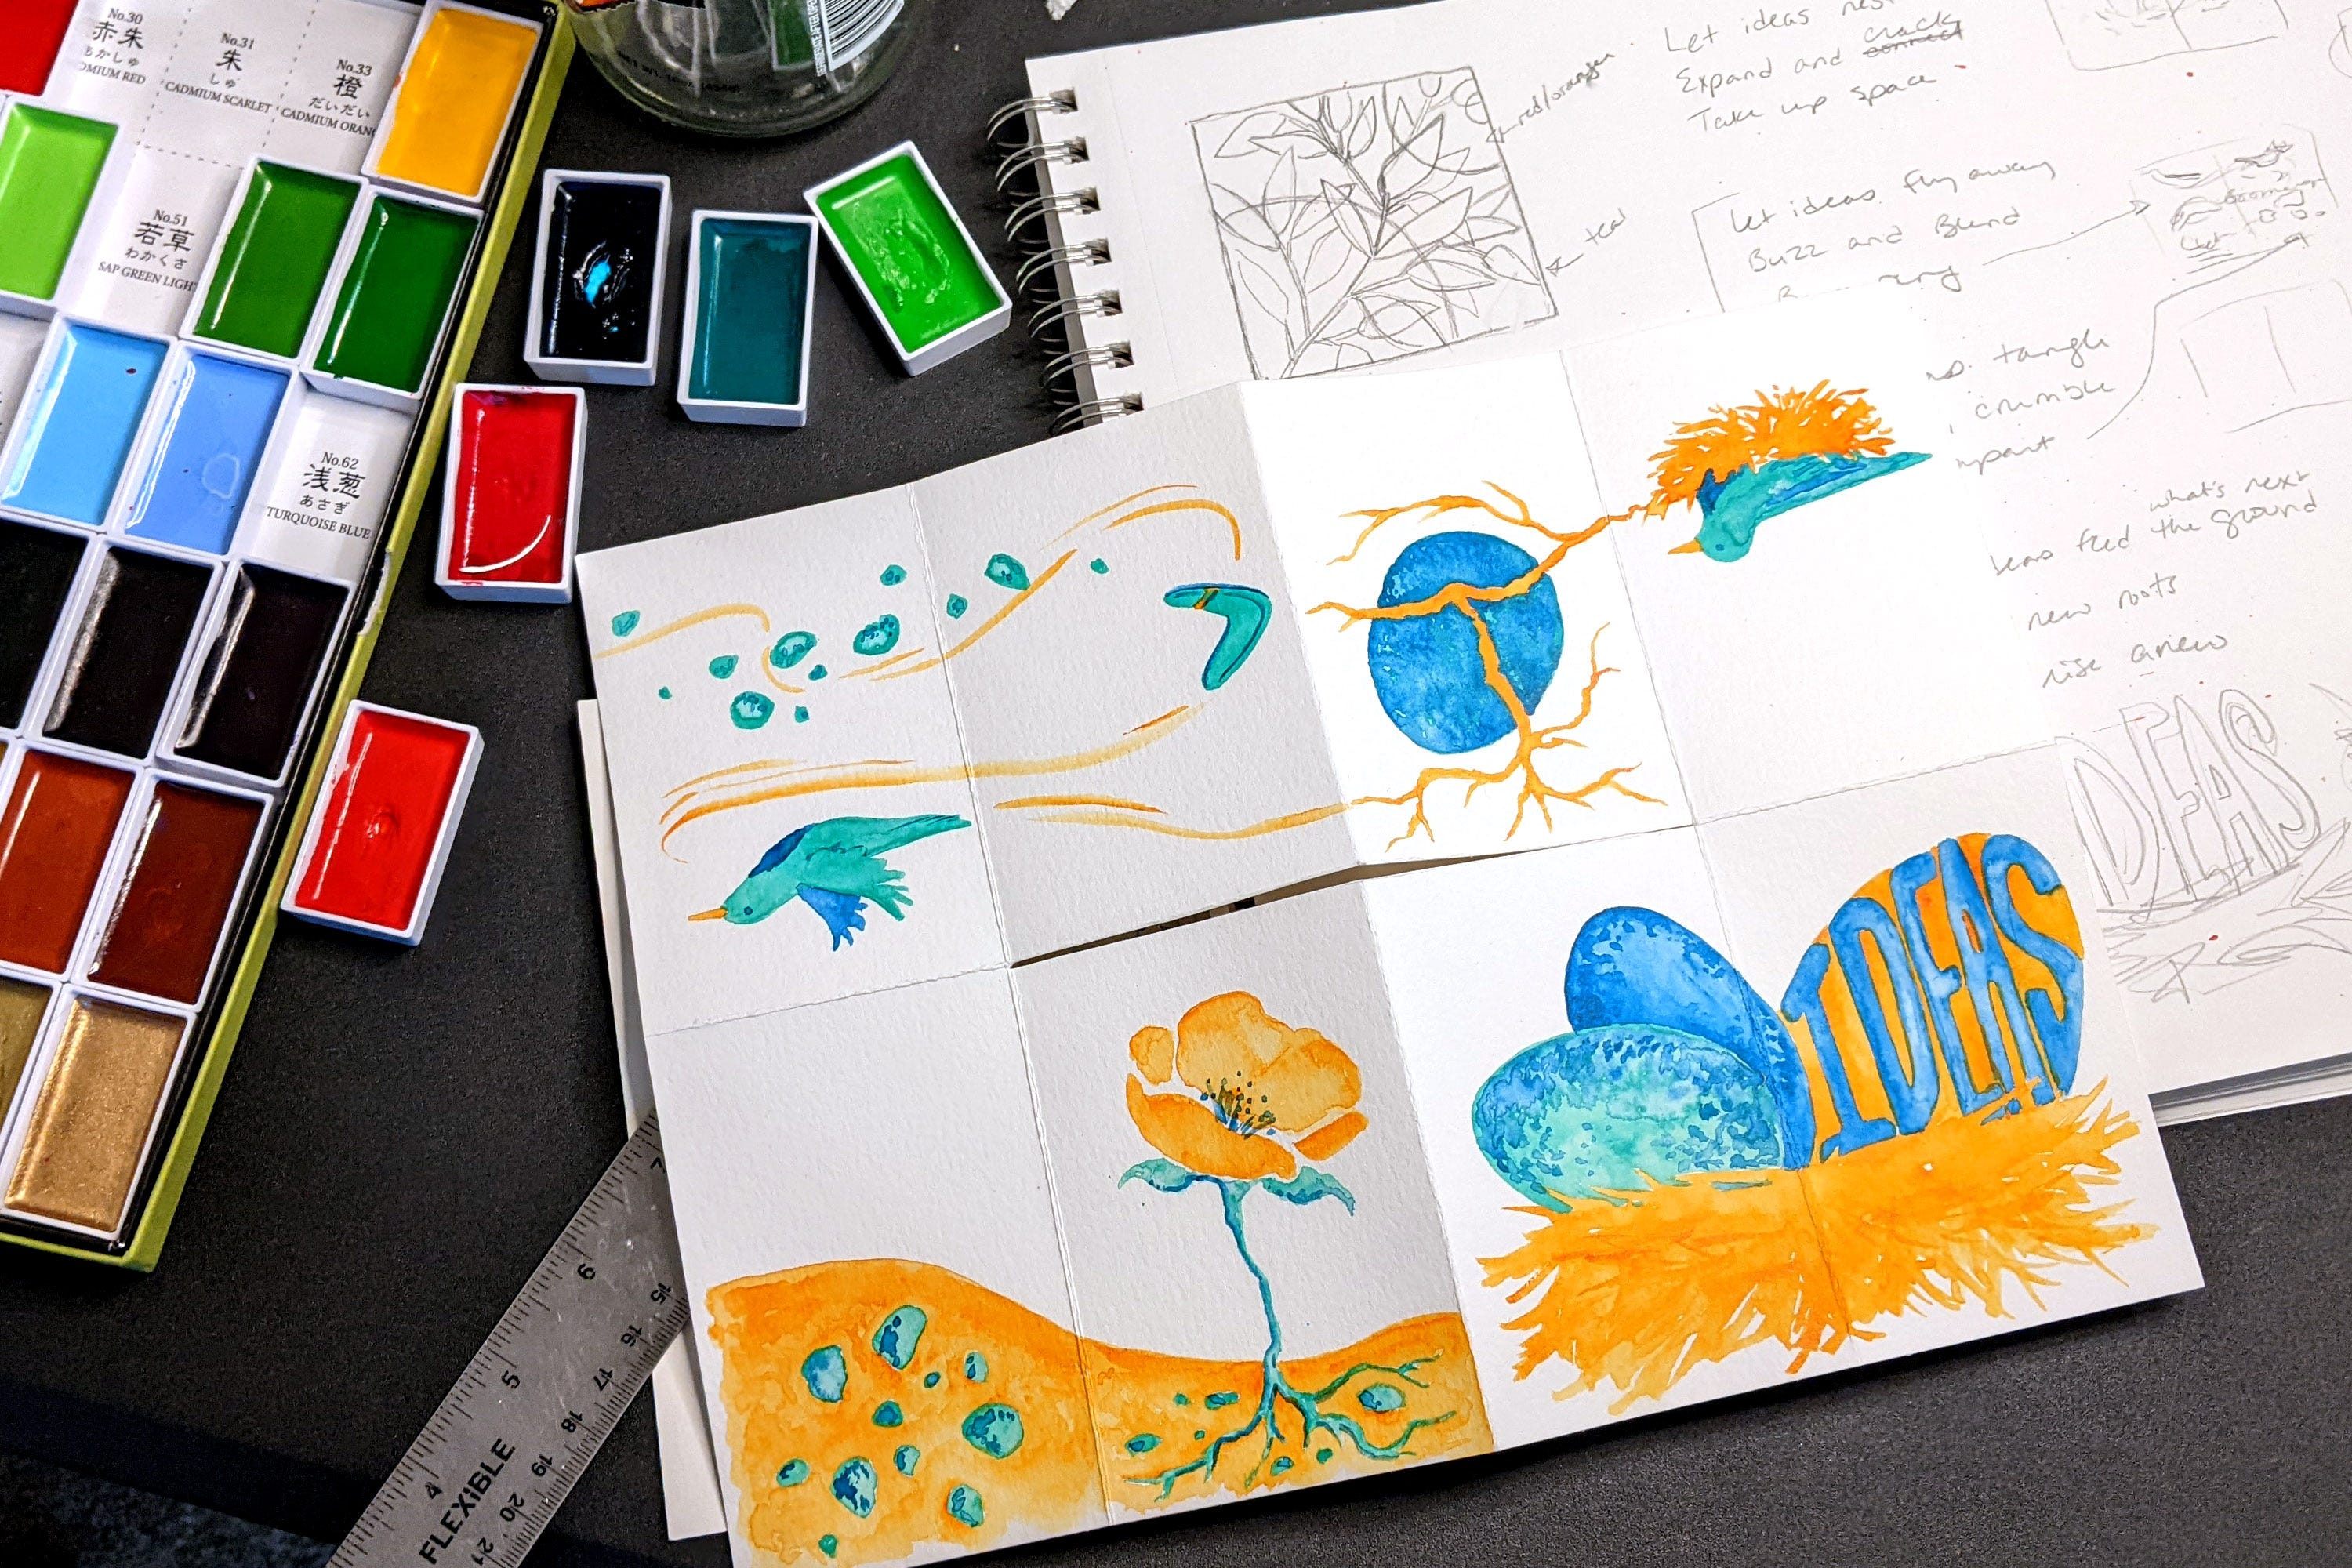
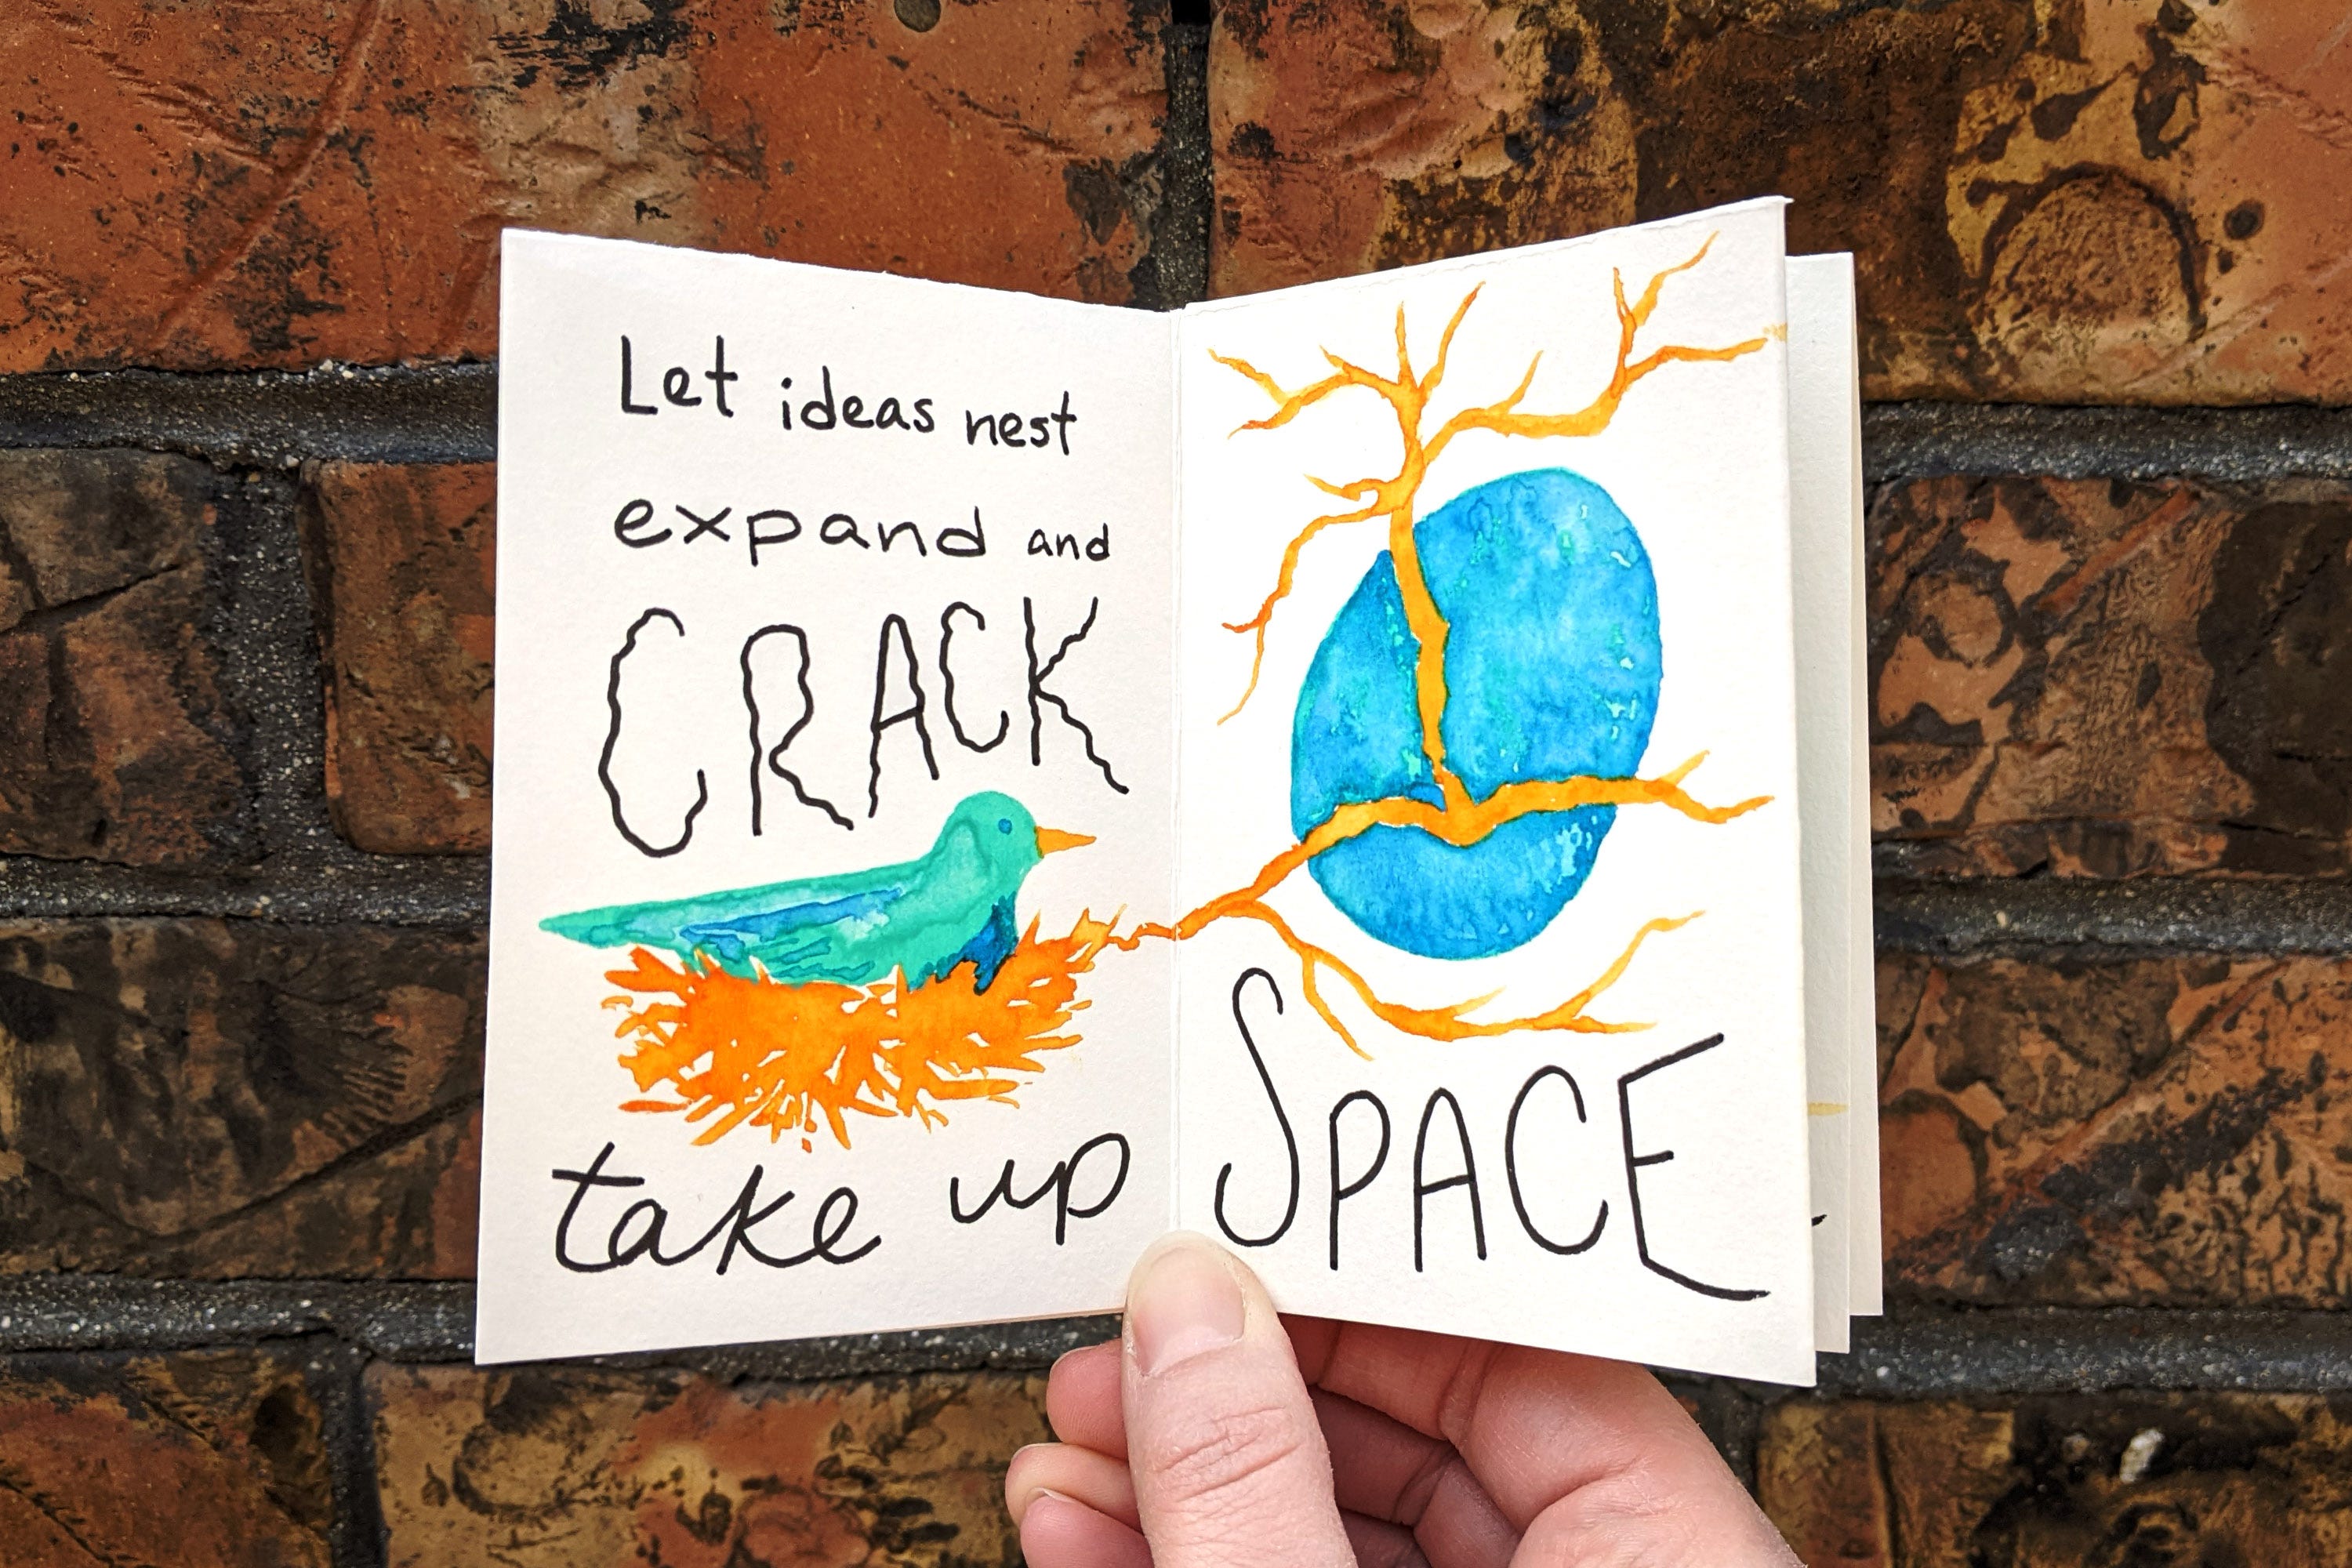
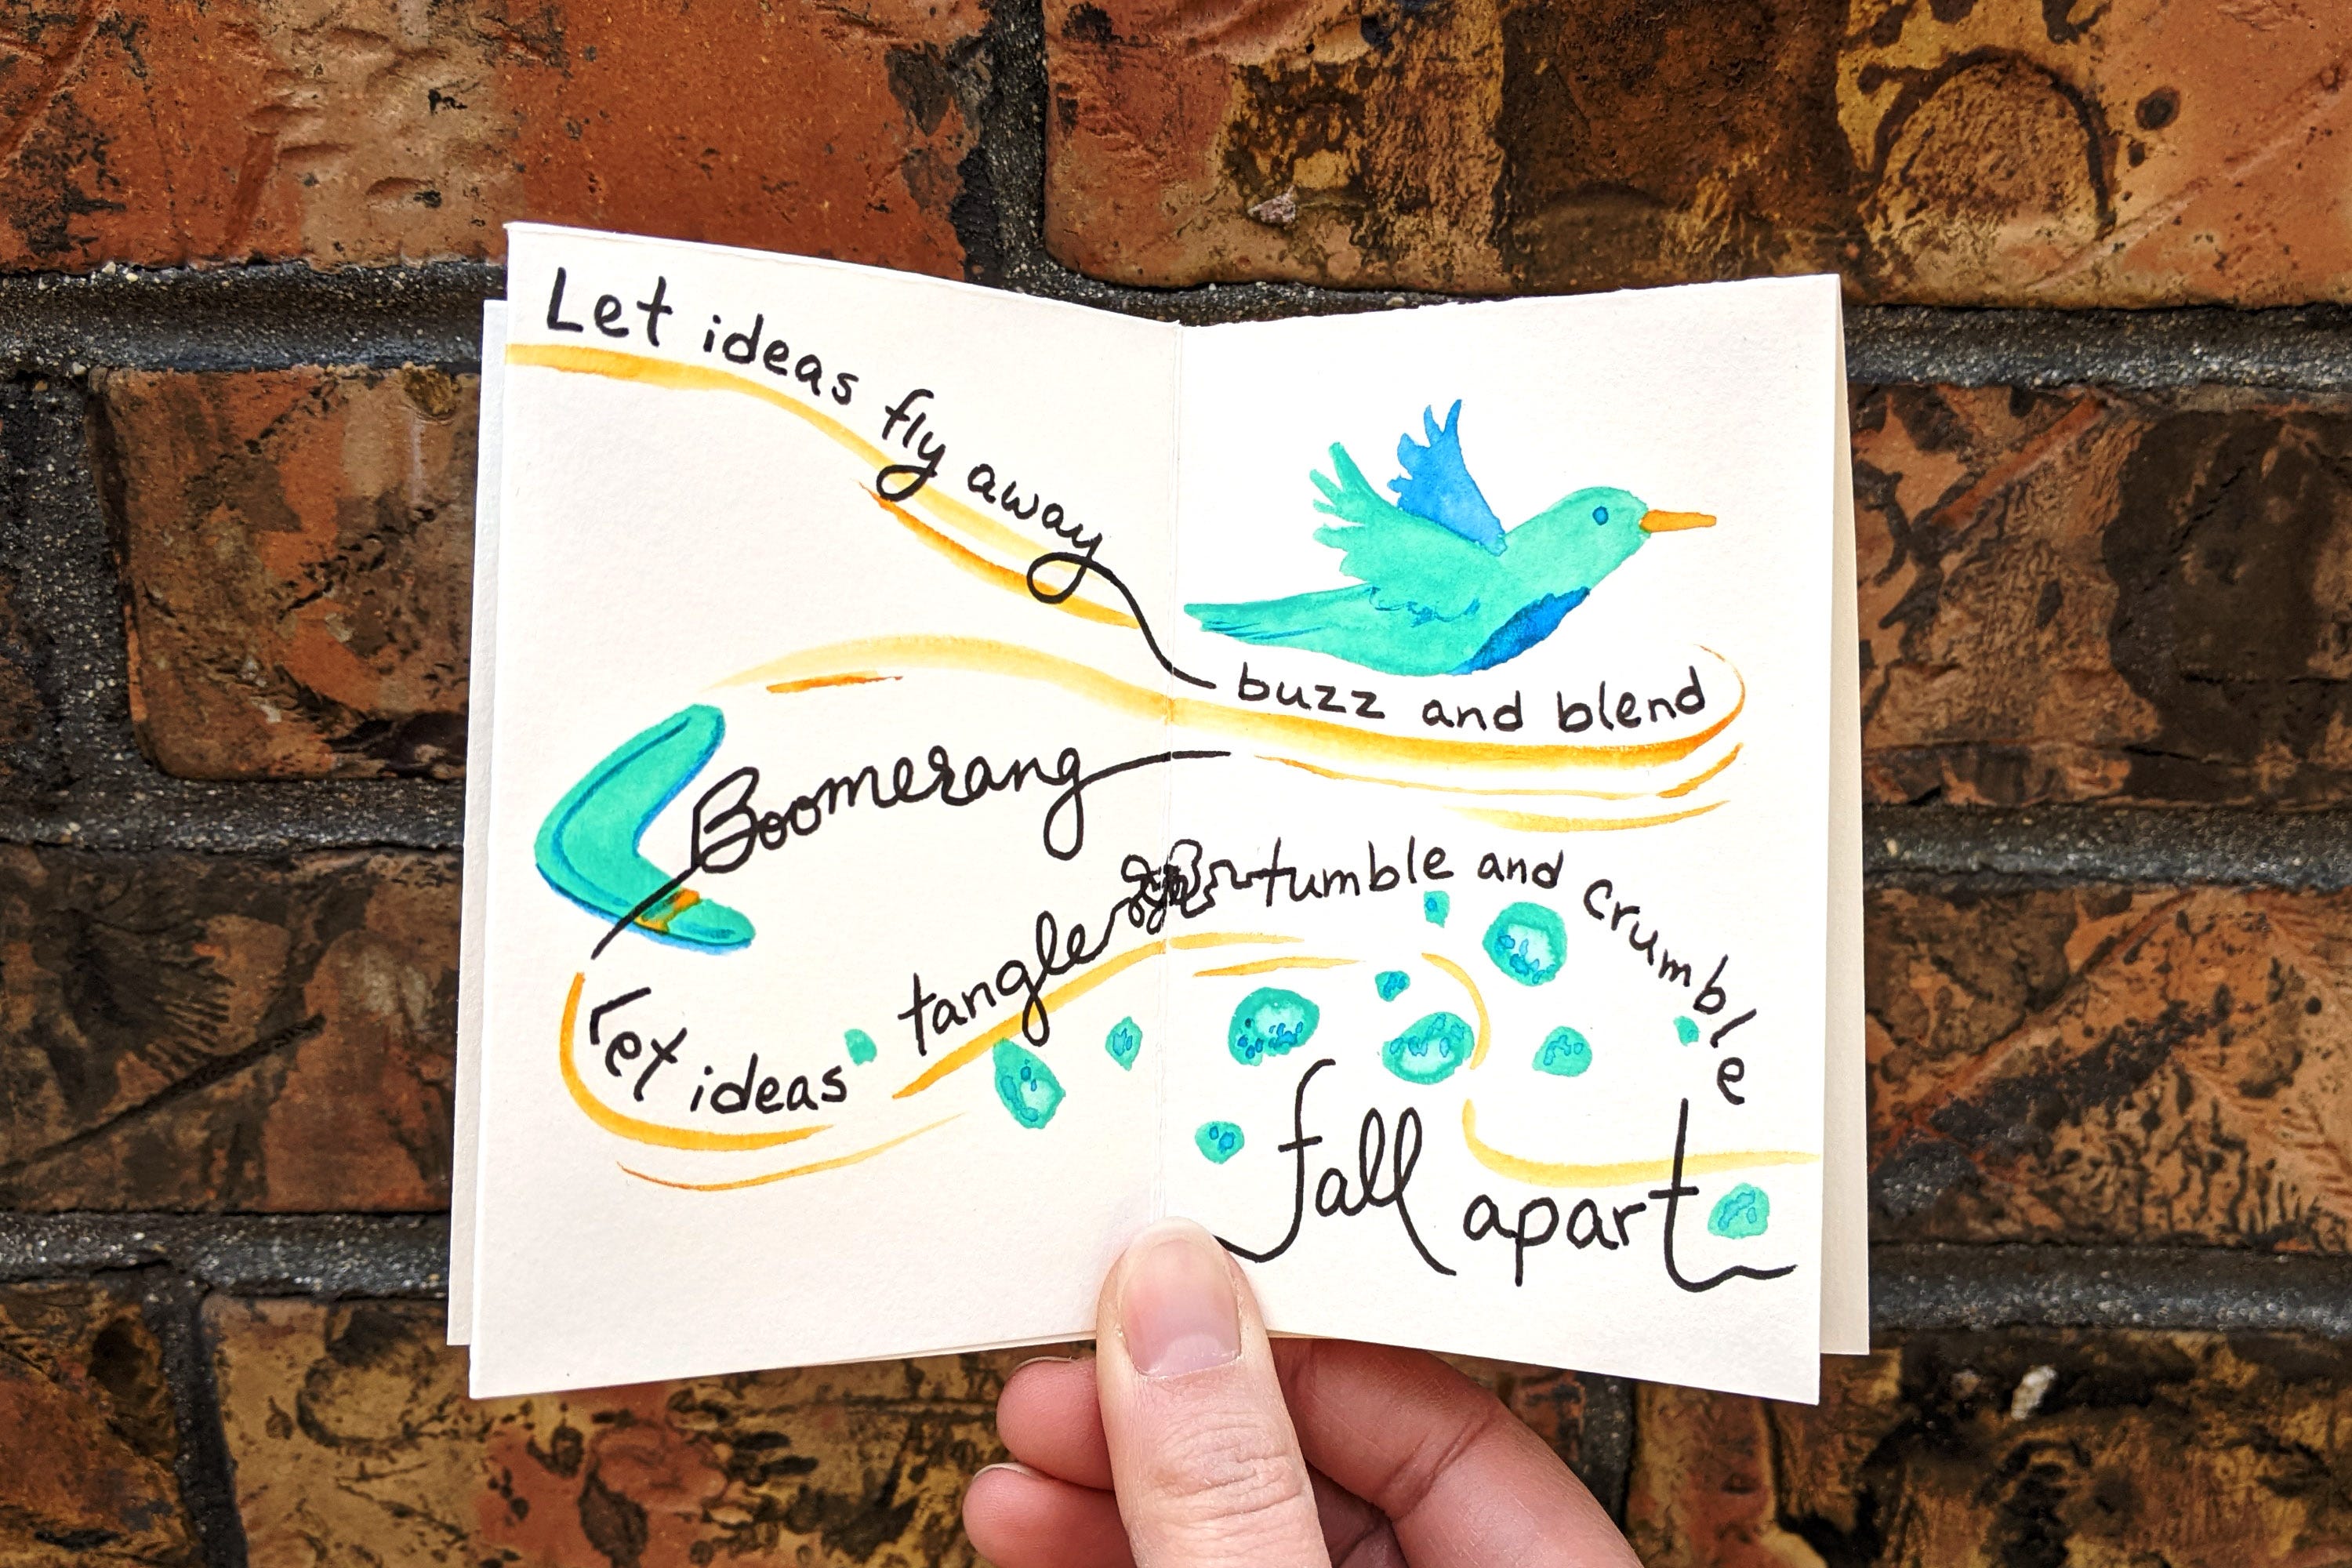
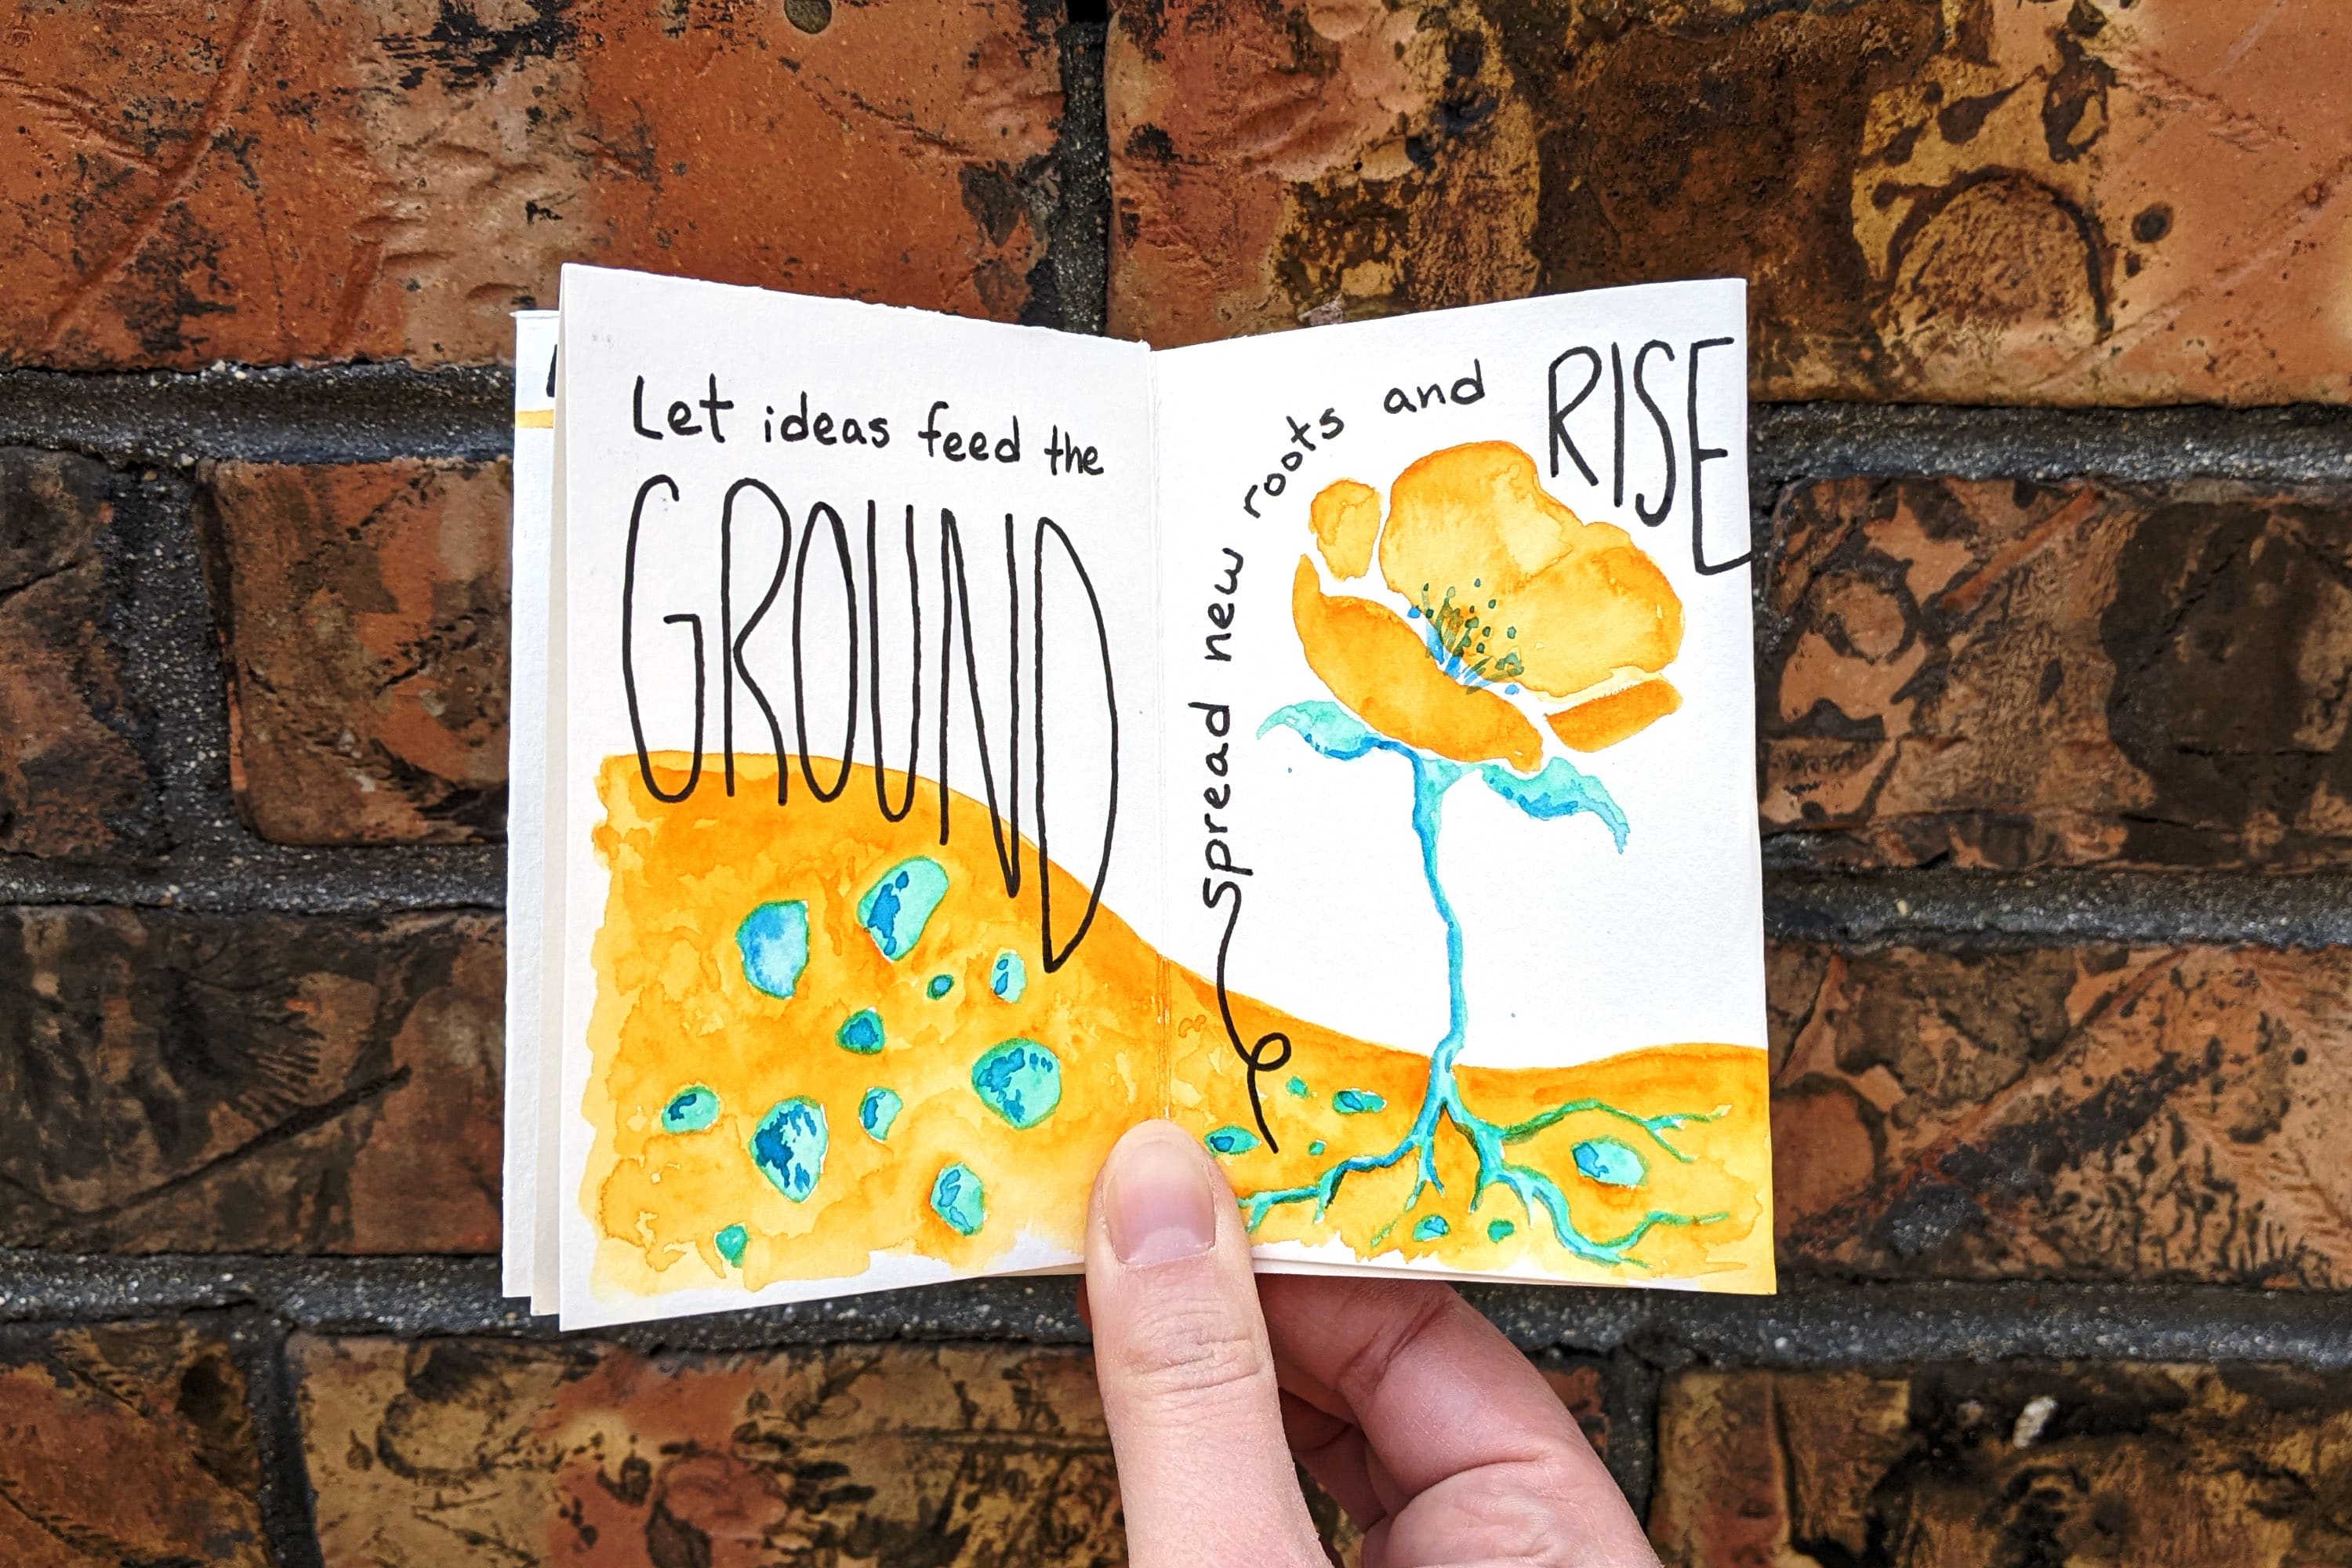
For Ideas, I used watercolor to paint the imagery first while the paper was folded for guidelines, but laid flat so I could better control the paint and not have to wait for individual pages to dry.
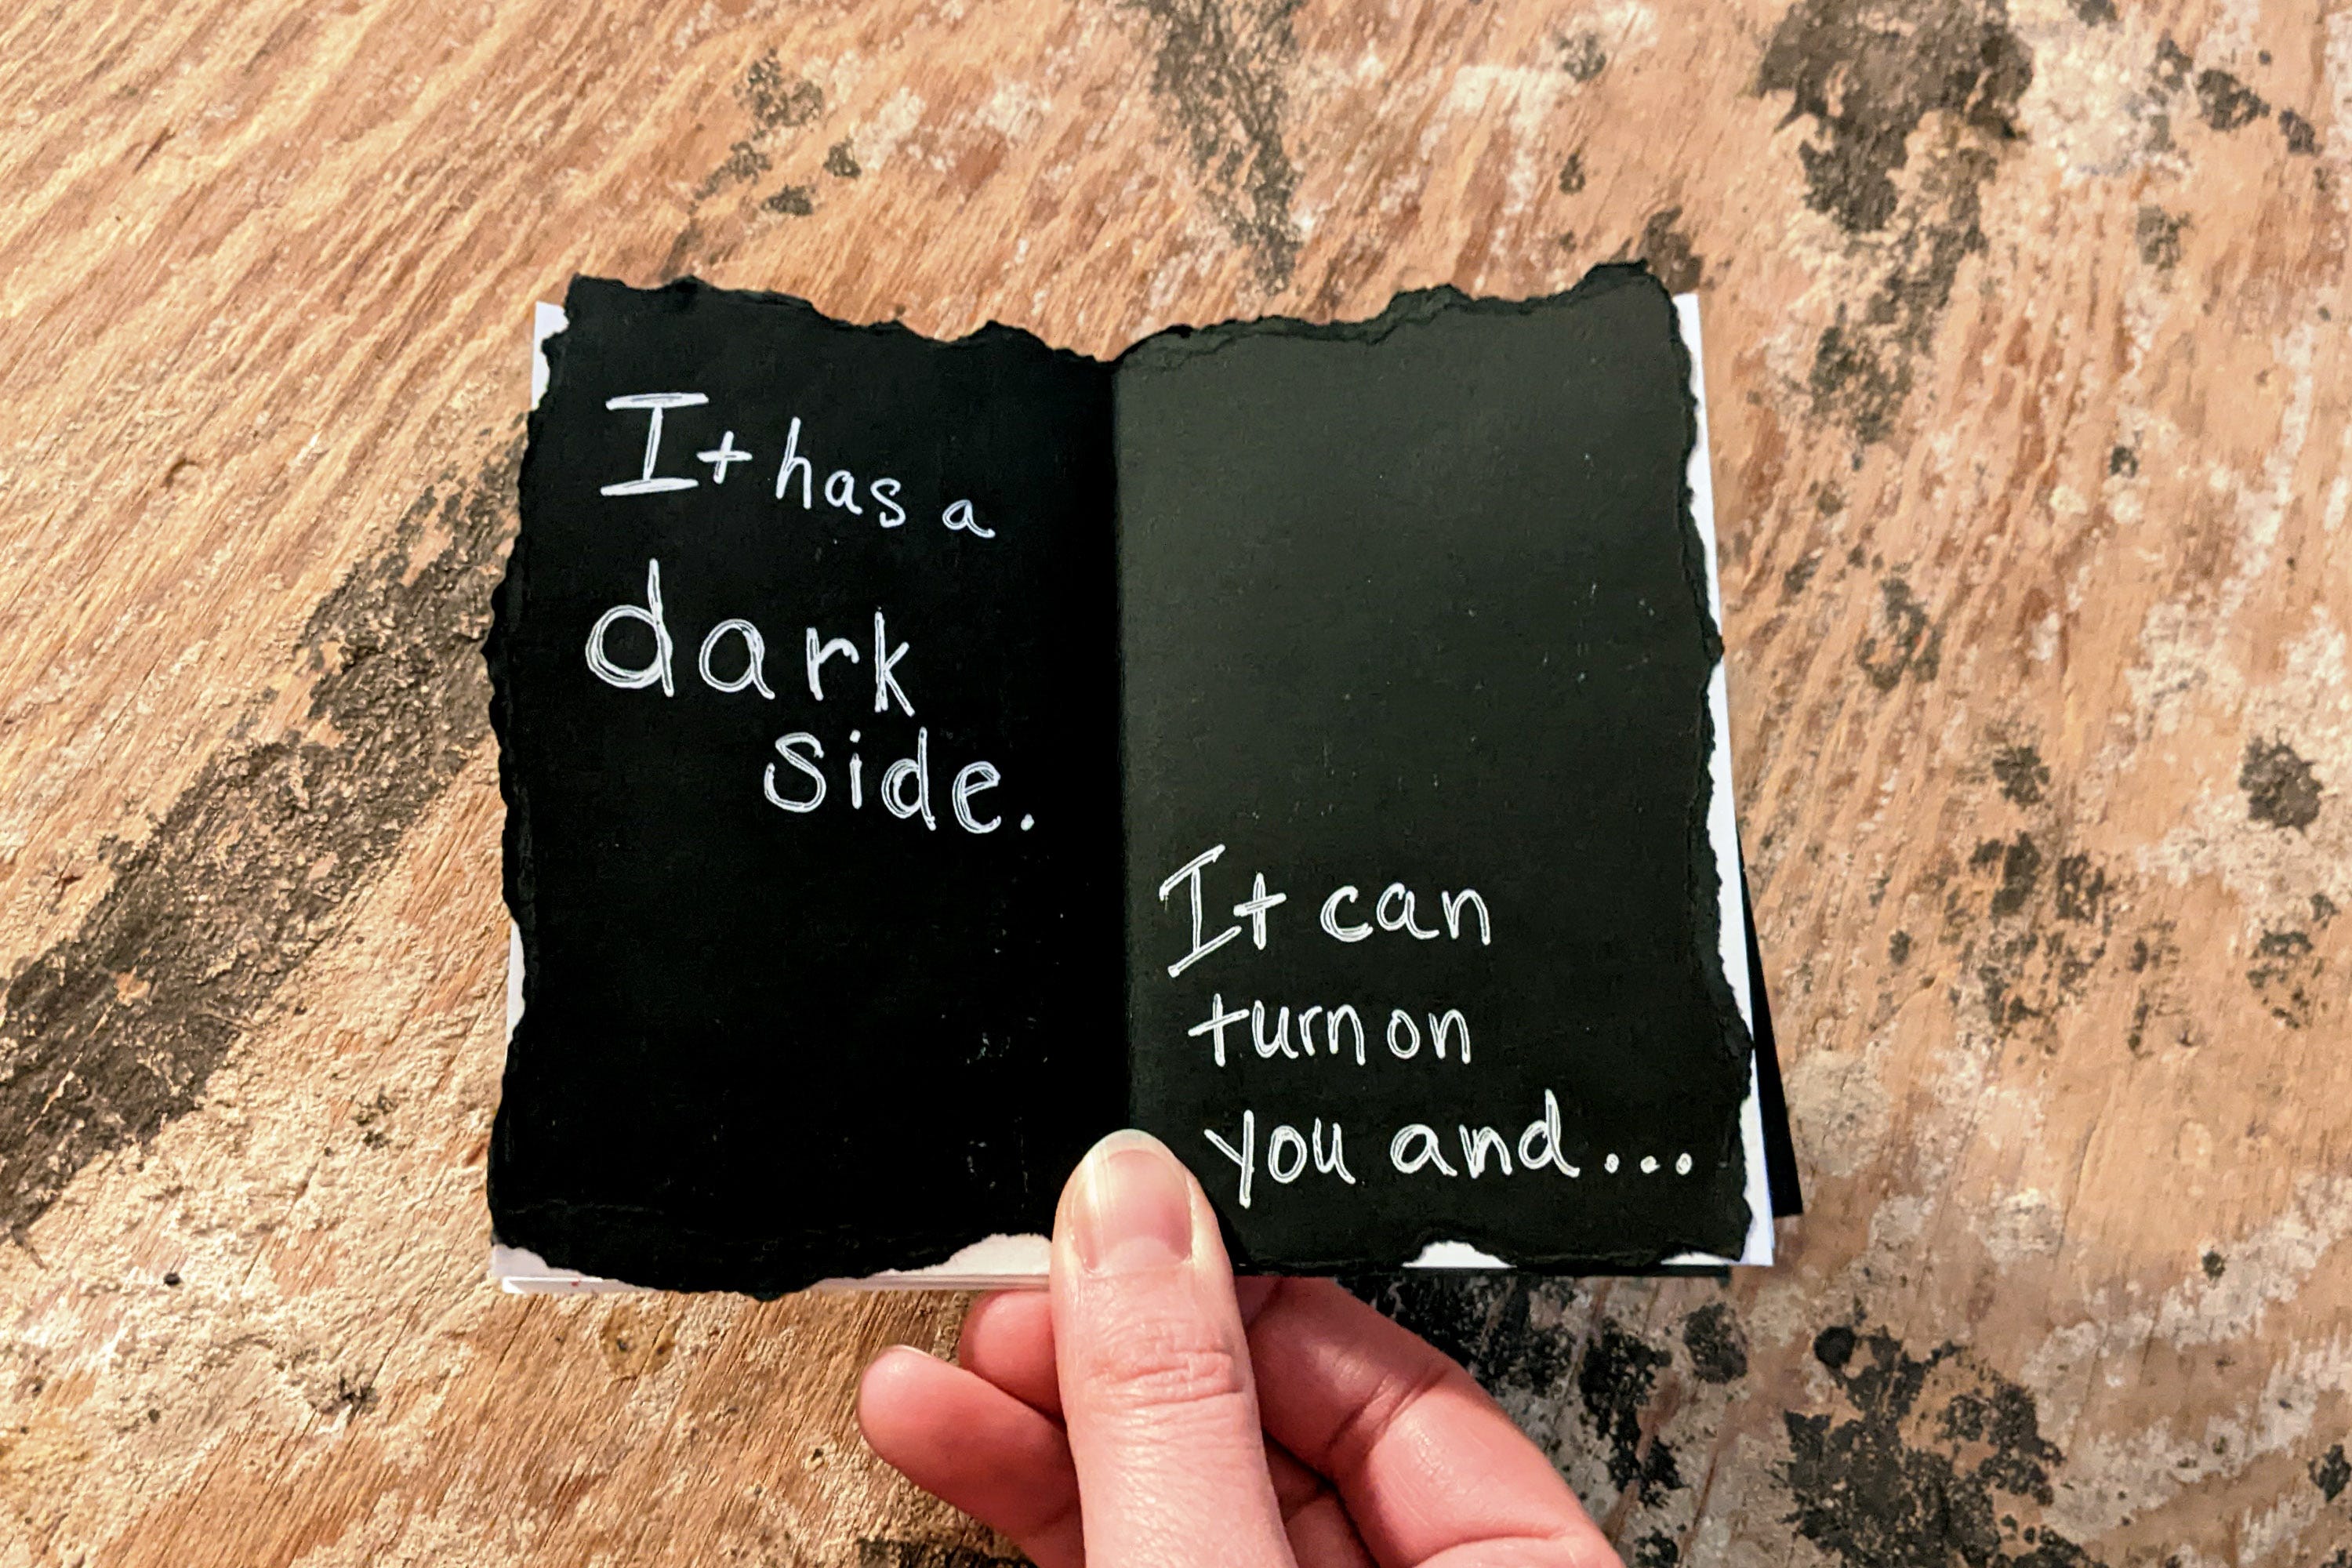
Here is Rocky’s finished zine Papercuts!
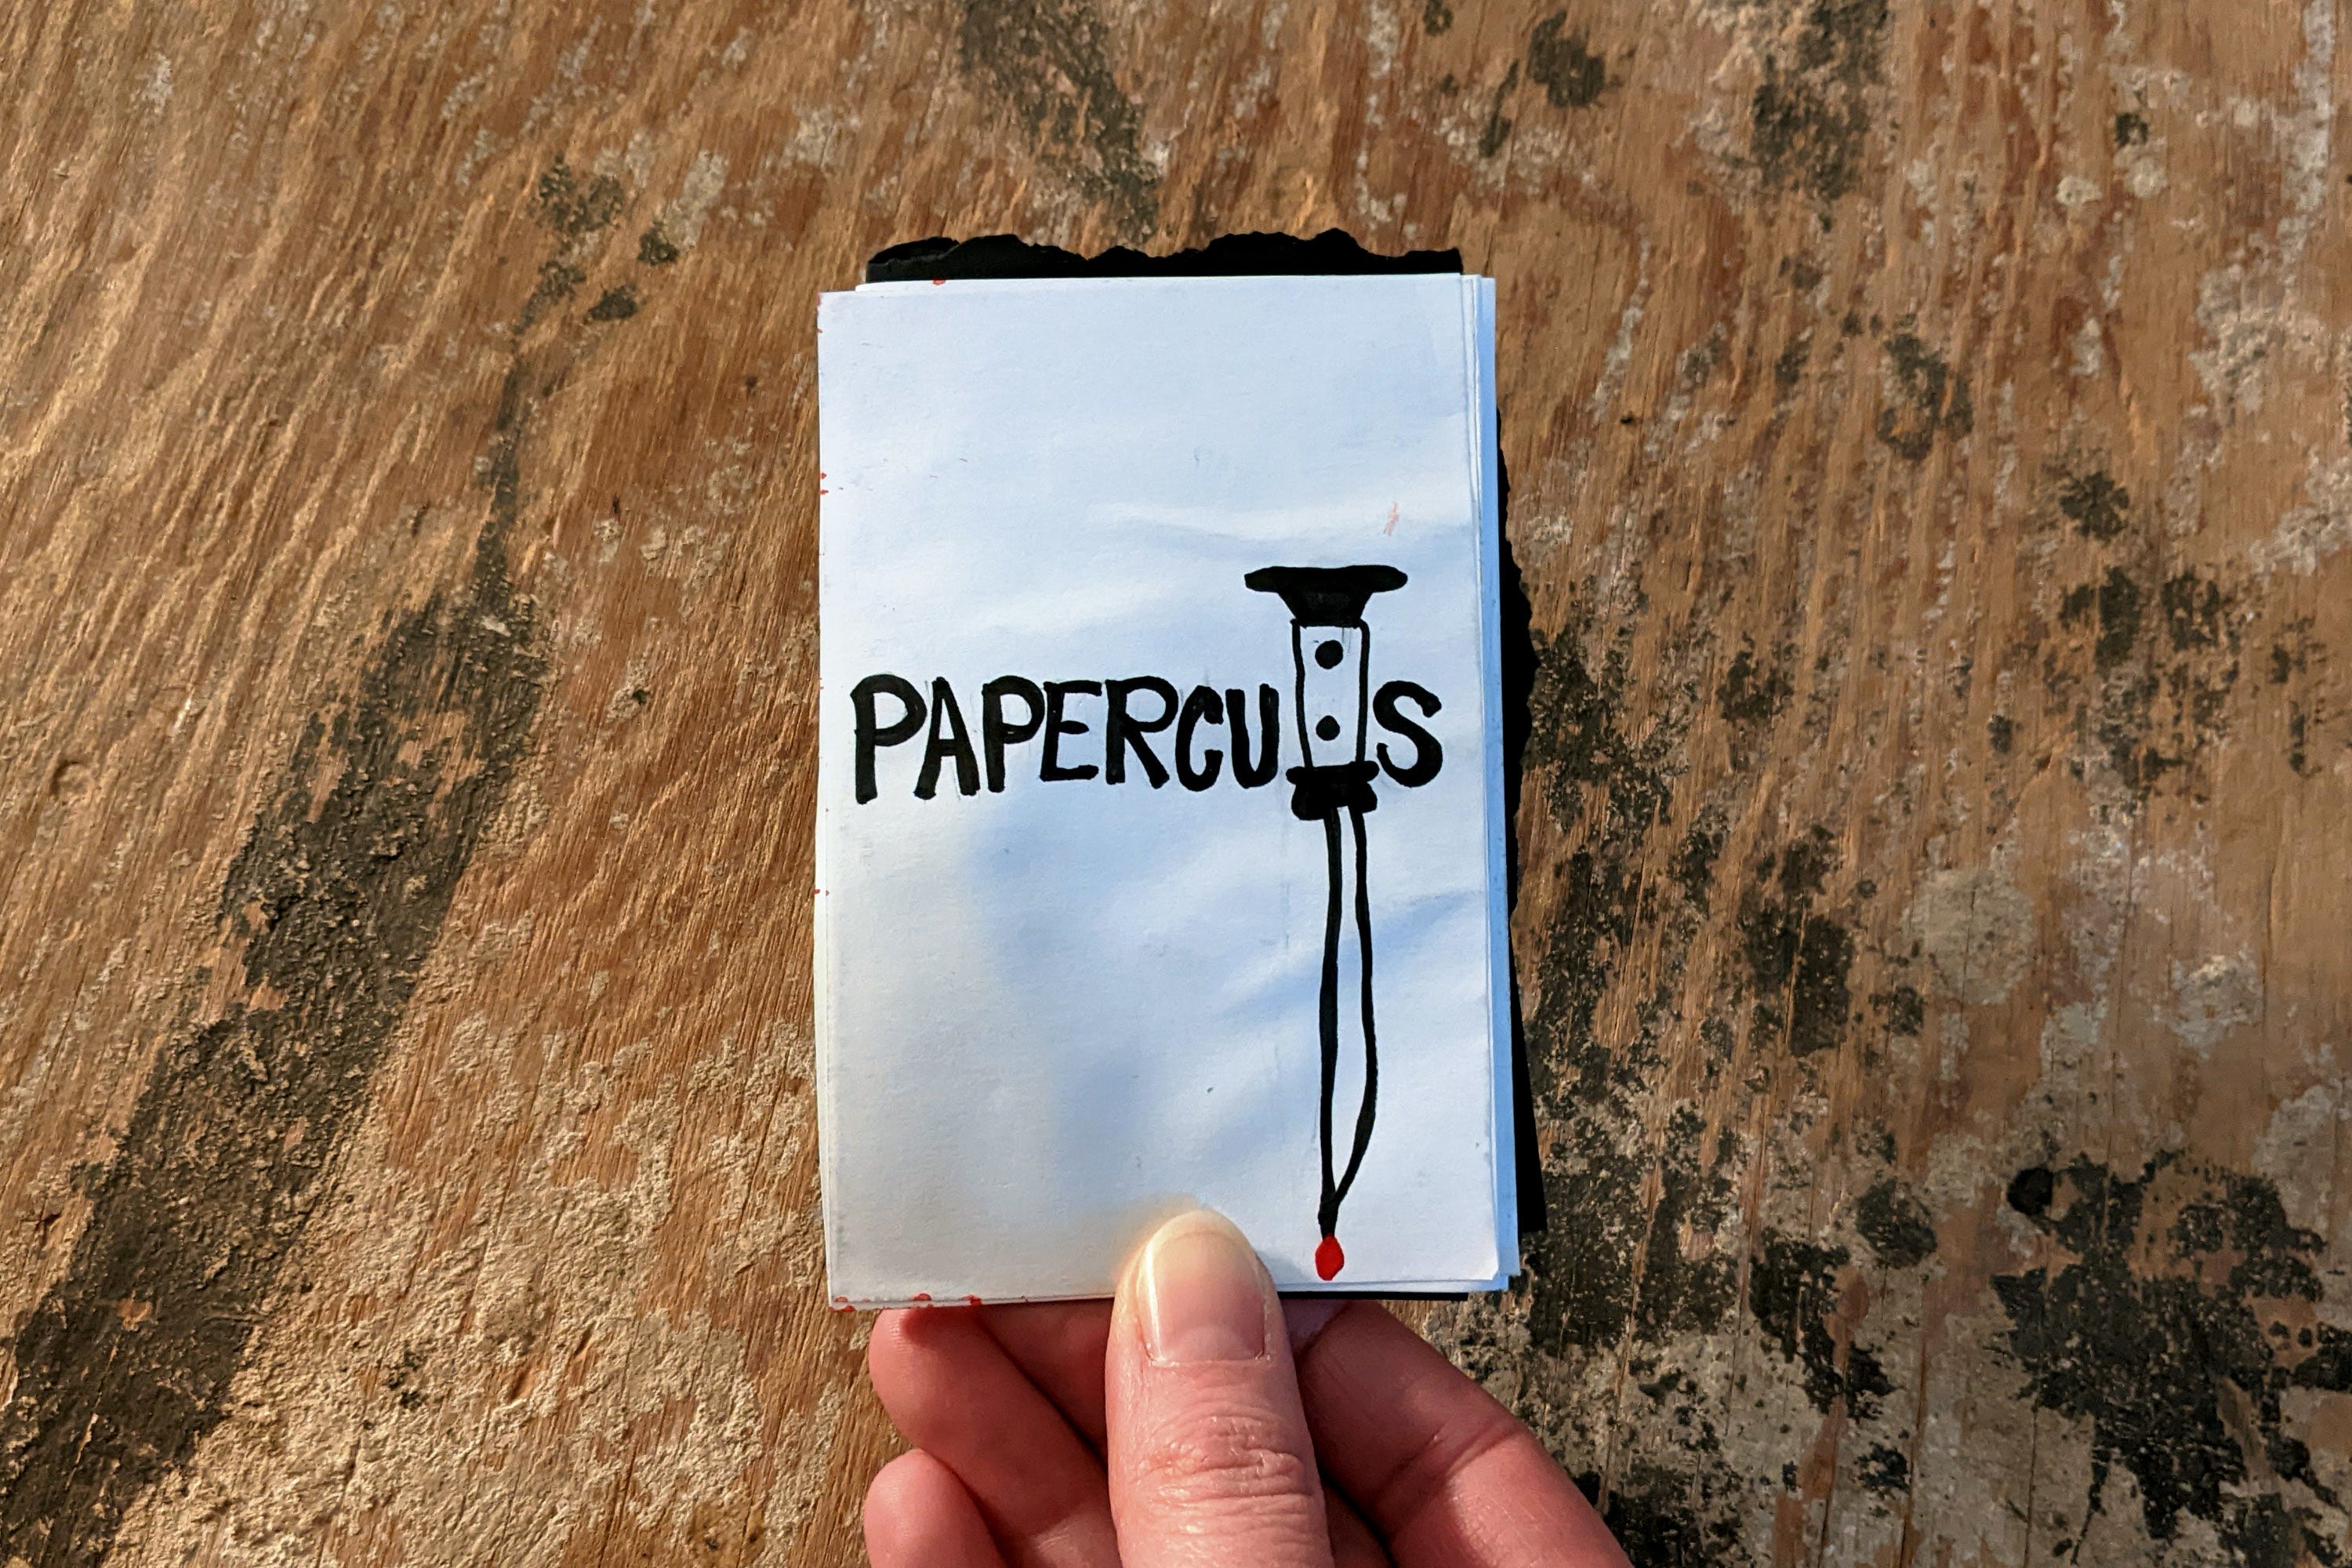
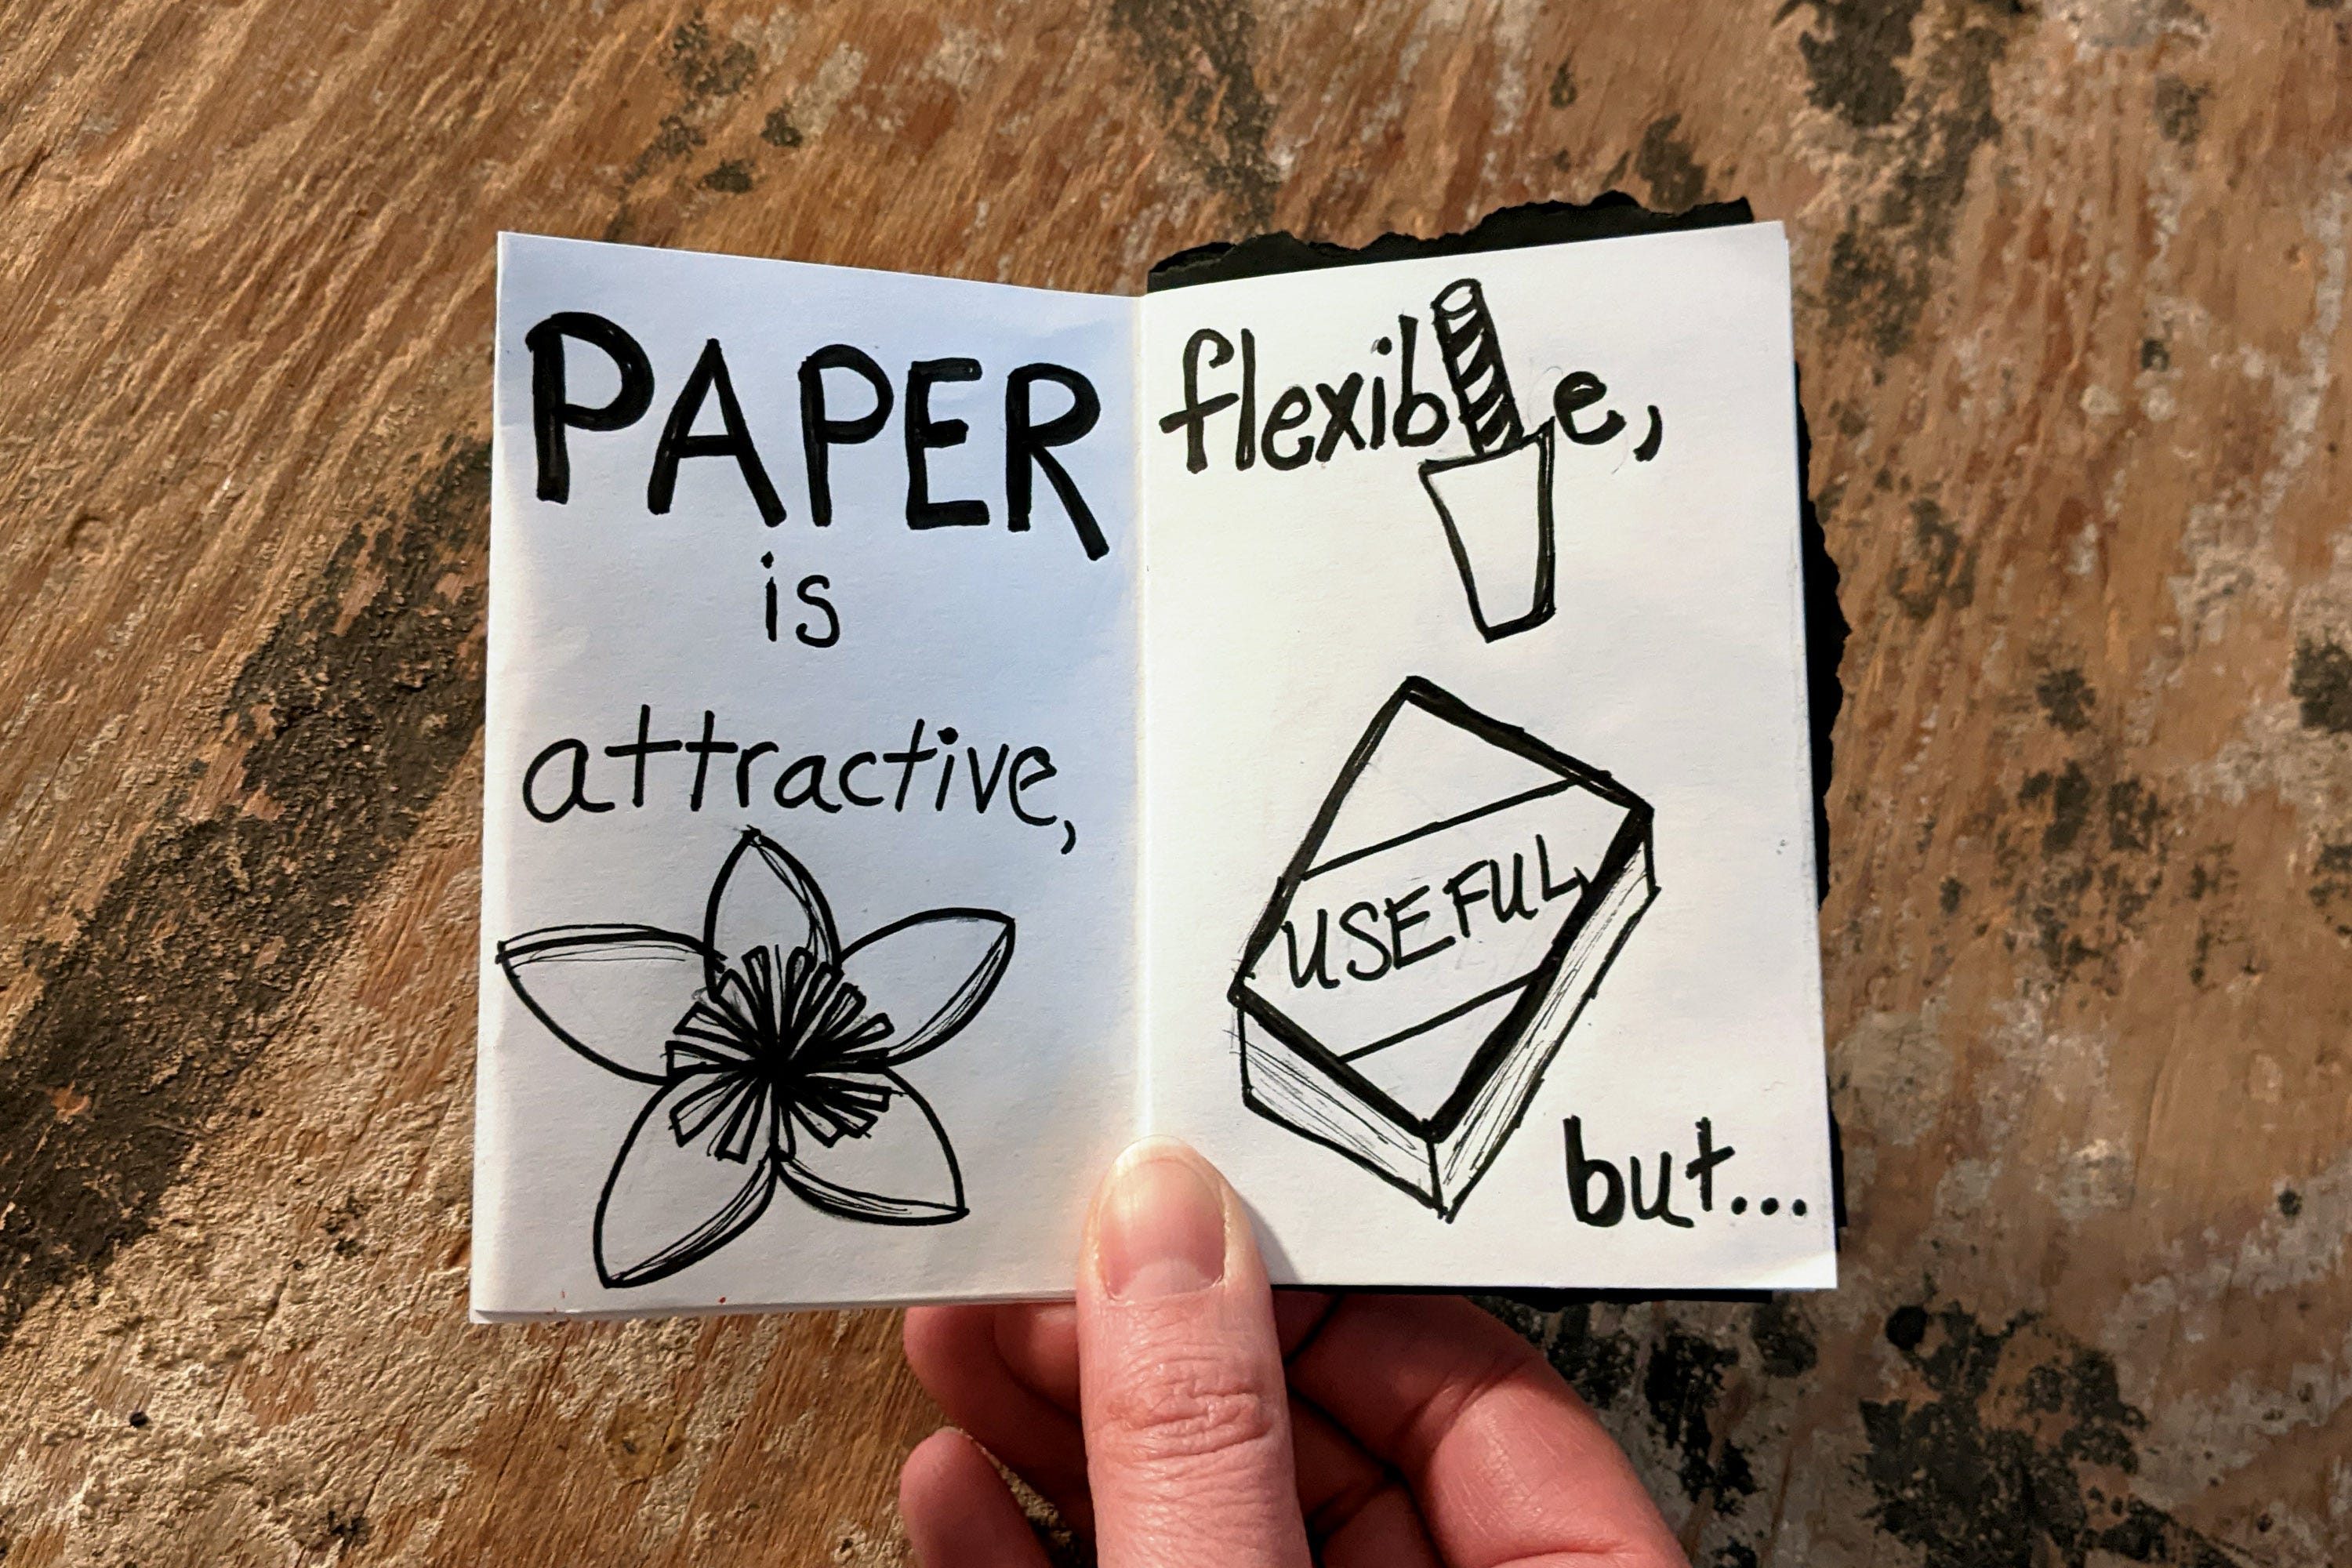
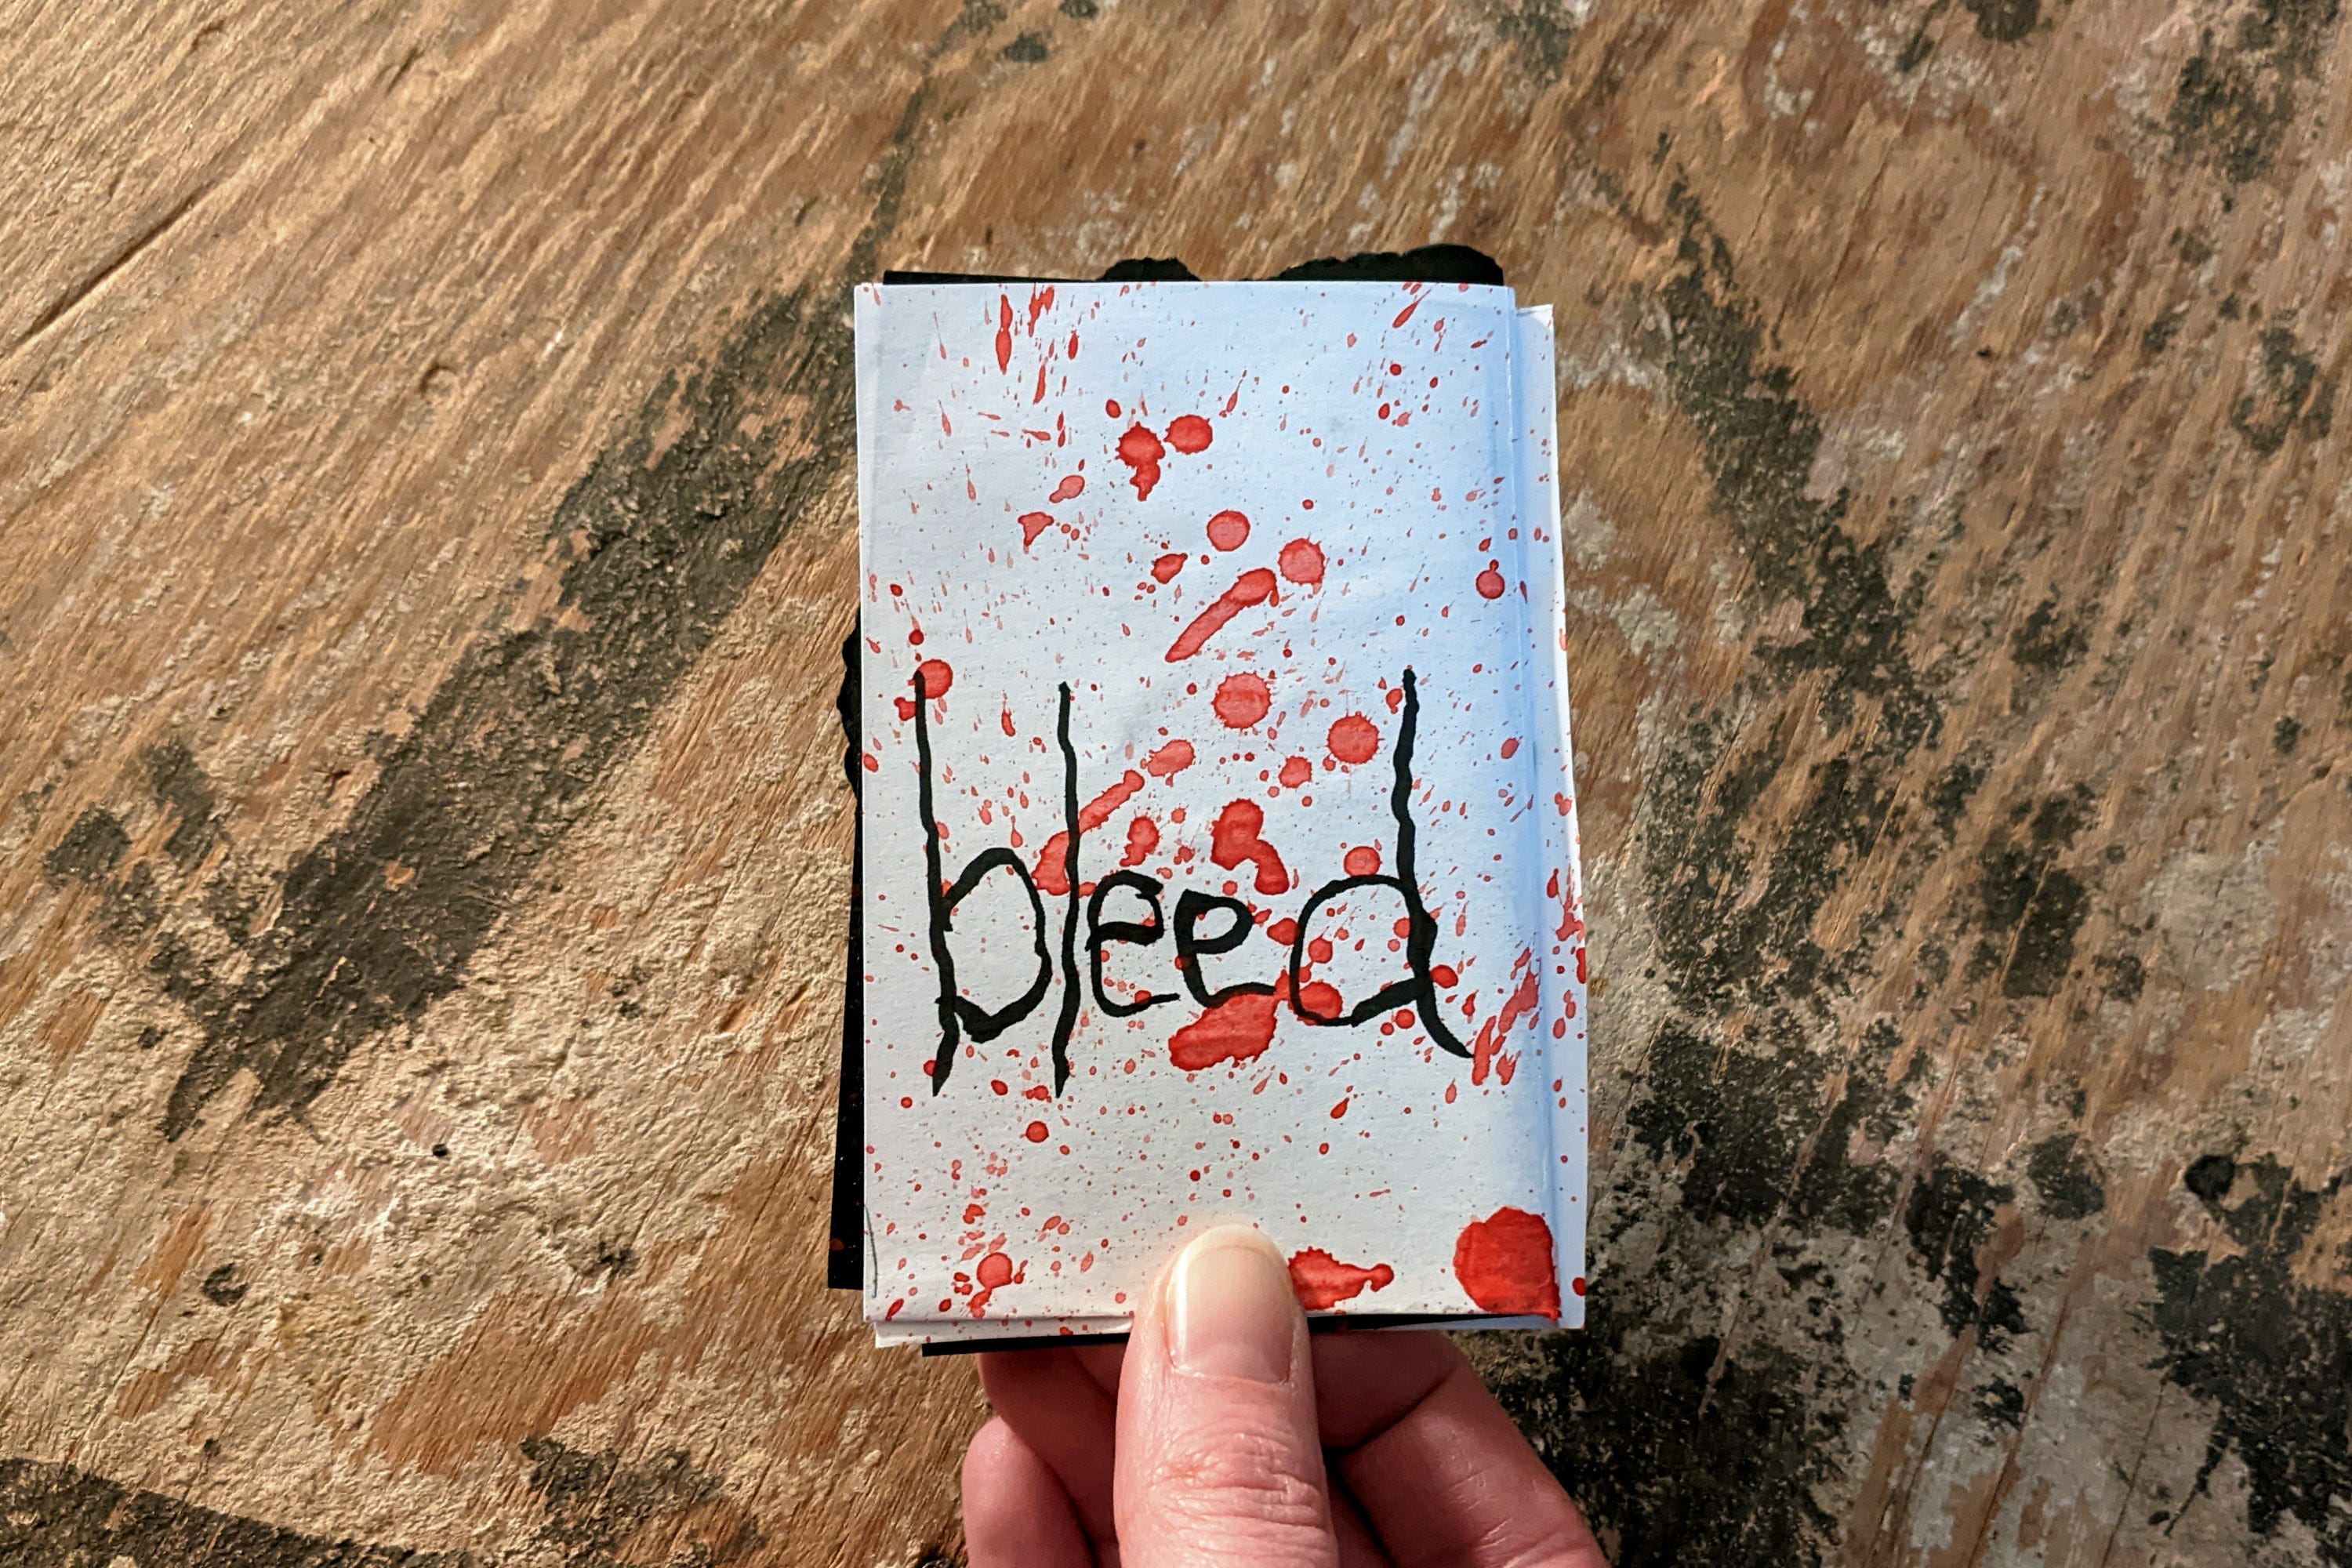
Ah, that watercolor splatter is such a fantastic touch! Well done, Rocky!
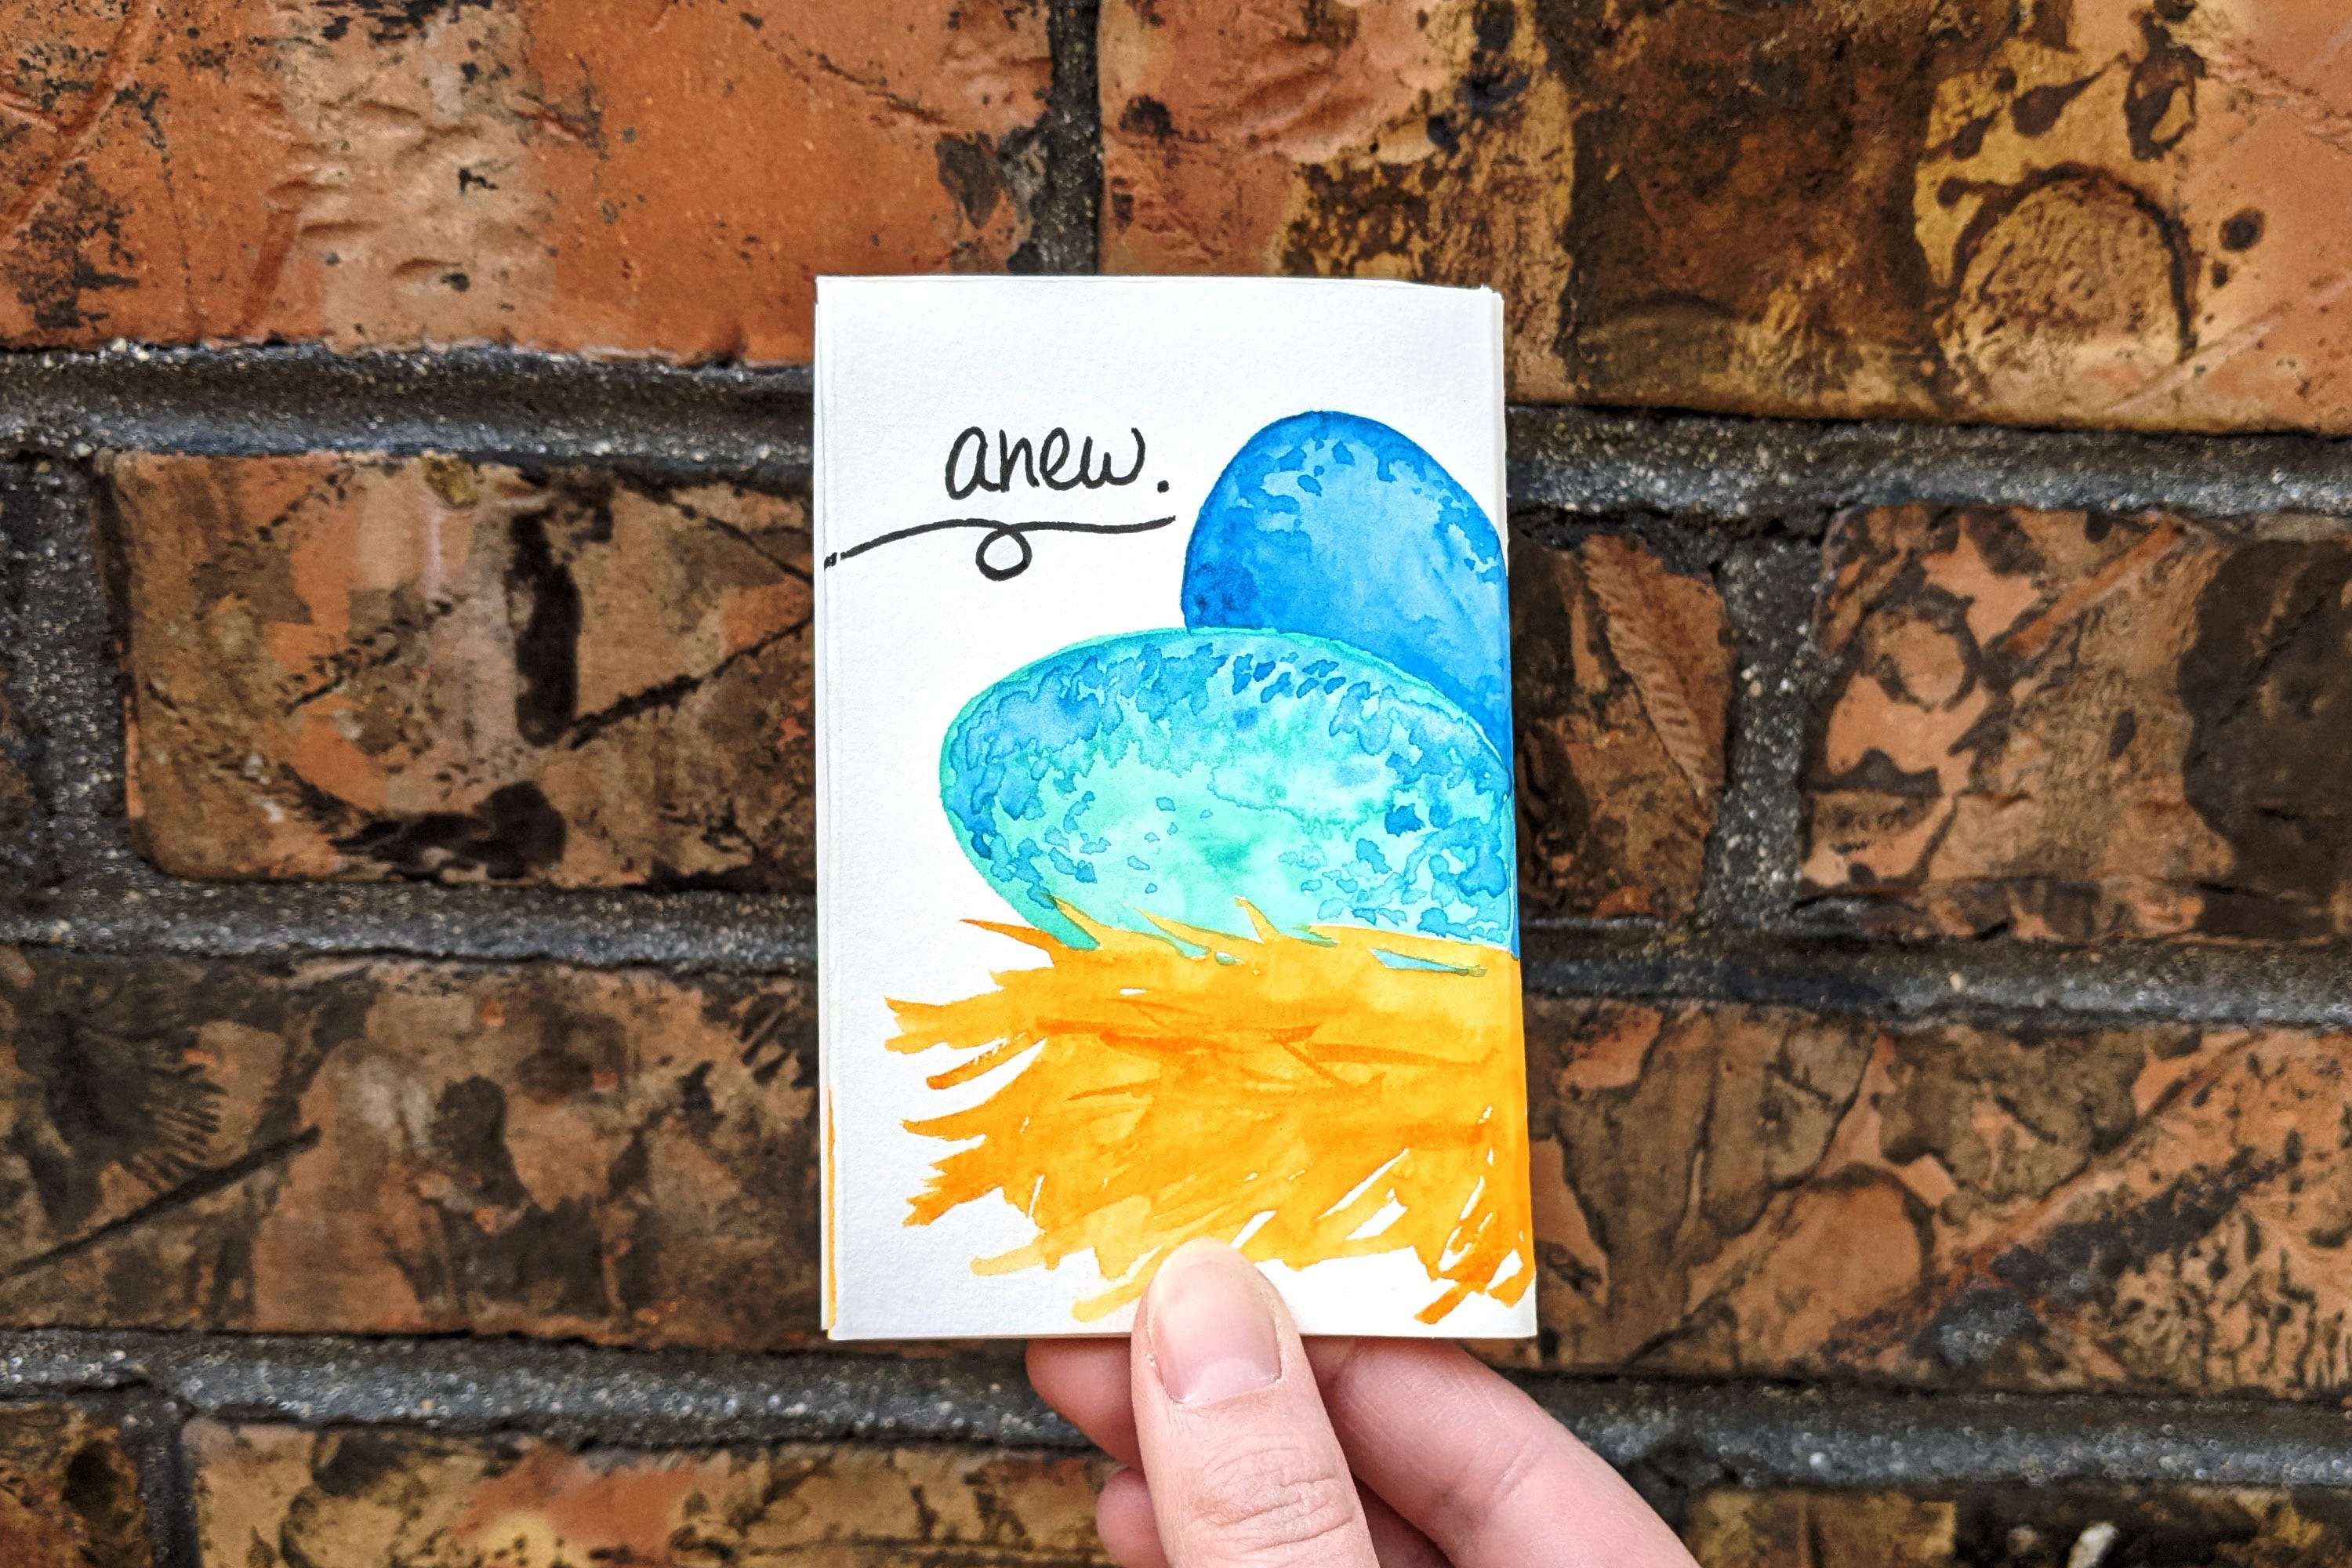
And here is my finished zine Ideas:
Thanks for reading!
Thanks for being here! It truly means the world to me to connect with you every week. In case you missed it, last week I shared a mini zine called Melt in my post The Importance of Downtime.
Paid subscribers, please keep scrolling to download this week’s mini zine Ideas!
Keep reading with a 7-day free trial
Subscribe to Art Oasis with Sheri Roloff to keep reading this post and get 7 days of free access to the full post archives.