


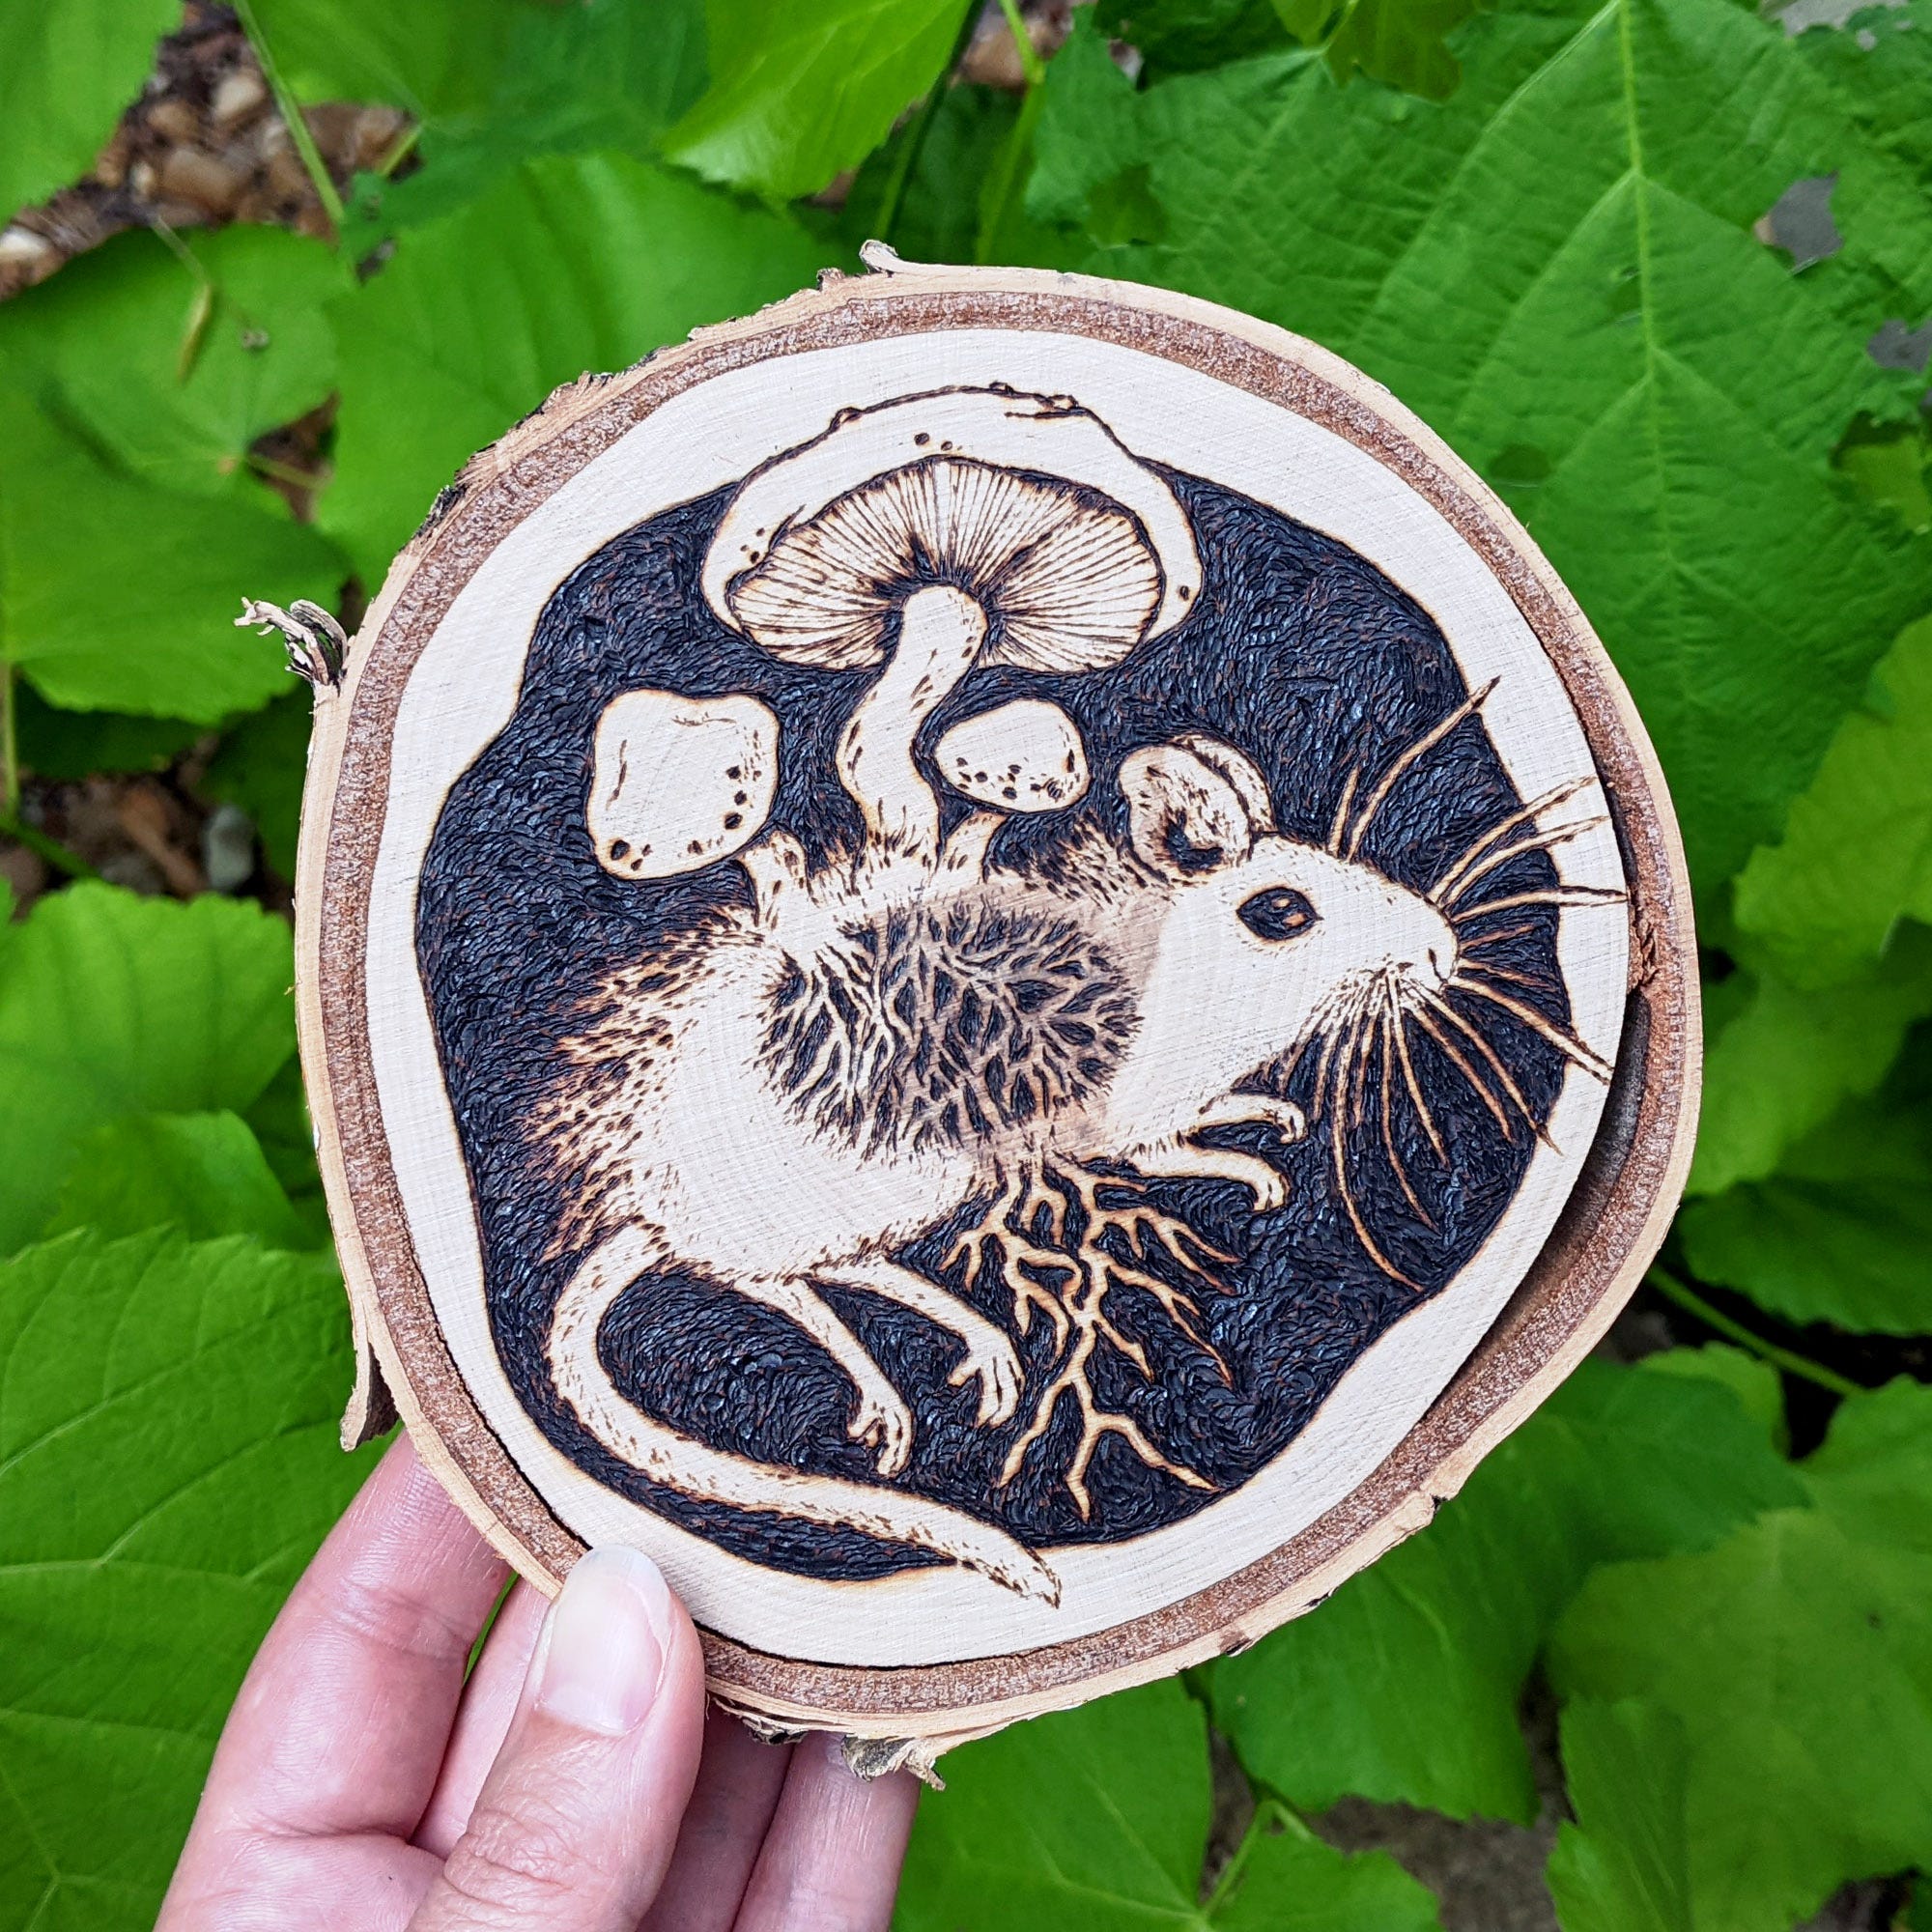
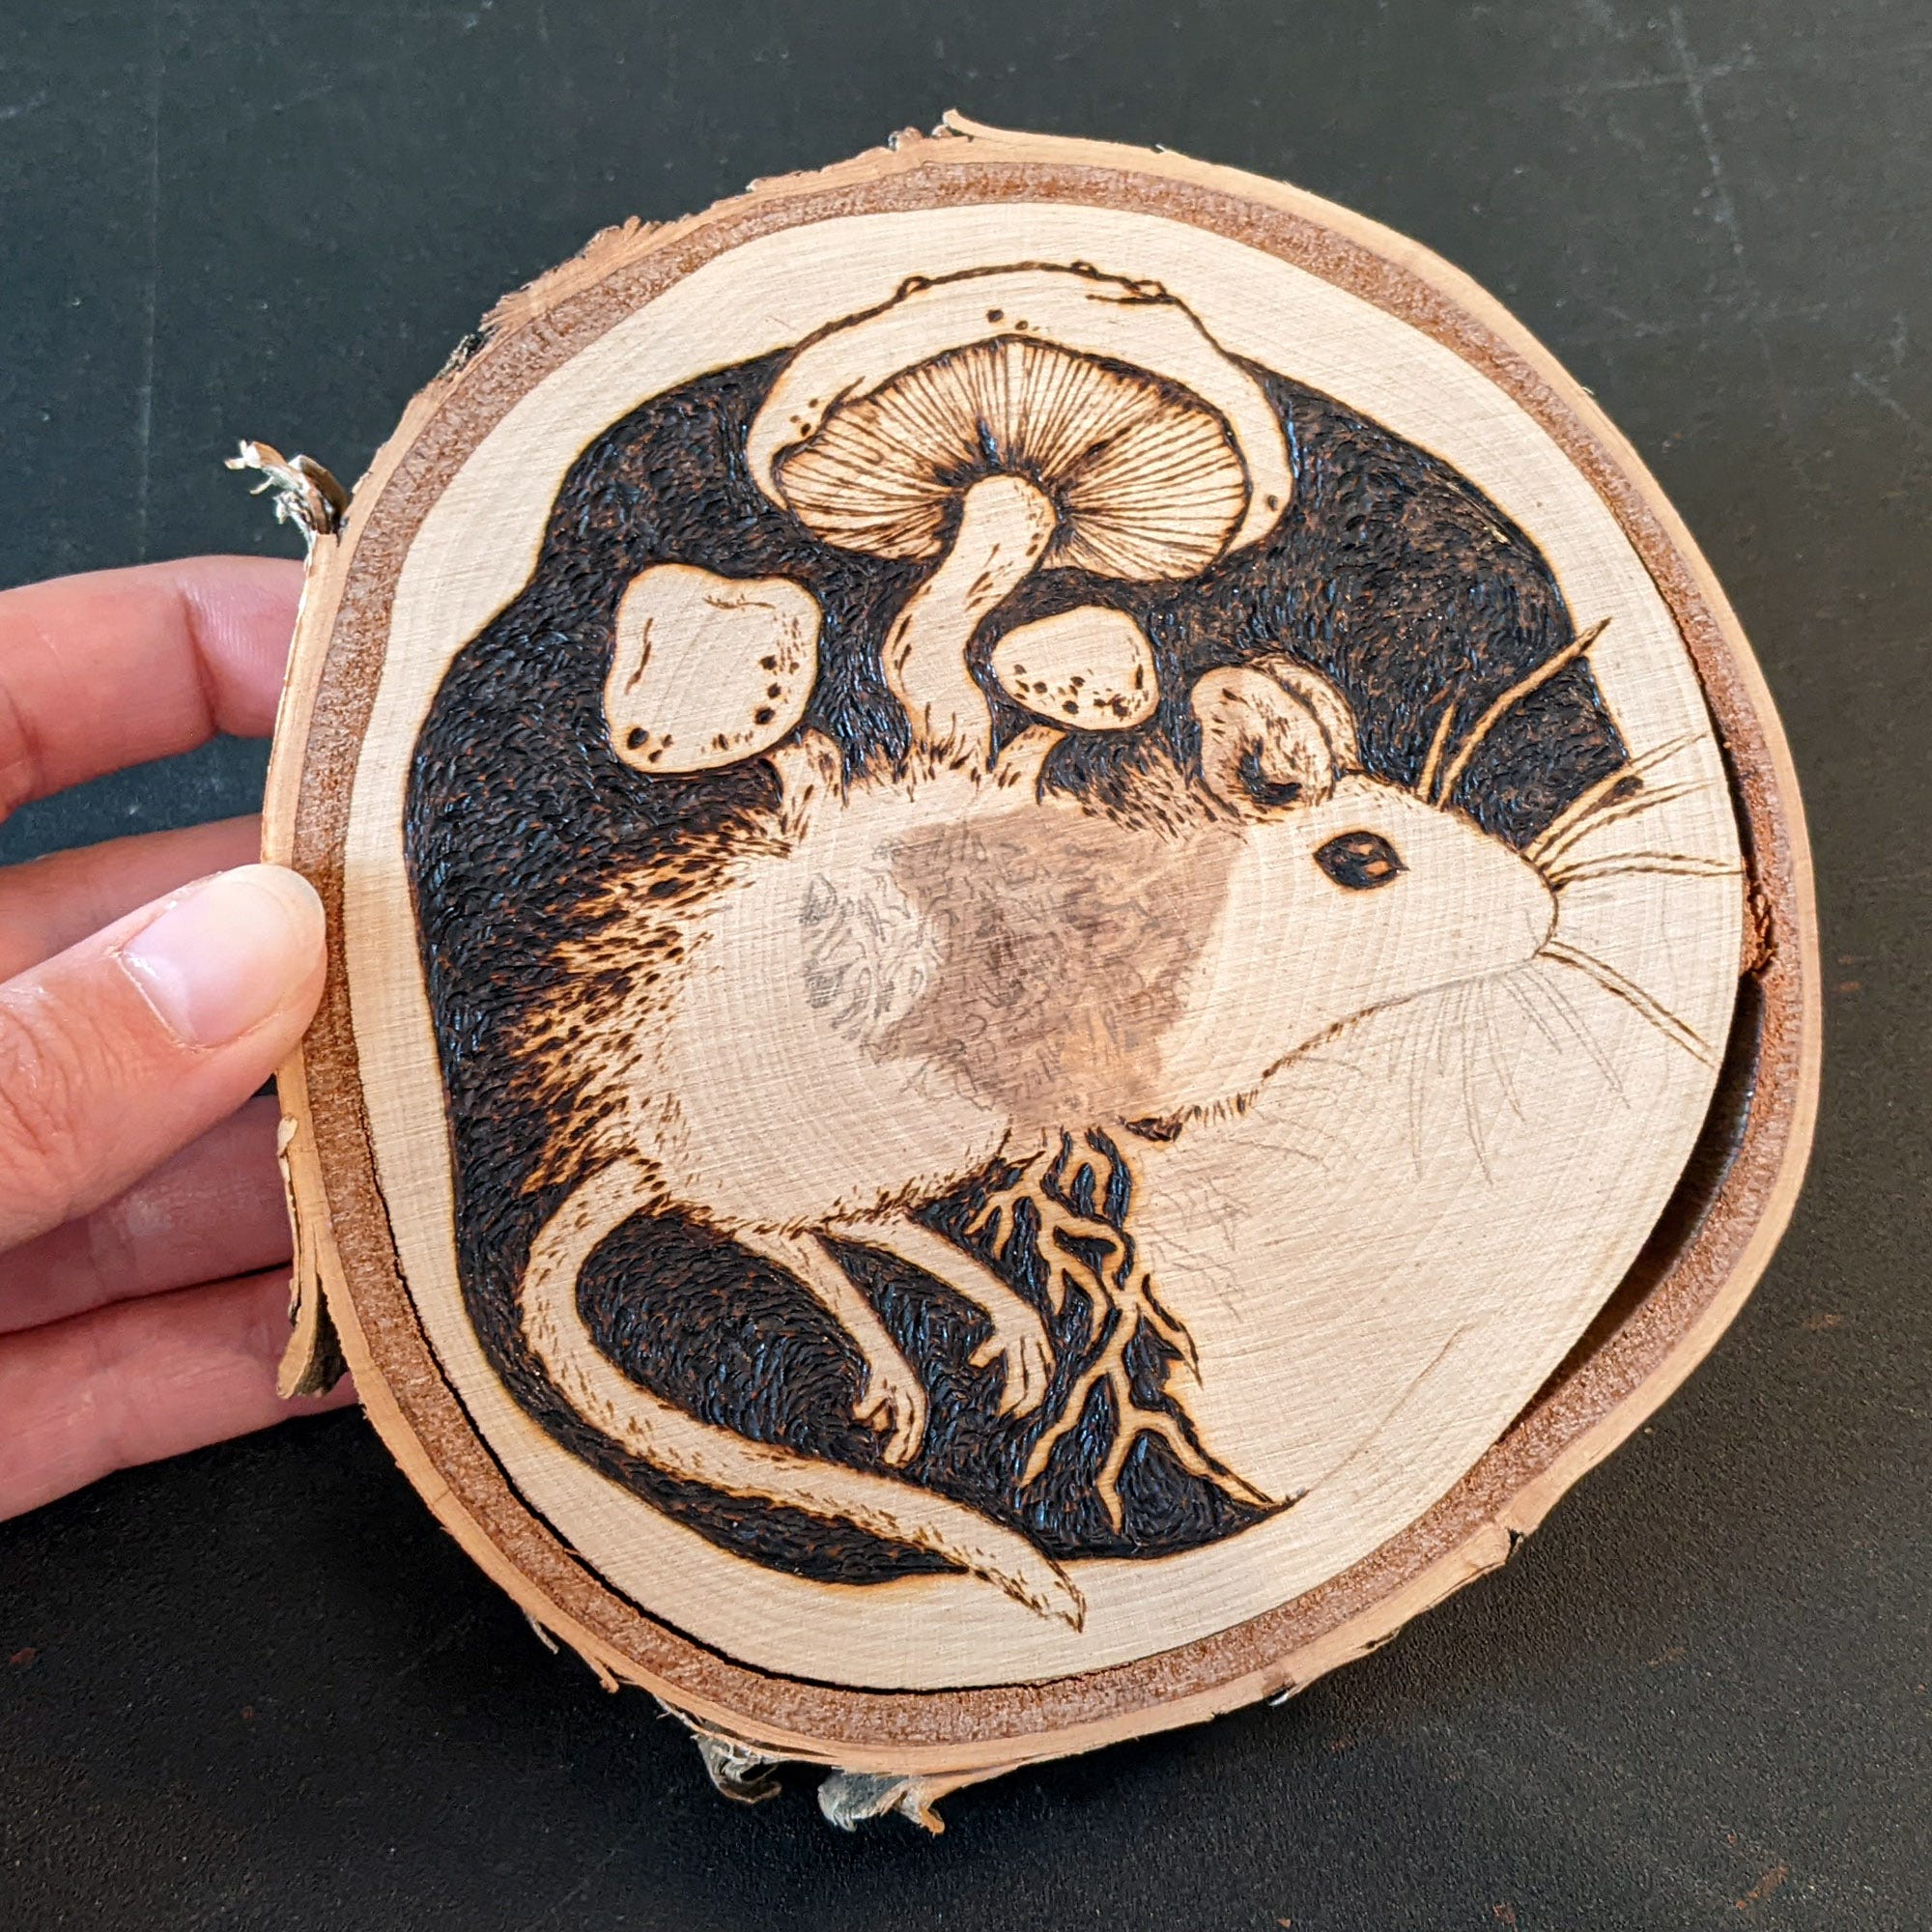
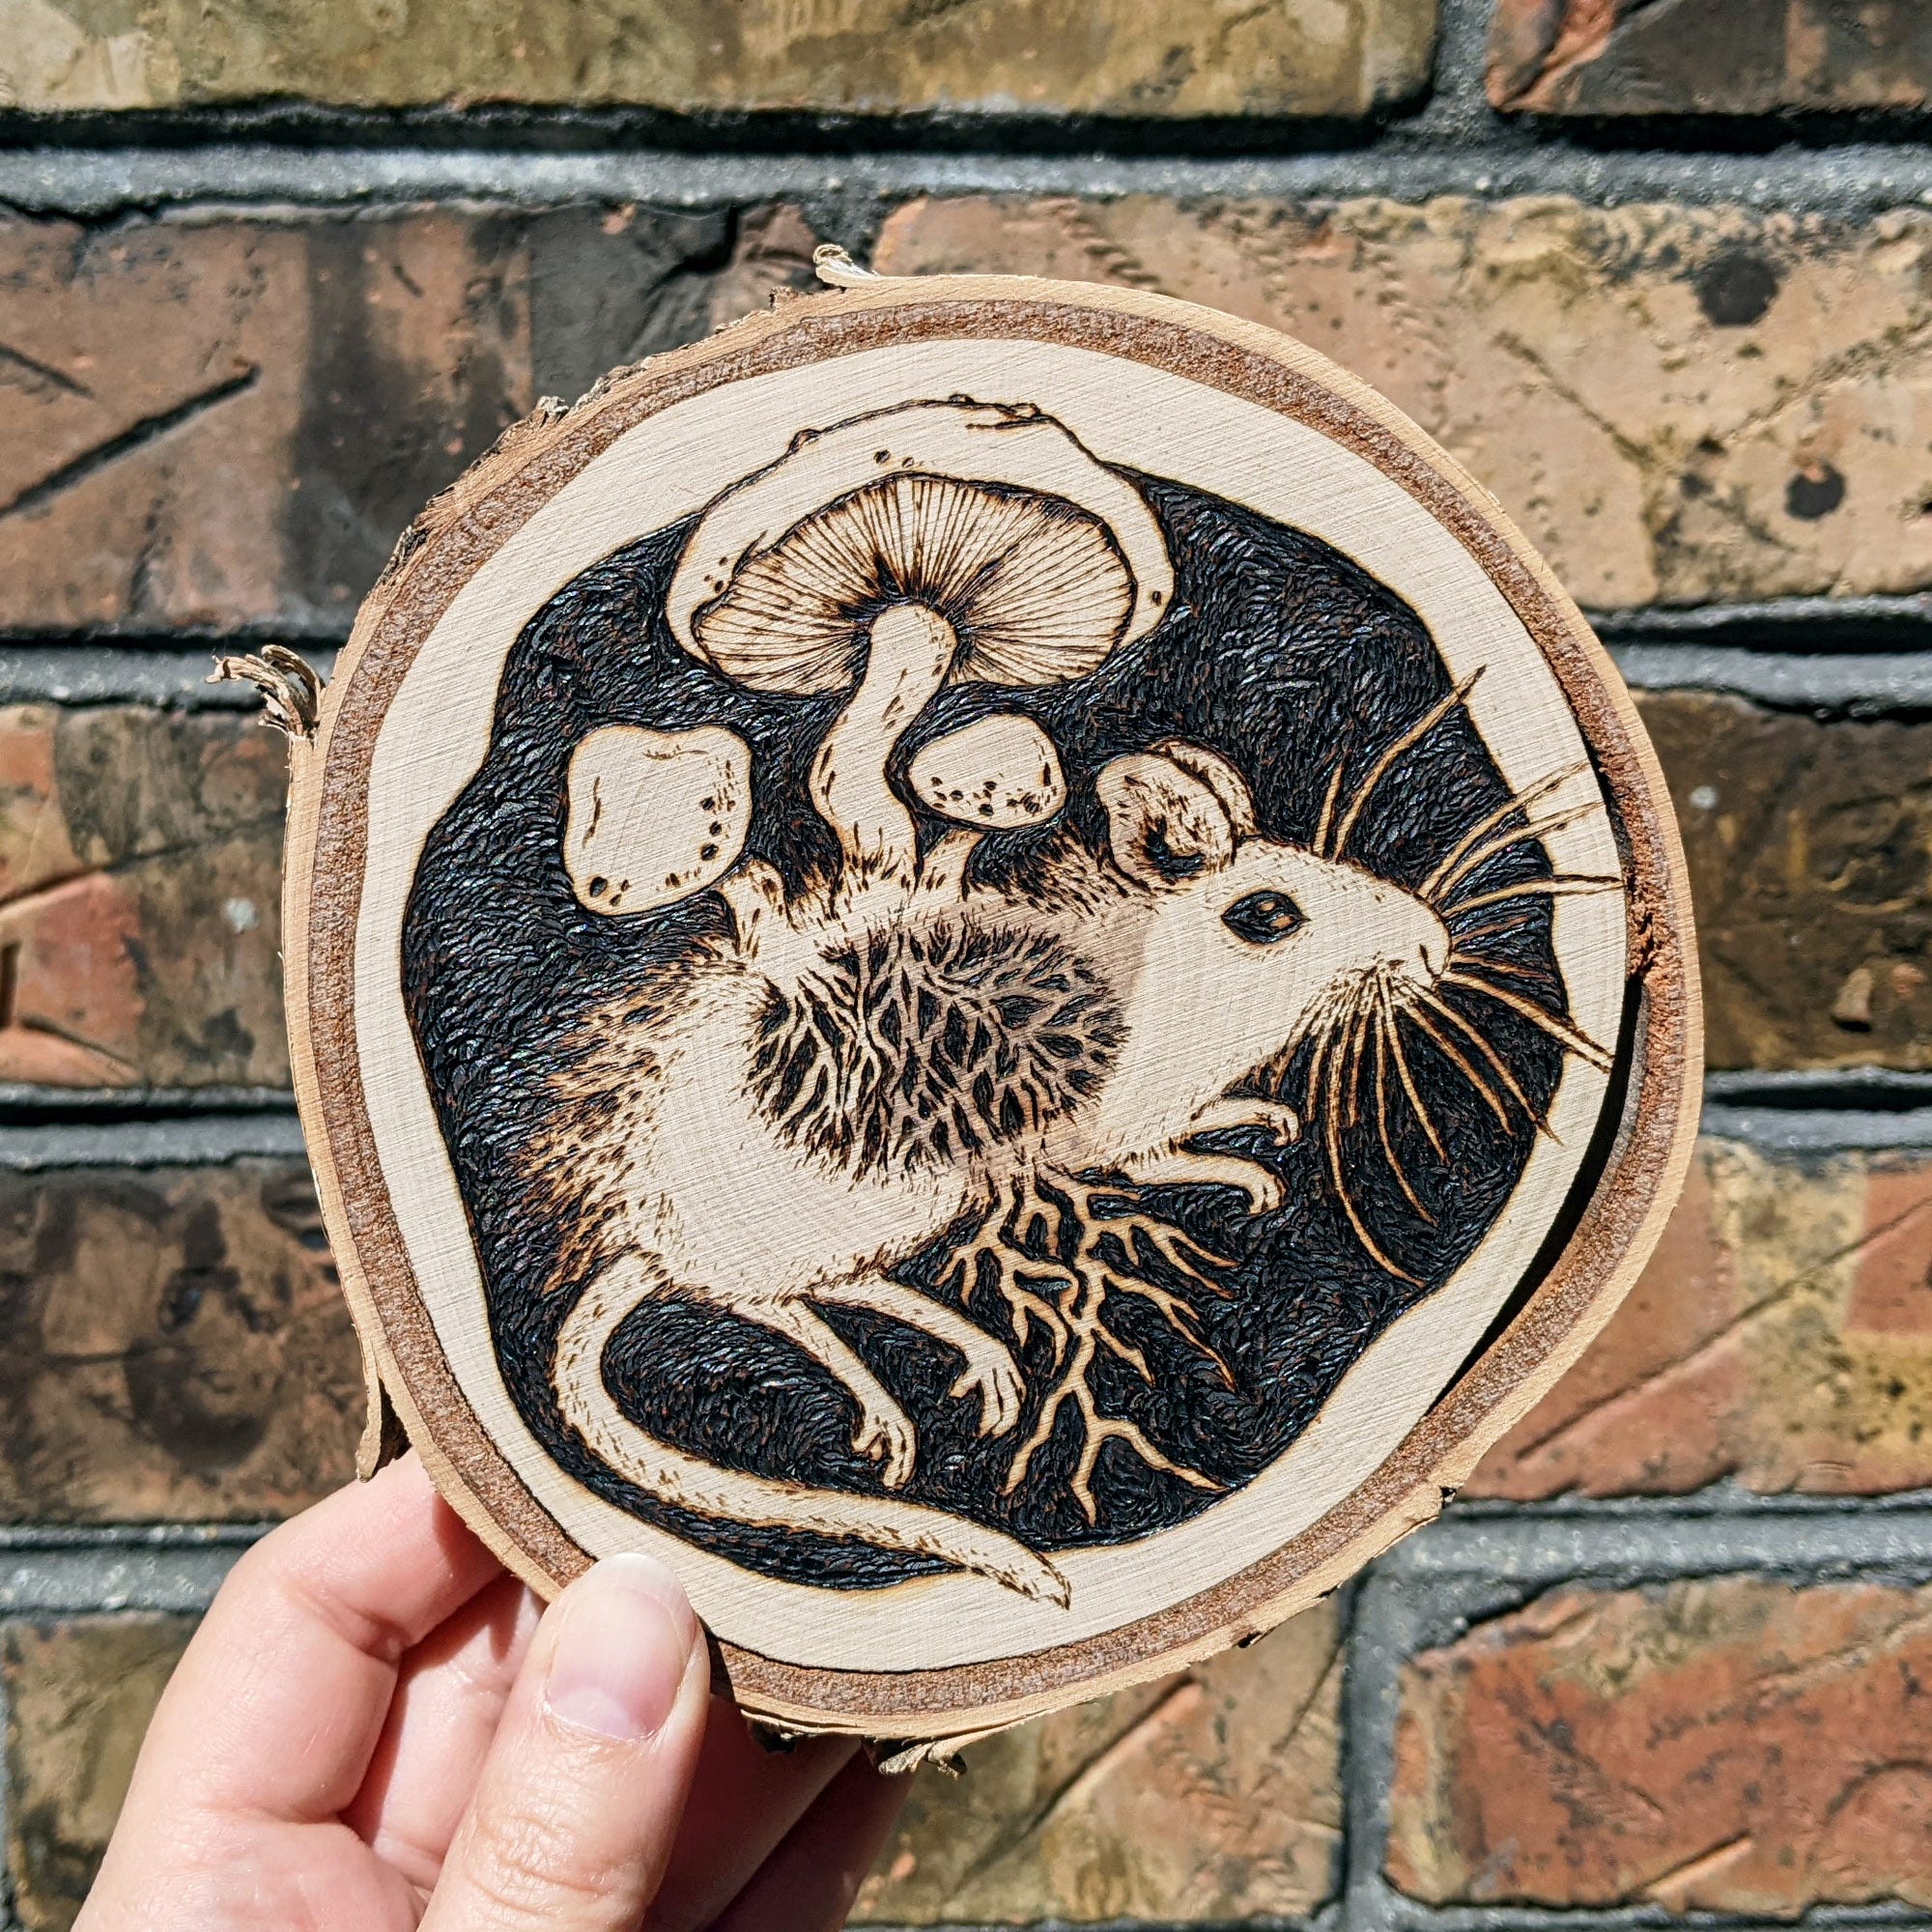
Mushroom Mouse
A metaphor for slow, steady, and not always obvious growth.

Today I want to share the process behind my most thought-out wood burning project so far: Mushroom Mouse. I’ve shared a few posts about wood burning as a fun art side quest, including Cultivate Your Inner 8-Year Old and Practice Makes Progress.
I originally drew Mushroom Mouse on my iPad many months ago for a different project that is currently on the backburner. In the back of my mind, I wanted to turn the drawing into something that felt more organic, but I wasn’t sure exactly what or how. Eventually, I rediscovered a piece of birch wood amidst my art supplies, and I knew it was the perfect material to bring Mushroom Mouse to life.
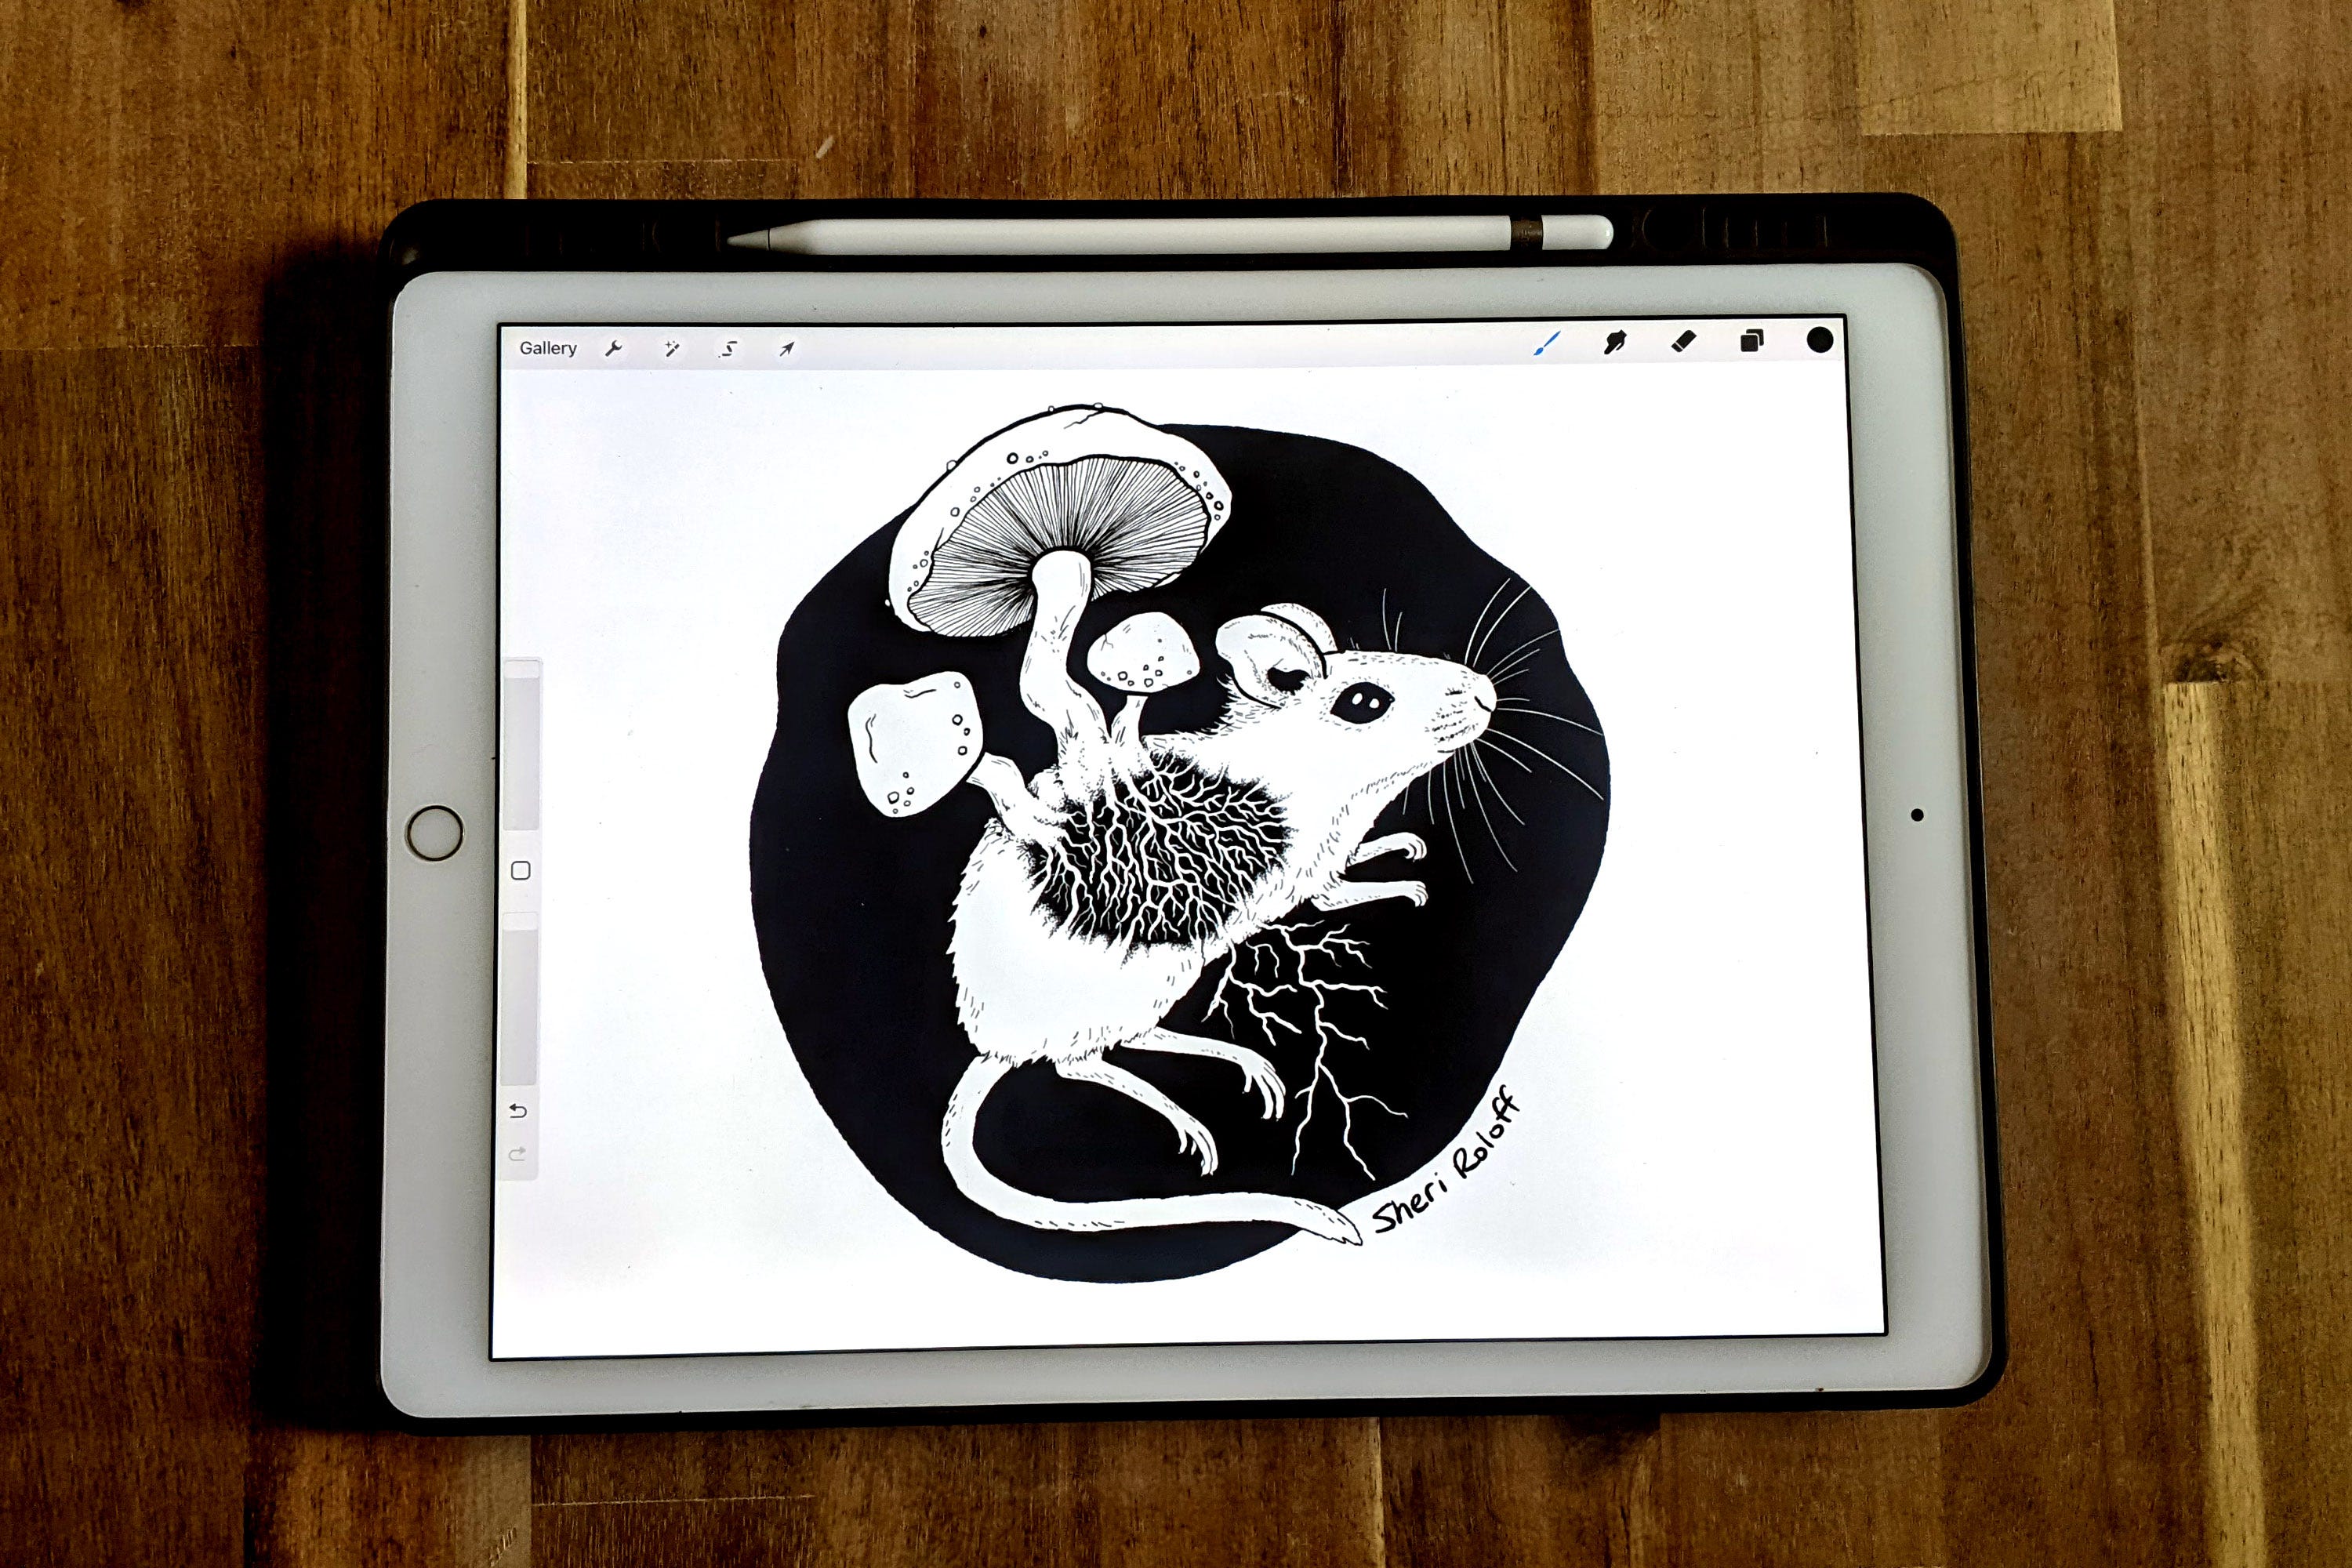
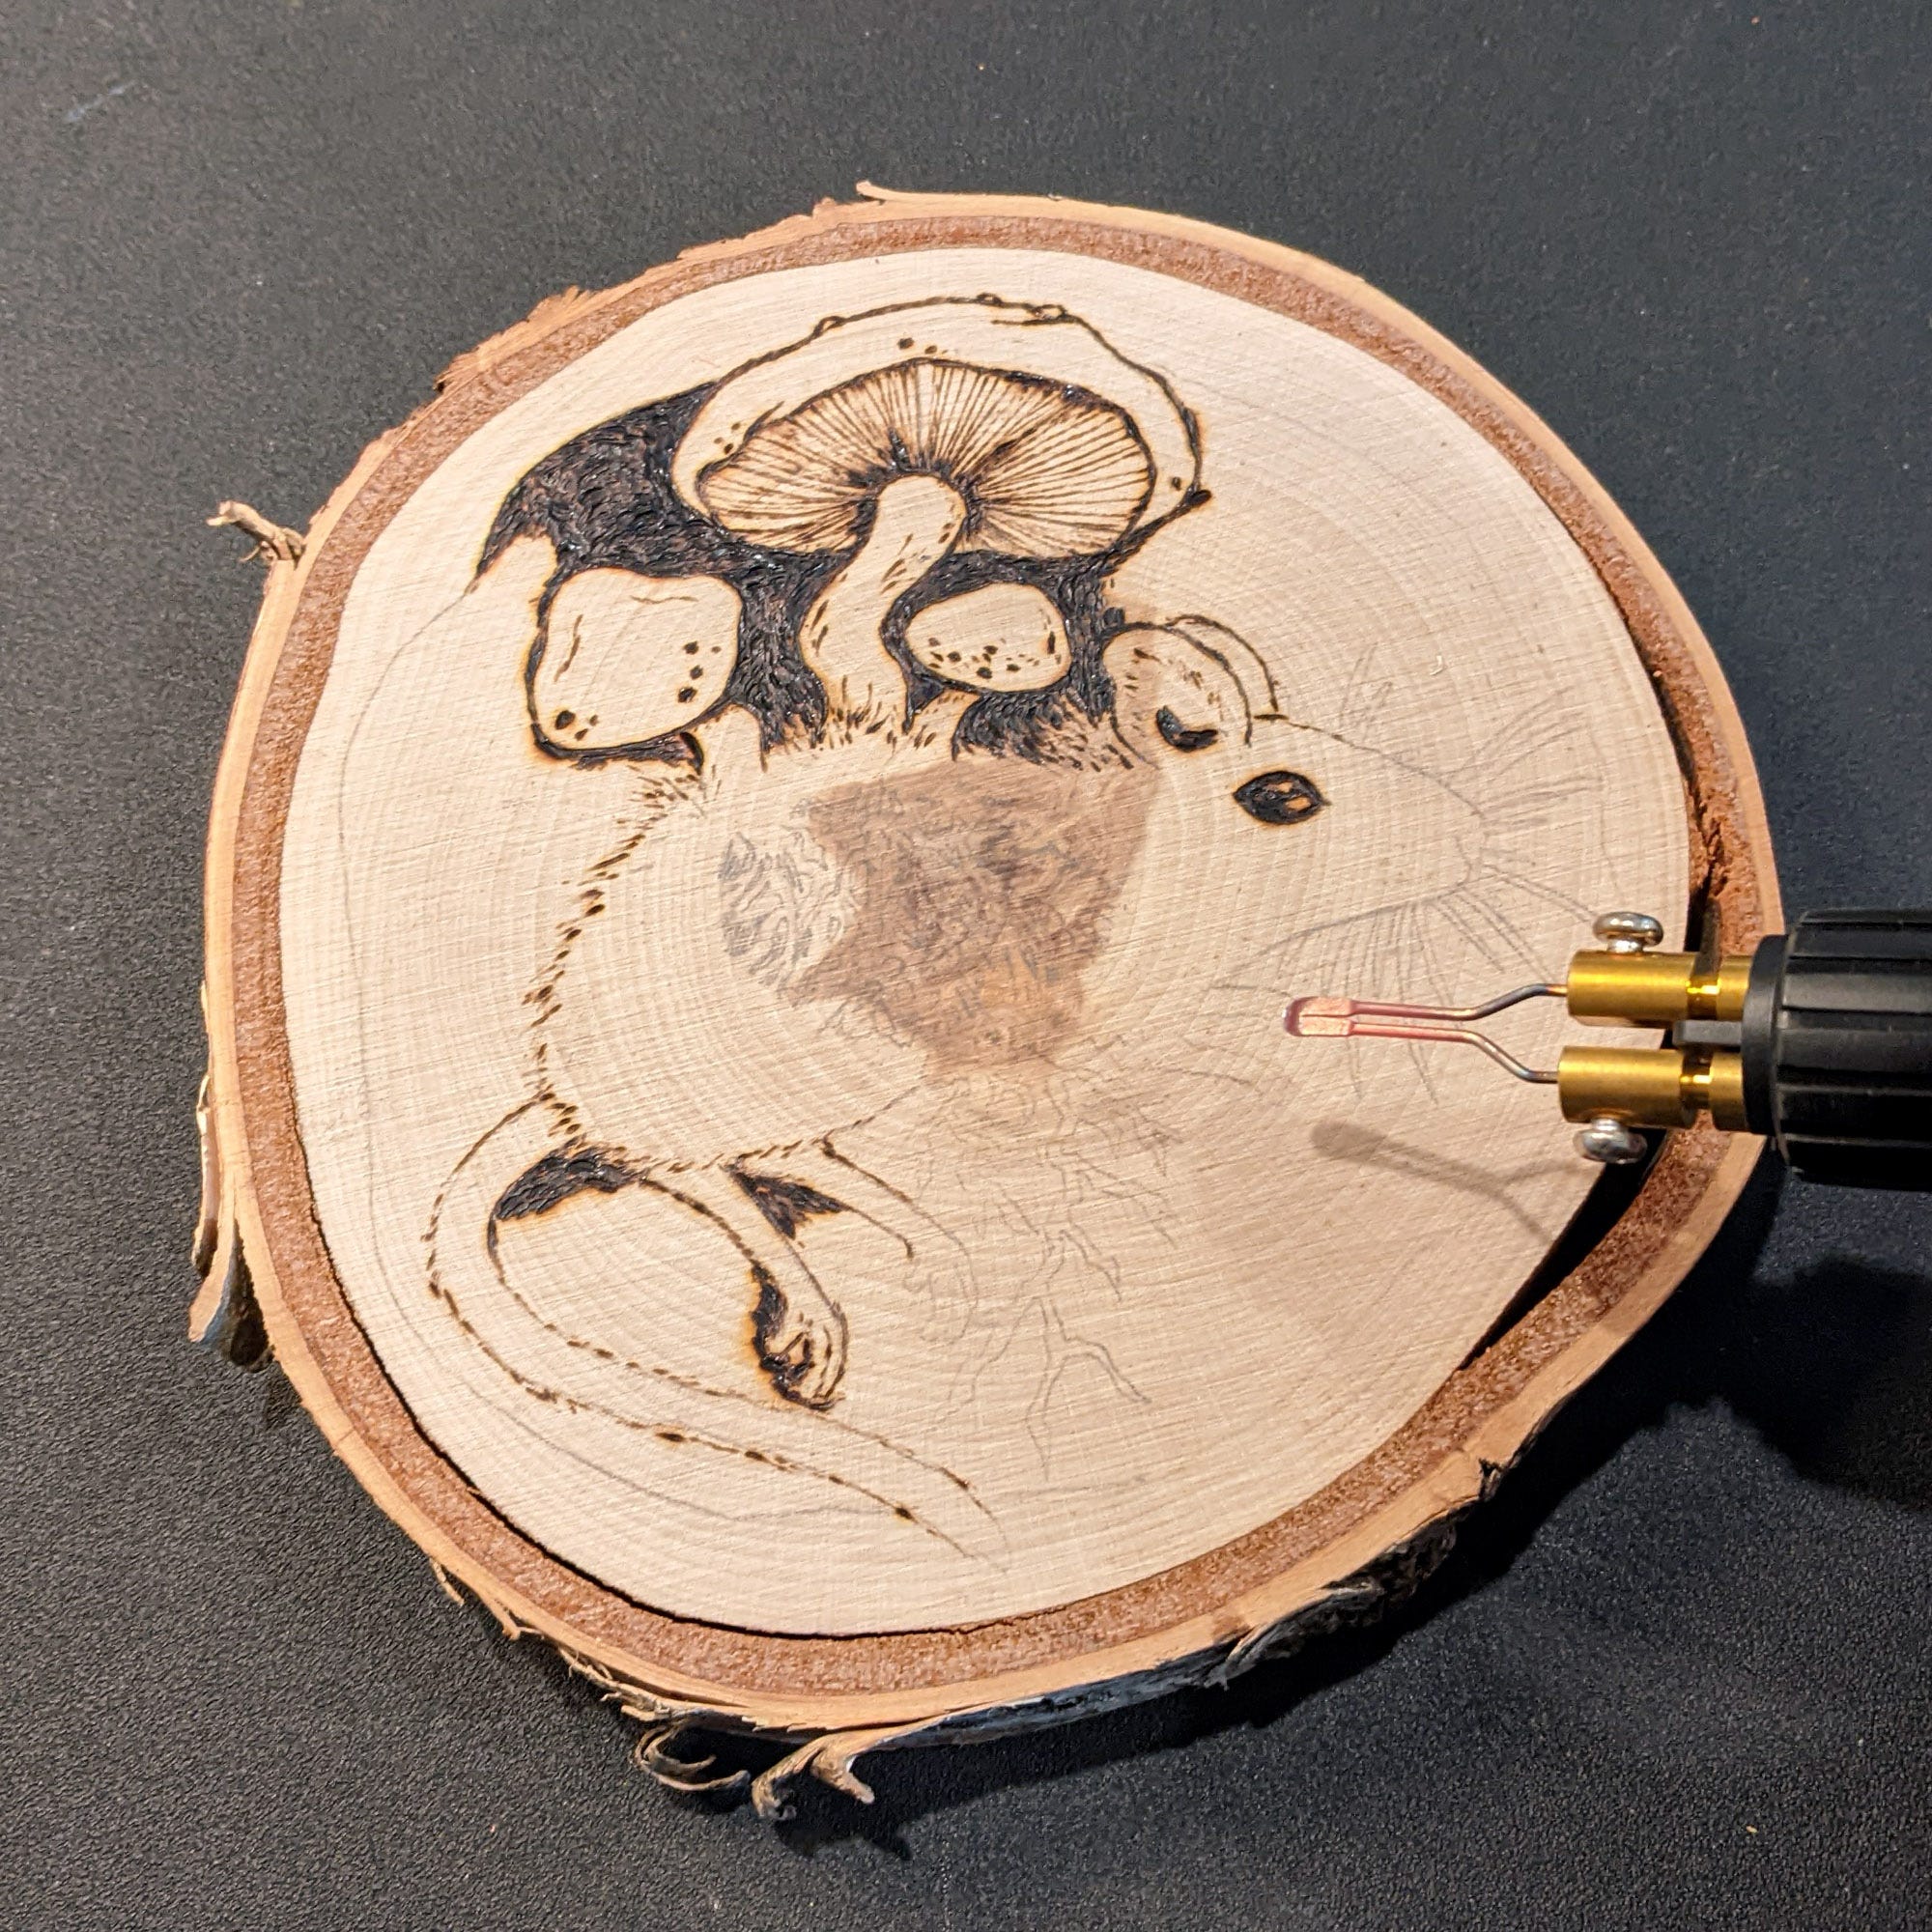
I put the piece of birch wood on my scanner to get accurate reference for the exact size and shape. In Photoshop I lined up my drawing on top of the birch wood scan and made some tweaks to the composition to fit the shape of the wood. Then I printed out a template so I could trace the image onto the wood. I put a thick layer of graphite pencil on the back of my printout and traced over the top to transfer the image onto the wood, like this:

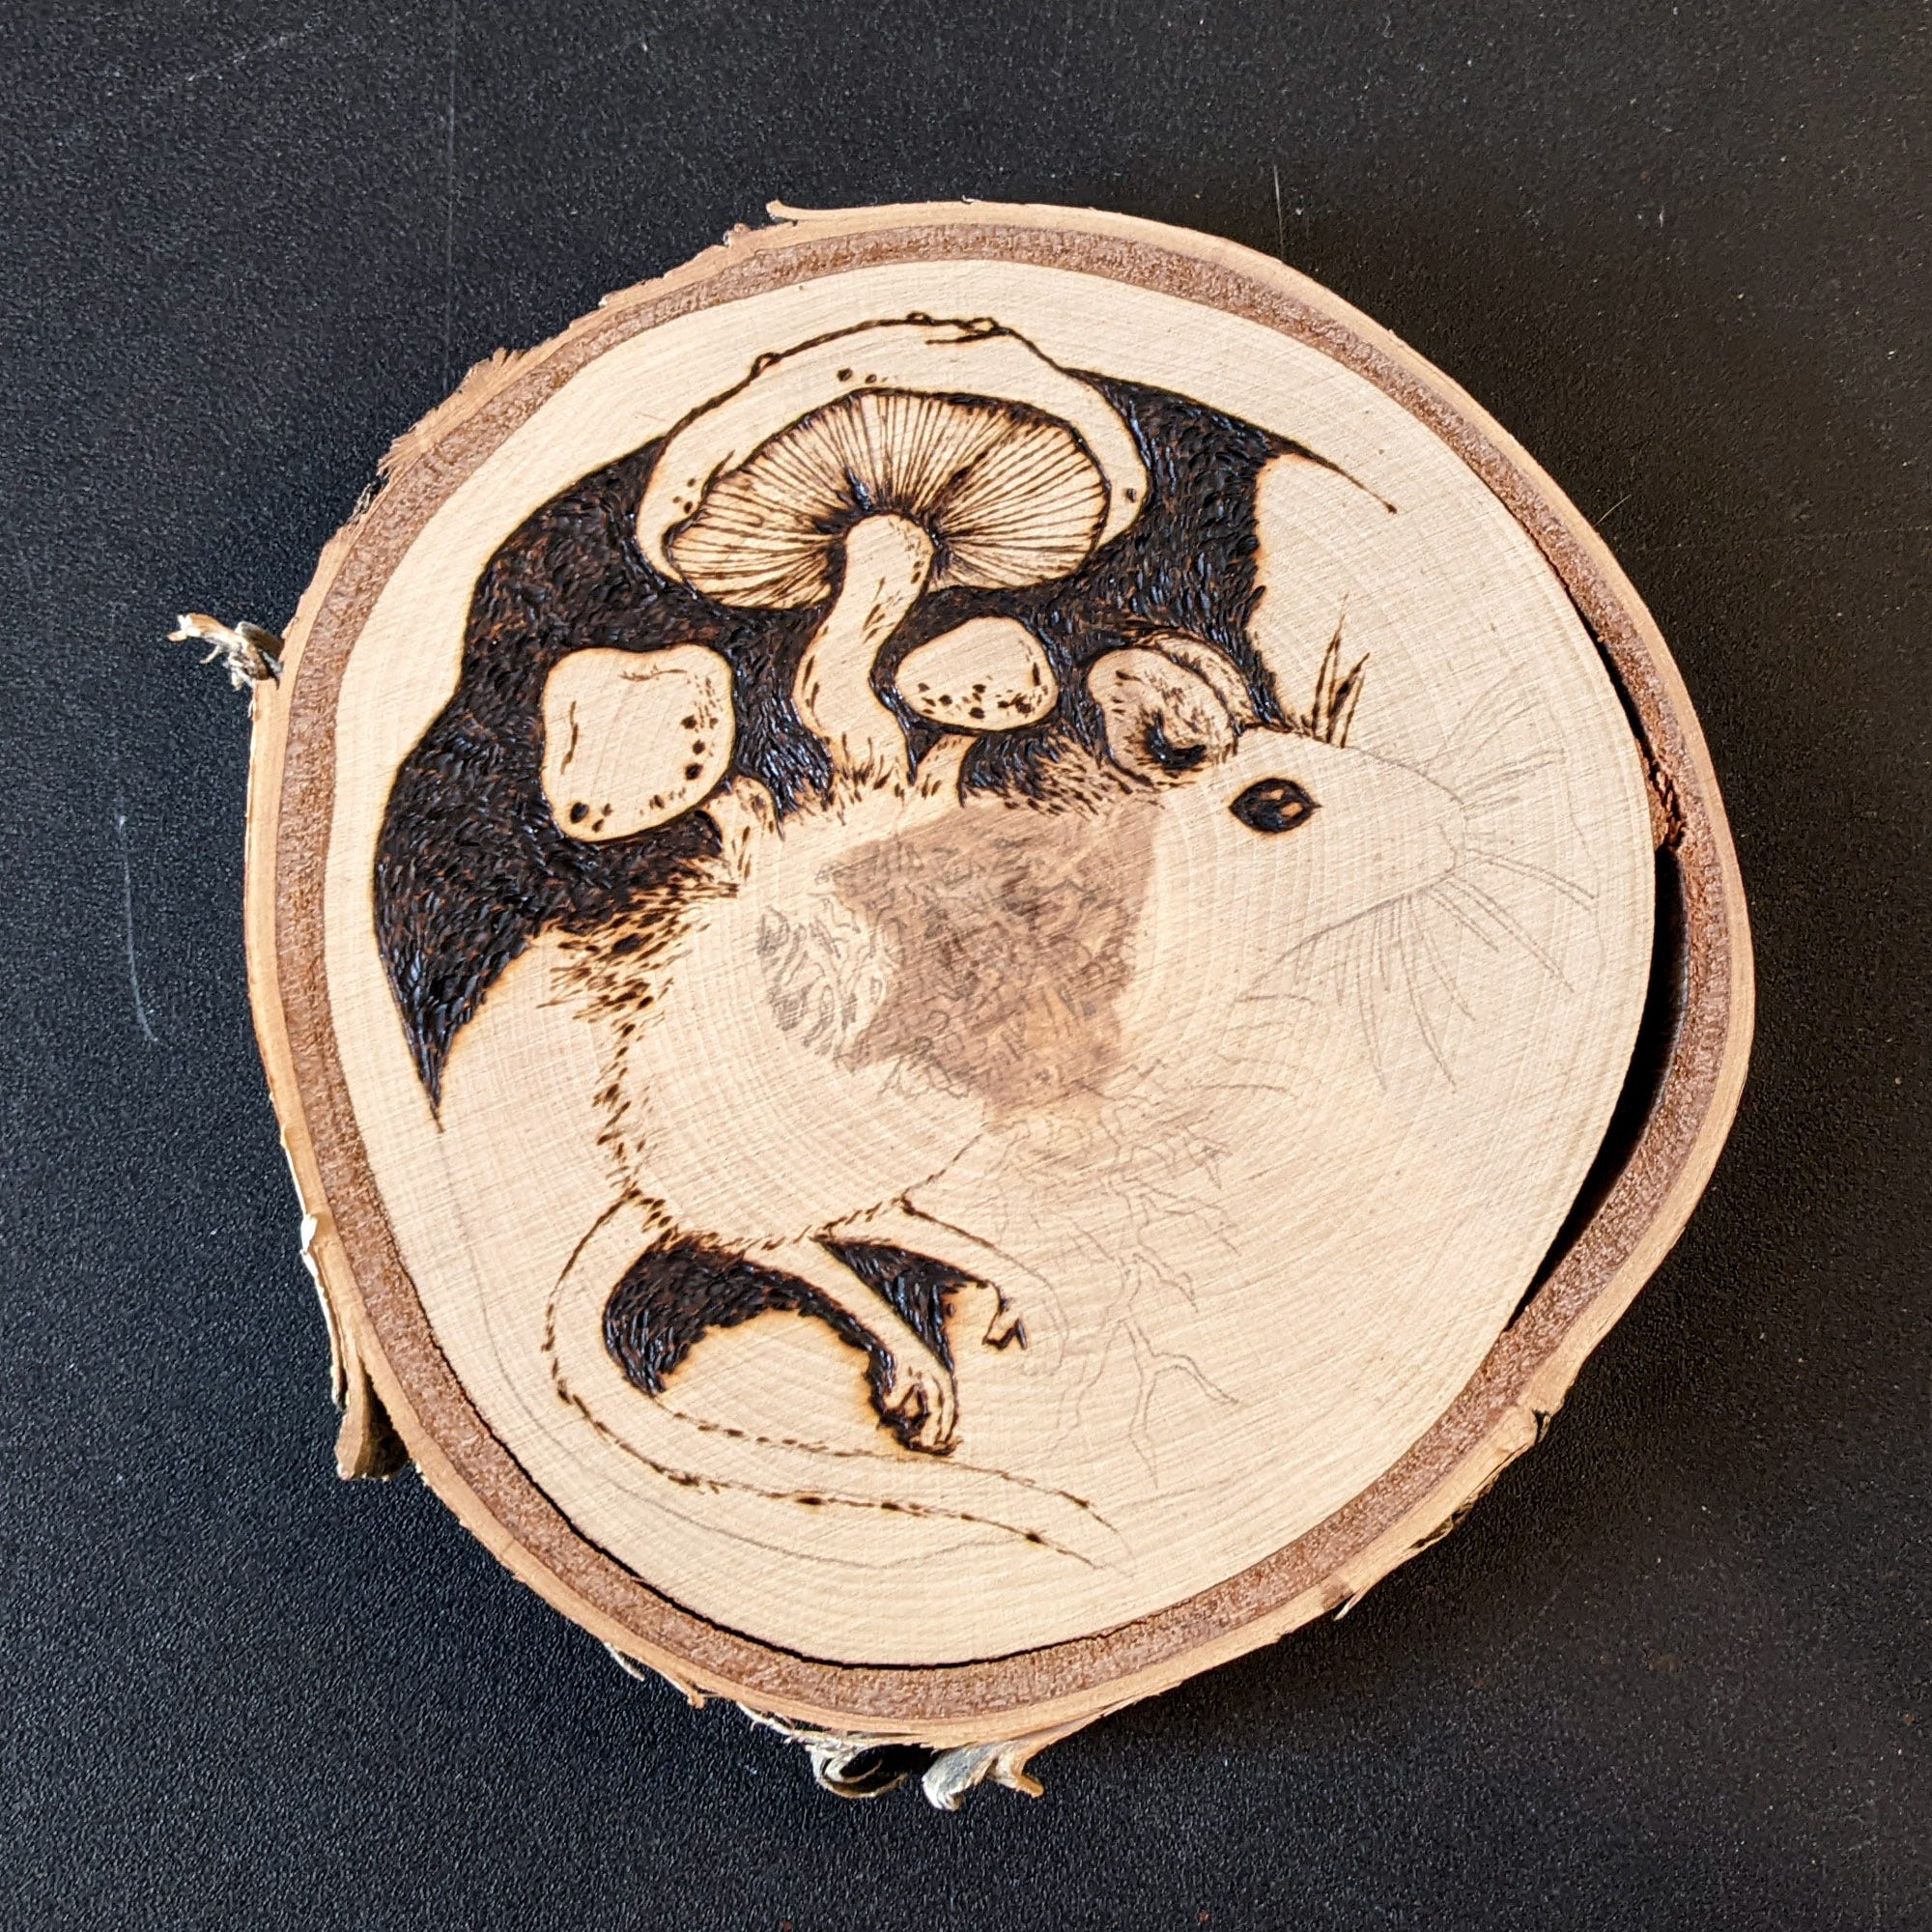
Once I had the image on the wood, I started burning away. This is the most intricate piece I’ve done so far, so I was a little nervous I would screw it up! Fortunately the birch was great for burning finer lines. I was also pleasantly surprised by the texture that was left behind in the dark background behind the mouse.
Here’s a quick video that shows some of the wood burning in action:
Thanks for reading!
Thanks for being here! Time and attention are among our most precious resources, and I truly appreciate you making space for my work. In case you missed it, last week I shared a post called Surprise Yourself.
Paid subscribers, keep scrolling for a printable versions of “Mushroom Mouse.”
Keep reading with a 7-day free trial
Subscribe to Art Oasis with Sheri Roloff to keep reading this post and get 7 days of free access to the full post archives.